Homemade Cherry Pie
Real Cherry Pie….made with fresh cherries, not from a can. This pie is as American as pies get and the flaky crust is super easy….almost fool-proof!
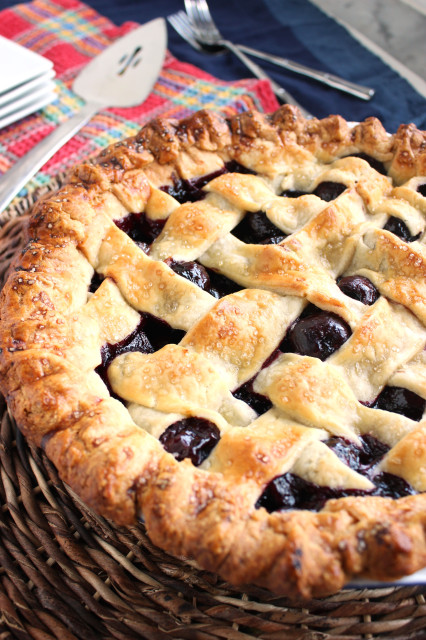
So…..I did it. I made a double crust pie. My first ever on the blog. It looks beautiful….with all it’s flaws and shrunken crust. I have never been so proud of a pie. Ever.
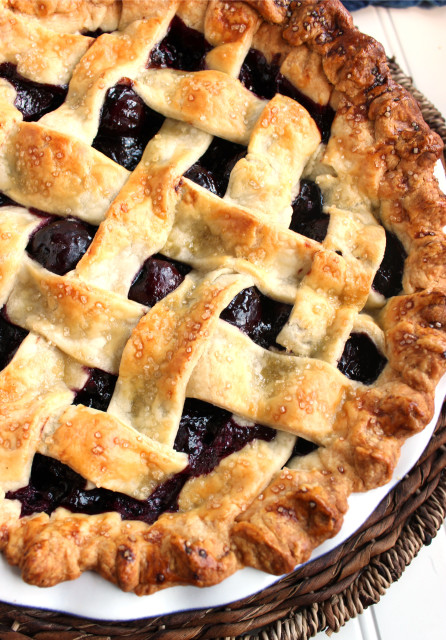
It wasn’t without it’s challenges. Challenge #1, that crust. It still shrunk up a bit and I have trouble with getting everything centered and perfect. But someone told me recently that pies are not supposed to be perfect so I went with that logic. Pies are not supposed to be perfect, let’s say it together….no…let’s not. Just make that your pie baking mantra. It’s now mine. 🙂
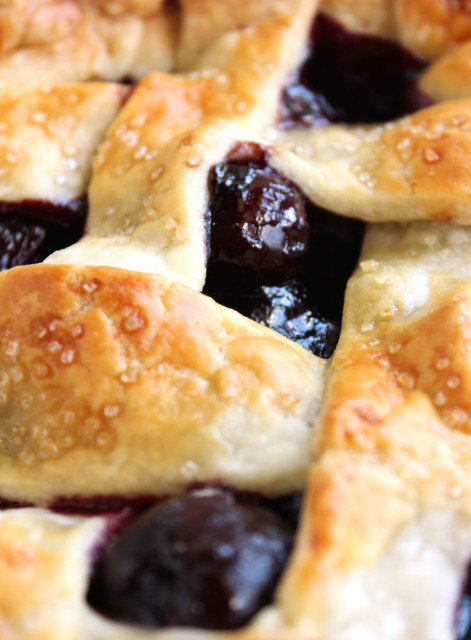
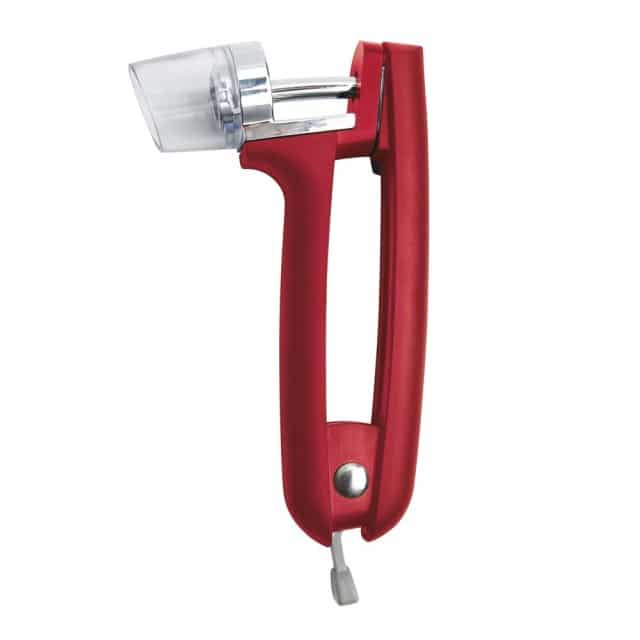
Pies are supposed to be mouthwateringly delicious. Like this Homemade Cherry Pie. None of that gelatinous pie filling from a can. The cherries don’t take too much time to pit. I used the OXO Cherry Pitter and it took no time at all to get through all the cherries. It even has a handy splatter guard so you don’t paint your walls with cherry juice. I still held it down inside a bowl just for extra protection but the guard did help a lot! I think I spent a total of ten minutes pitting. A worthwhile investment….as is the Cherry Pitter. Get one. Now.
Back to the pie. It really is super simple and if you don’t feel like making a lattice crust you can simply use a regular crust and cut 2-3 slits on top right in the center. And if you’re really feeling super lazy, like I do most of the time…a refrigerated pie crust will do fine. But….my crust recipe is so good…I urge you to invest a few minutes (yep, that’s all it takes) and whip up some dough.
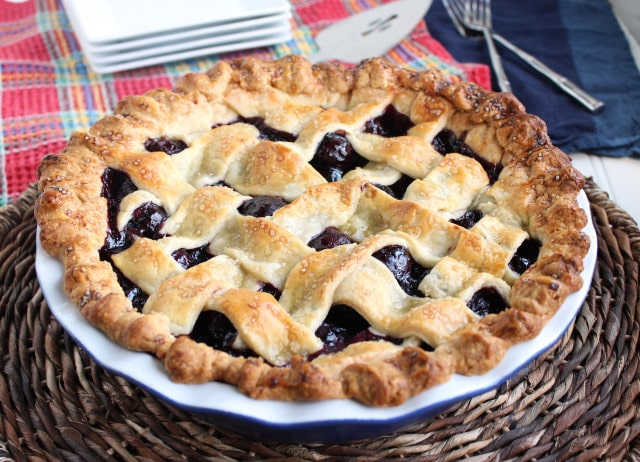
Big, juicy, fresh cherries stuffed into a buttery, flaky pie crust served with a mountain of whipped cream or a shovel full of vanilla ice cream. You know you want it.
Disclaimer: This is not a paid post by OXO. I purchased the OXO Cherry/Olive Pitter myself and wanted to share how incredibly awesome it is with you. 🙂
Get the Recipe: Homemade Cherry Pie
Ingredients
- For the Crust:
- 2 1/2 cups all purpose flour, plus some for rolling dough
- 1 1/4 teaspoon kosher salt
- 2 tablespoons granulated sugar
- 2 1/2 sticks unsalted butter, cut into cubes and chilled
- 1/4 cup cold water
- For the filling:
- 2 tablespoons cornstarch
- 2 tablespoons water
- 8 cups bing cherries, pitted
- 2/3 cup granulated sugar
- 1 tablespoon vanilla bean paste
- 1 large egg
- 1 tablespoon water
- 2 tablespoons turbinado sugar or granulated sugar
Instructions
- Place the flour, salt, sugar and butter in a food processor and pulse until the dough becomes crumbly with pea sized pieces of dough. With the processor running, slowly add the water until the dough forms a ball. Remove the dough and divide into two pieces, one slightly larger than the other. Form each dough ball into a disk and wrap tightly with plastic wrap. Refrigerate for 6 hours or overnight.
- Preheat oven to 400 degrees and position one oven rack on the bottom and one in the center.
- In a small bowl, whisk together the cornstarch and water until the cornstarch is dissolved. Set aside.
- In a large bowl, add 6 cups of cherries. Set aside. Add the remaining cherries to a blender and puree. Add the pureed cherries to a medium saucepan and stir in the sugar and vanilla bean paste. Bring to a simmer over medium heat and cook for approximately 15-20 minutes, stirring constantly to prevent the bottom from burning. Continue cooking until the mixture has reduced to 1 1/4 -1 1/2 cups. Reduce the heat to low and add the cornstarch mixture while stirring. Bring to a boil and then remove from the heat. Transfer to a bowl and allow to cool to room temperature.
- Roll out the larger dough disk and place it in a pie plate. Roll out the smaller disk on a piece of parchment and cut into 1 inch strips. Refrigerate for 5-10 minutes.
- Remove both doughs from the refrigerator. Stir the puree into the whole cherries and pour the mixture into the pie shell. moisten the rim of the pie with a small amount of water. Start with the longest strips and lay the first two in an X in the center of the pie. Arrange them at 90 degree angles or at a sharper 45-degree angle. Alternate horizontal and vertical strips, weaving them in an over-and-under pattern. Use the shortest strips for the edges of the lattice. Press the ends of the strips firmly to the edge of the bottom crust and cut excess dough with kitchen shears or a paring knife.
- Beat one large egg with 1 tablespoon of water and brush the lattice top thoroughly. Sprinkle with 2 tablespoons turbinado sugar or granulated sugar.
- Bake the pie on the bottom rack of the oven for 20 minutes. Lower the heat to 375 and move the pie to the center rack. Continue baking until the crust is golden brown and the filling is bubbling, approximately 20-30 minutes.
- Transfer the pie to a cooling rack and allow to cool.....completely. (do not cut it too soon or the filling will not have time to set.)
- Serve with a dollop (or mountain) of whipped cream or vanilla ice cream.

7 Comments on “Homemade Cherry Pie”
I LOVE cherry pie! It is my FAVORITE! Just bought a cherry pitter and I am going to try this recipe! Thanks!
I think your pie looks great! I’ve made pie so many times now but have not done the lattice crust yet. Kudos to you for doing it!
I think your pie looks terrific! I am guilty, I almost always use refrigerated crust.
I struggle with pie crusts as well. I’ve been super cherry obsessed this year, but I seem to eat them before I can bake them!
This crust came out so perfect!! Mine never look like this! I am going to have to give this one a whirl. My hubby loves cherries.
I love cherries so I have no excuse for not cooking with them and also no excuse for never trying a cherry pie. Shame on me after seeing this delicious looking one.
your crust looks perfect! And I love that pitter!