This post may contain affiliate links. Please read our disclosure policy.
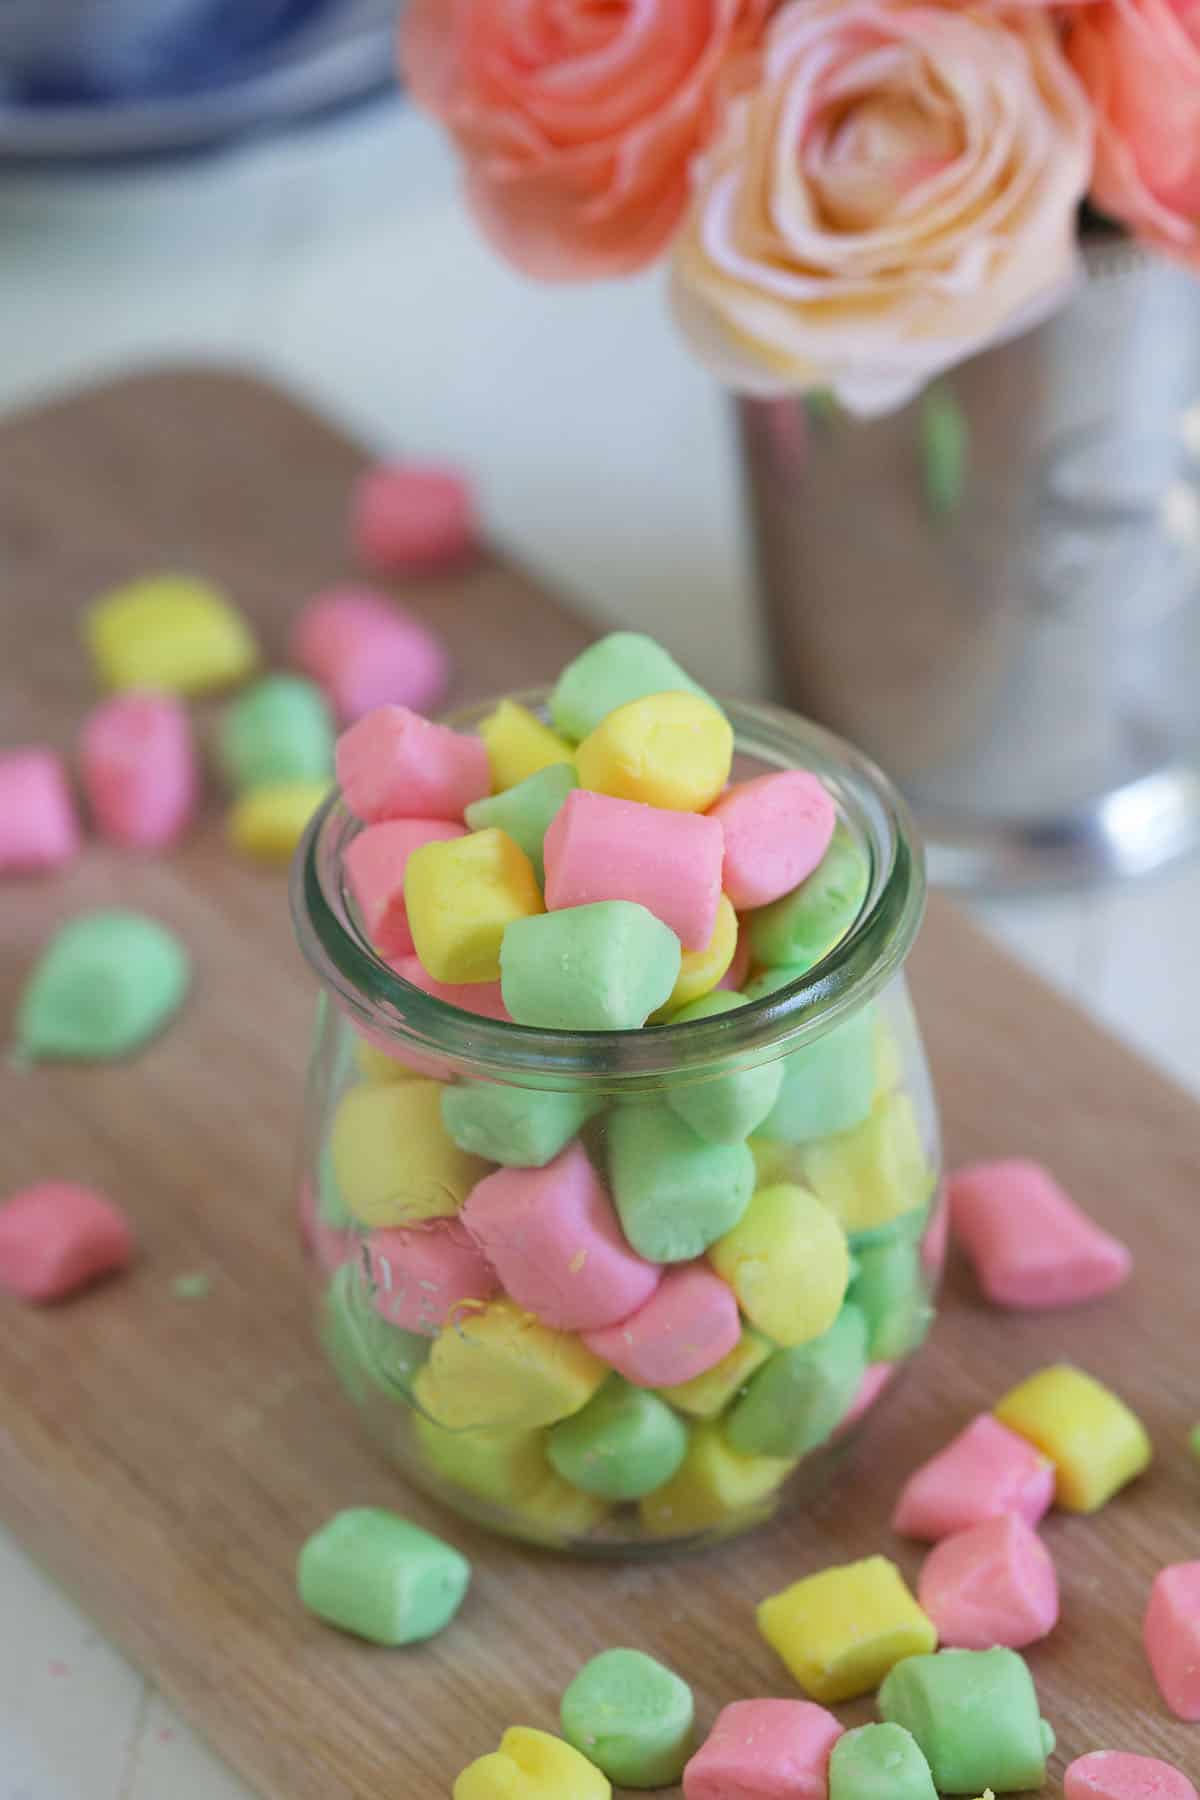
These Easy Butter Mints are soft, old-fashioned candies made with butter, powdered sugar, peppermint extract, and a splash of cream for a smooth, melt-in-your-mouth texture. You simply mix the dough, tint it if you’d like, roll and cut the mints, then let them dry until they’re perfectly creamy and sweet. They’re easy to make, great for holidays and showers, and always look beautiful in a candy dish.
Kellie’s Note
Nostalgic Butter Mints

One of the biggest secrets to great butter mints is getting the dough texture just right and keeping the peppermint flavor soft and balanced instead of too strong. This recipe uses simple ingredients and easy steps, plus a few helpful cues so your mints turn out smooth, tender, and not overly minty.
Growing up, I never knew what these candies were called. I just knew my grandparents always had them in a little jar on the coffee table, and I loved them. They’ve always felt classic and nostalgic to me, and making them at home is such a fun way to keep an old-fashioned candy recipe alive.
I’ve included the texture cues and shaping tips that make these old-fashioned mints much easier to get right on the first try. I hope you add them to your list of favorite treats for parties and gatherings, too.

What Are Butter Mints?
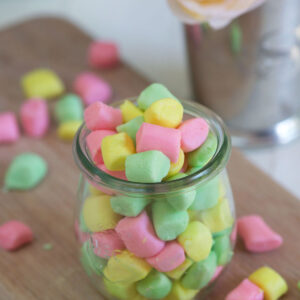
Butter mints are old-fashioned, melt-in-your-mouth candies made with butter, powdered sugar, and peppermint flavoring. They’re known for their soft, creamy texture and are often served at weddings, baby showers, holidays, and after dinner. Their pastel colors and delicate mint flavor make them feel simple, classic, and a little nostalgic all at once.
Why You’ll Love These Butter Mints
- Sweet, buttery, old-fashioned candy with a timeless homemade feel.
- Easy to make with simple pantry ingredients.
- Soft, creamy texture that melts in your mouth.
- Easy to customize with pastel colors or holiday shades.
- Perfect for Christmas, Valentine’s Day, baby showers, weddings, and other special occasions.
- Look polished and pretty without being difficult to make.
- Simple process: mix, tint, roll, cut, and dry.
Ingredients for Homemade Butter Mints
You only need a handful of ingredients to make butter mints, but each one matters for texture and flavor.
- Butter: Use softened butter so it creams smoothly and evenly. This gives the mints their signature rich, buttery base.
- Powdered Sugar: Powdered sugar creates the structure of the dough and helps give the mints their smooth, creamy texture. If your sugar is lumpy, sift it first for a smoother dough.
- Half and Half or Milk: A small amount of liquid helps bring the dough together. Add only as much as you need so the dough stays soft but not sticky.
- Vanilla Extract: Vanilla rounds out the flavor and keeps the peppermint from tasting too sharp.
- Peppermint Extract: Peppermint extract is the best choice here because it gives the mints a sweet, balanced mint flavor. Peppermint oil is much stronger and can easily overpower the candy.
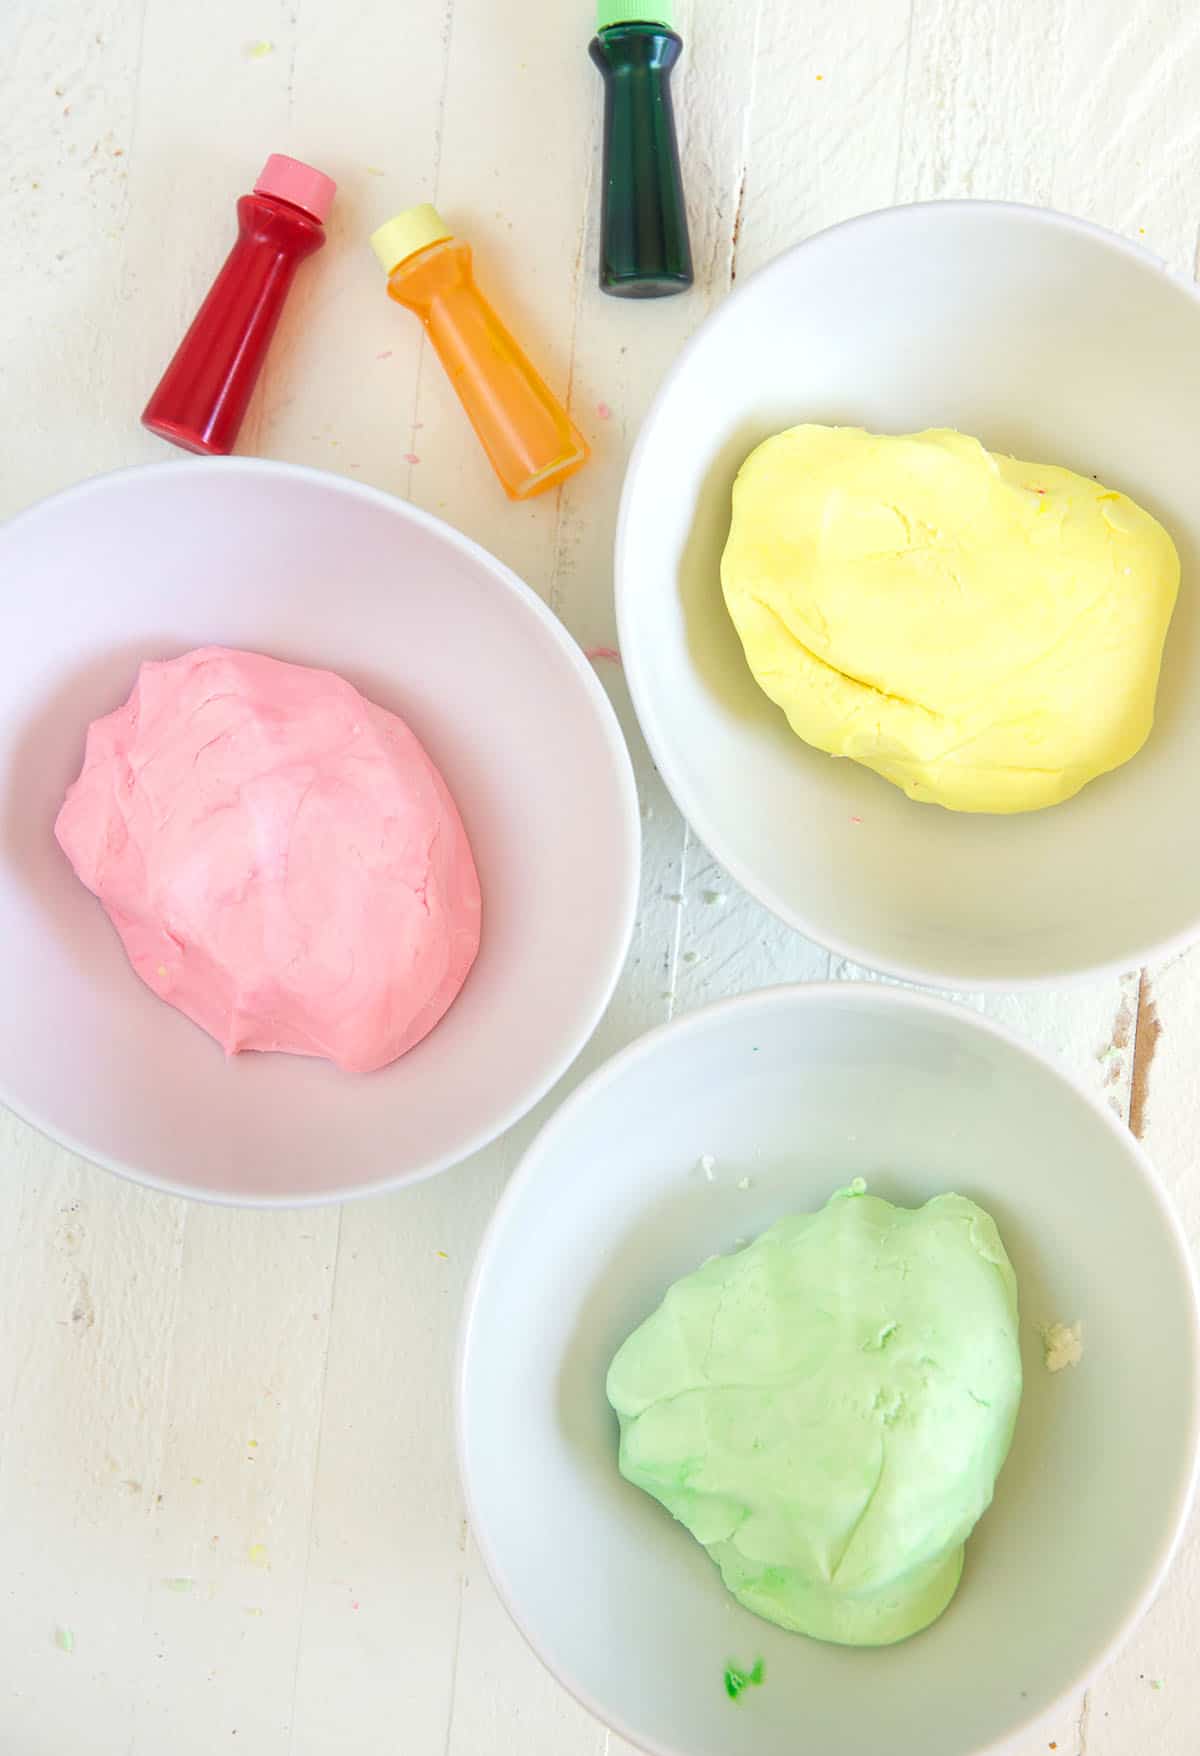
- Food Coloring: Food coloring is optional, but it’s what gives butter mints their classic pastel look. Soft pink, yellow, and green are traditional, but you can change the colors for any holiday or occasion.
How to Make Butter Mints
- Beat the softened butter until smooth and creamy.
- Gradually mix in the powdered sugar, scraping down the bowl as needed.
- Add the half and half, vanilla, and peppermint extract, then beat until a soft, pliable dough forms.
- If the dough is too sticky, add a little more powdered sugar. If it’s too dry, add a tiny splash of milk or half and half.
- Divide the dough and knead in food coloring, if using.
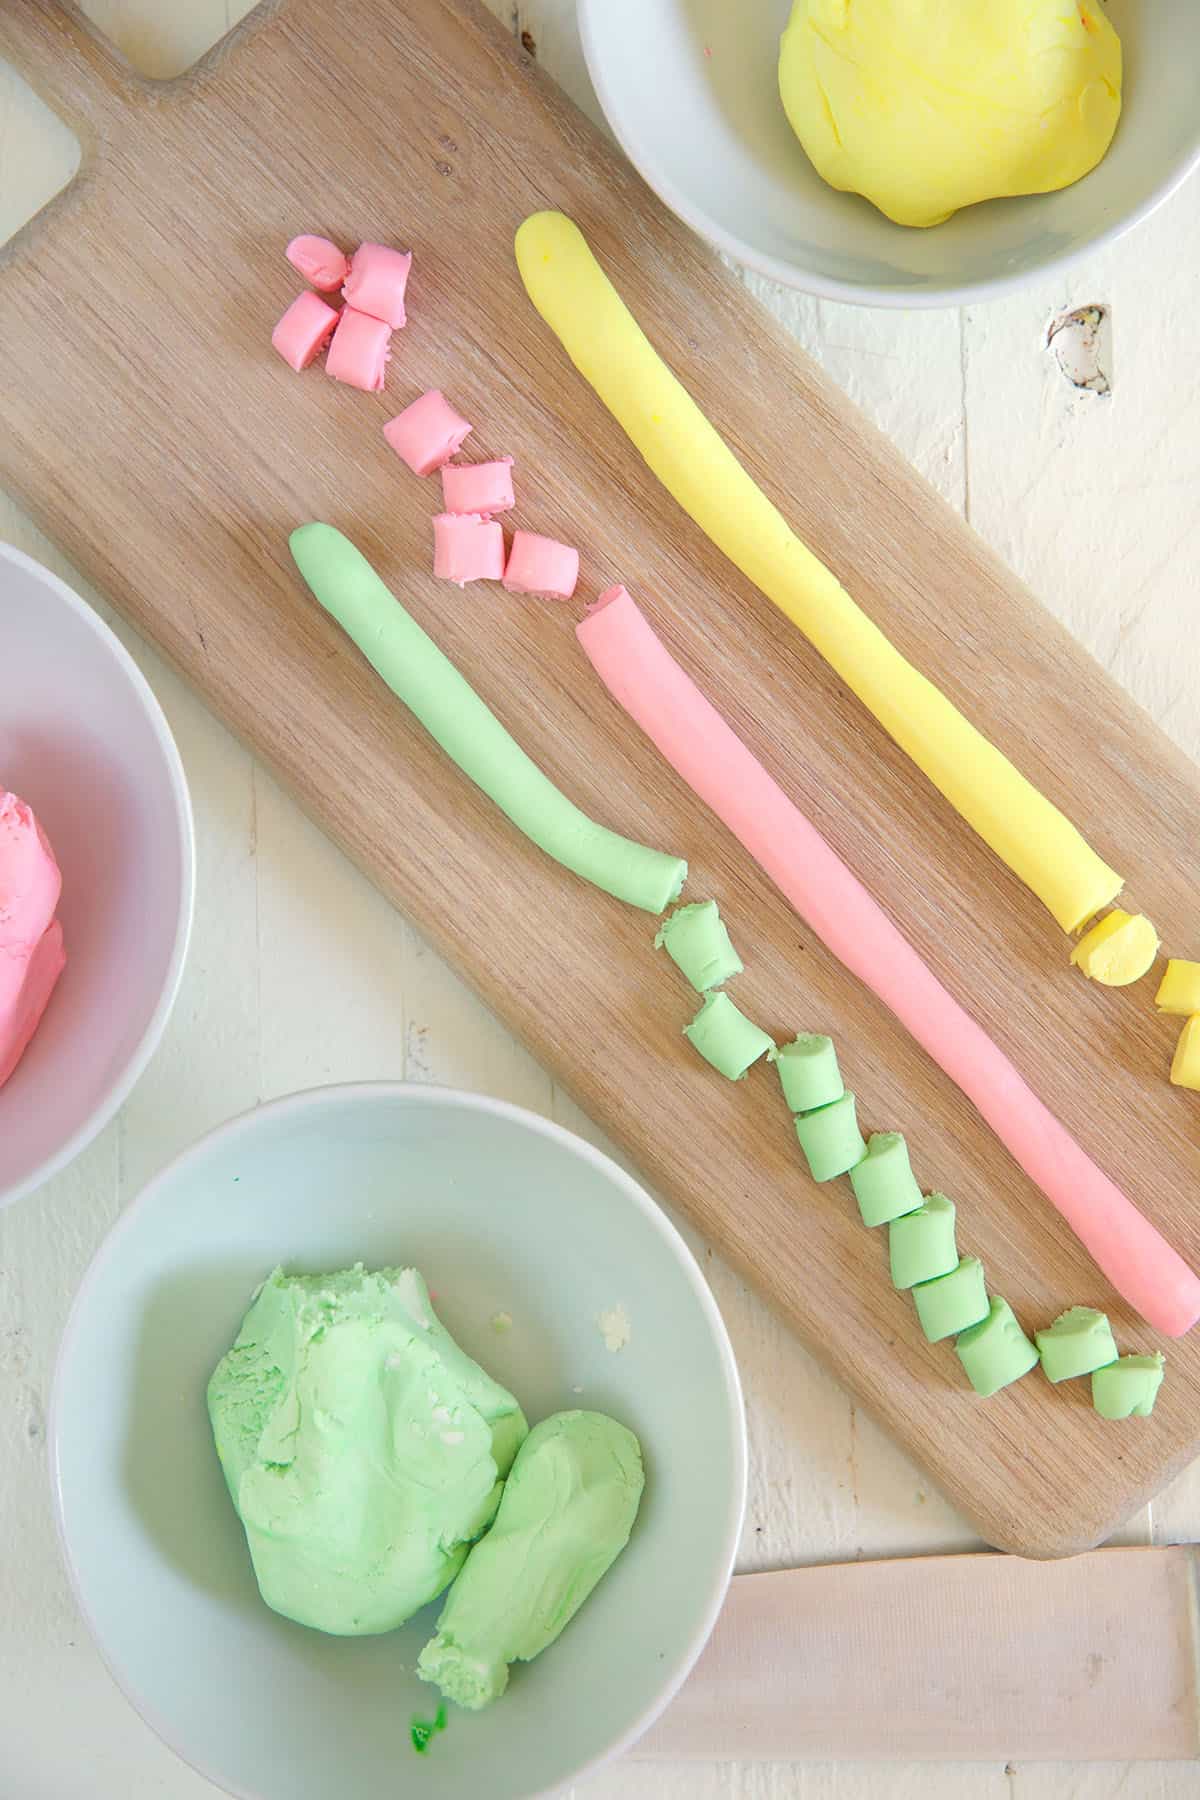
- Roll each portion into 1/2-inch ropes, then cut into small pieces.
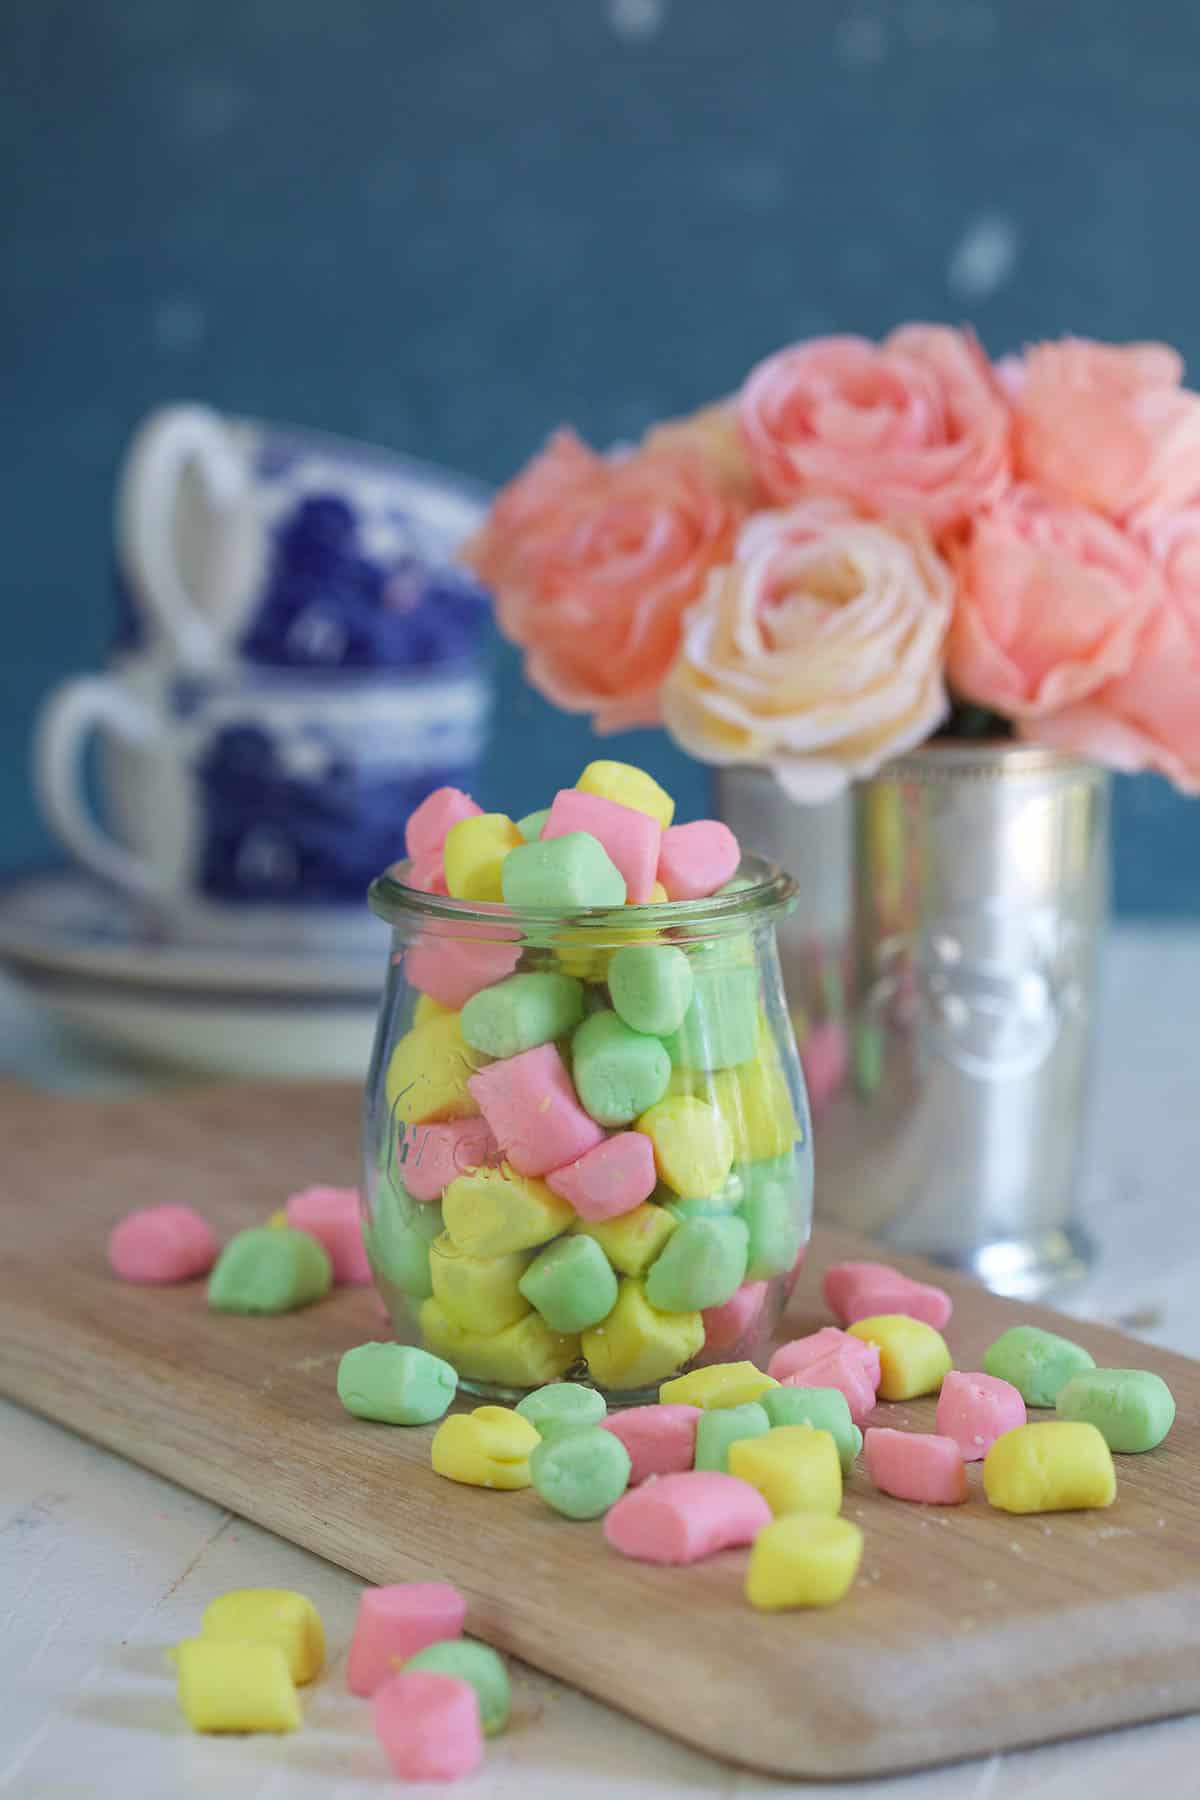
- Arrange the mints in a single layer and let them dry at room temperature until set on the outside.
- Store and enjoy once fully dried.
Kellie’s Tips for the Best Butter Mints
- Watch the dough texture. The dough should feel soft, smooth, and easy to roll. If it sticks to your hands or work surface, add powdered sugar a little at a time.
- Use peppermint extract carefully. A little goes a long way. You want a soft, sweet mint flavor, not a harsh or overpowering one.
- Roll evenly. Try to keep your ropes the same thickness so the pieces look polished and dry evenly.
- Let them dry fully. The outside should feel dry before you store them, but the centers should still stay tender and creamy.
- Use gloves for coloring. If you’re kneading in food coloring by hand, disposable gloves make the process much easier and less messy.
Butter Mint Variations
One of the best things about homemade butter mints is how easy they are to customize.
- Holiday Colors: Make them red, green, and white for Christmas, or pink, red, and white for Valentine’s Day.
- Pastel Party Mints: Use soft pastel shades for weddings, baby showers, Easter, or spring gatherings.
- Different Shapes: Keep them classic with the rope-and-cut method, or roll small balls, flatten them lightly, and add a gentle fork mark for a different look.
- Flavor Swaps: For a different twist, try orange, raspberry, or lemon extract instead of peppermint for a fruity variation.
Troubleshooting Butter Mints
- If the dough is too sticky: Add more powdered sugar, one small spoonful at a time, until the dough is easy to handle.
- If the dough is too dry or crumbly: Add a tiny splash of milk or half and half and mix again until it softens.
- If the mint flavor is too strong: Start with less peppermint extract next time and build up gradually. It’s easier to add more than to correct an overpowering batch.
- If the mints are not drying properly: Give them more time, especially if your kitchen is warm or humid. They should feel dry on the outside before storing.
How to Store Butter Mints
Once the butter mints are dry, transfer them to an airtight container. They keep well in the refrigerator and are great for making ahead for parties, holidays, or hostess gifts.
If you’re stacking them, place a layer of parchment or wax paper between the layers to help keep them neat. Be sure they’ve dried fully before storing so they hold their shape and don’t stick together.
Can I freeze butter mints?
Yes, butter mints freeze very well. Once they’re fully dry, place them in an airtight container and freeze for up to 2 months. When you’re ready to serve them, let them come to room temperature before enjoying.
More Old-Fashioned Candy Recipes
If you love classic homemade candy recipes, here are a few more favorites to try next.
- Homemade Peanut Butter Eggs
- Easy Praline Pecans
- Vanilla Sugared Cranberries
- Pink Champagne Gummy Bears
For more easy candy recipes, follow us on Instagram and Facebook!
Easy Butter Mints Recipe
Equipment
- hand mixer
- mixing bowls
- measuring cup
- measuring spoon
- chef's knife
Ingredients
- 1/2 cup salted butter, softened
- 16 ounces confectioners sugar
- 1 tablespoon half and half or milk
- 1/2 teaspoon vanilla extract
- 1/2 teaspoon Peppermint Extract
- Assorted food coloring
Instructions
- In the bowl of a stand mixer, beat the butter on medium speed until smooth and creamy.
- Turn the mixer to low and gradually add the sugar, beating until well combined.
- Mix in the milk, vanilla, and peppermint extract.
- Turn the mixer to high and beat until a dough begins to pull away from the sides of the bowl and feels smooth and pliable.
- Remove the mixture from the bowl and divide into even pieces if you’re coloring the mints different shades.
- Add a few drops of food coloring to each portion and knead until the color is evenly distributed.
- Break off about 1/4 cup of dough and roll it into a long rope about 1/2 inch in diameter.
- Cut the rope into pieces about 1/2 inch long.
- Repeat with the remaining dough.
- Arrange the mints on a baking sheet in a single layer and allow them to dry for 6–12 hours, or until dry on the outside.
- Transfer to an airtight container and store in the refrigerator.
Notes
- If the dough feels too sticky to roll, add a little more powdered sugar until it becomes smooth and easy to handle.
- If the dough feels too dry, add a very small splash of milk or half and half until it softens.
- Peppermint extract works best for a soft, balanced mint flavor. Peppermint oil can be too strong in this recipe.
- Drying time can vary depending on humidity, so let the mints sit until they feel dry on the outside before storing.
Nutrition
Nutrition information is automatically calculated, so should only be used as an approximation.
Peppermint extract is the better choice for this recipe. It gives the mints a soft, sweet mint flavor that stays balanced and pleasant. Peppermint oil is much more concentrated, so it can quickly make the mints taste too strong. For classic butter mints, extract is the safer and more traditional option.
The classic way to shape butter mints is to roll the dough into ropes and cut it into small pieces, but that’s not your only option. You can also roll the dough into small balls, flatten them slightly, and press them gently with a fork for a more decorative look. For holidays or parties, you can even try tiny shaped cutters, just keeping the pieces small enough that they still dry properly.