This post may contain affiliate links. Please read our disclosure policy.
All great sourdough bread recipes begin with a sourdough starter and this easy starter is no nonsense! Making your own sourdough starter recipe is so simple and it’s almost impossible to ruin. Keep it in the fridge to use in so many classic sourdough recipes.
This sourdough starter recipe uses just flour and water and feeds daily for 7 days until it doubles in under 4 hours. I’ve kept an active starter in my fridge for years and this beginner method is the one I share with sourdough fans.
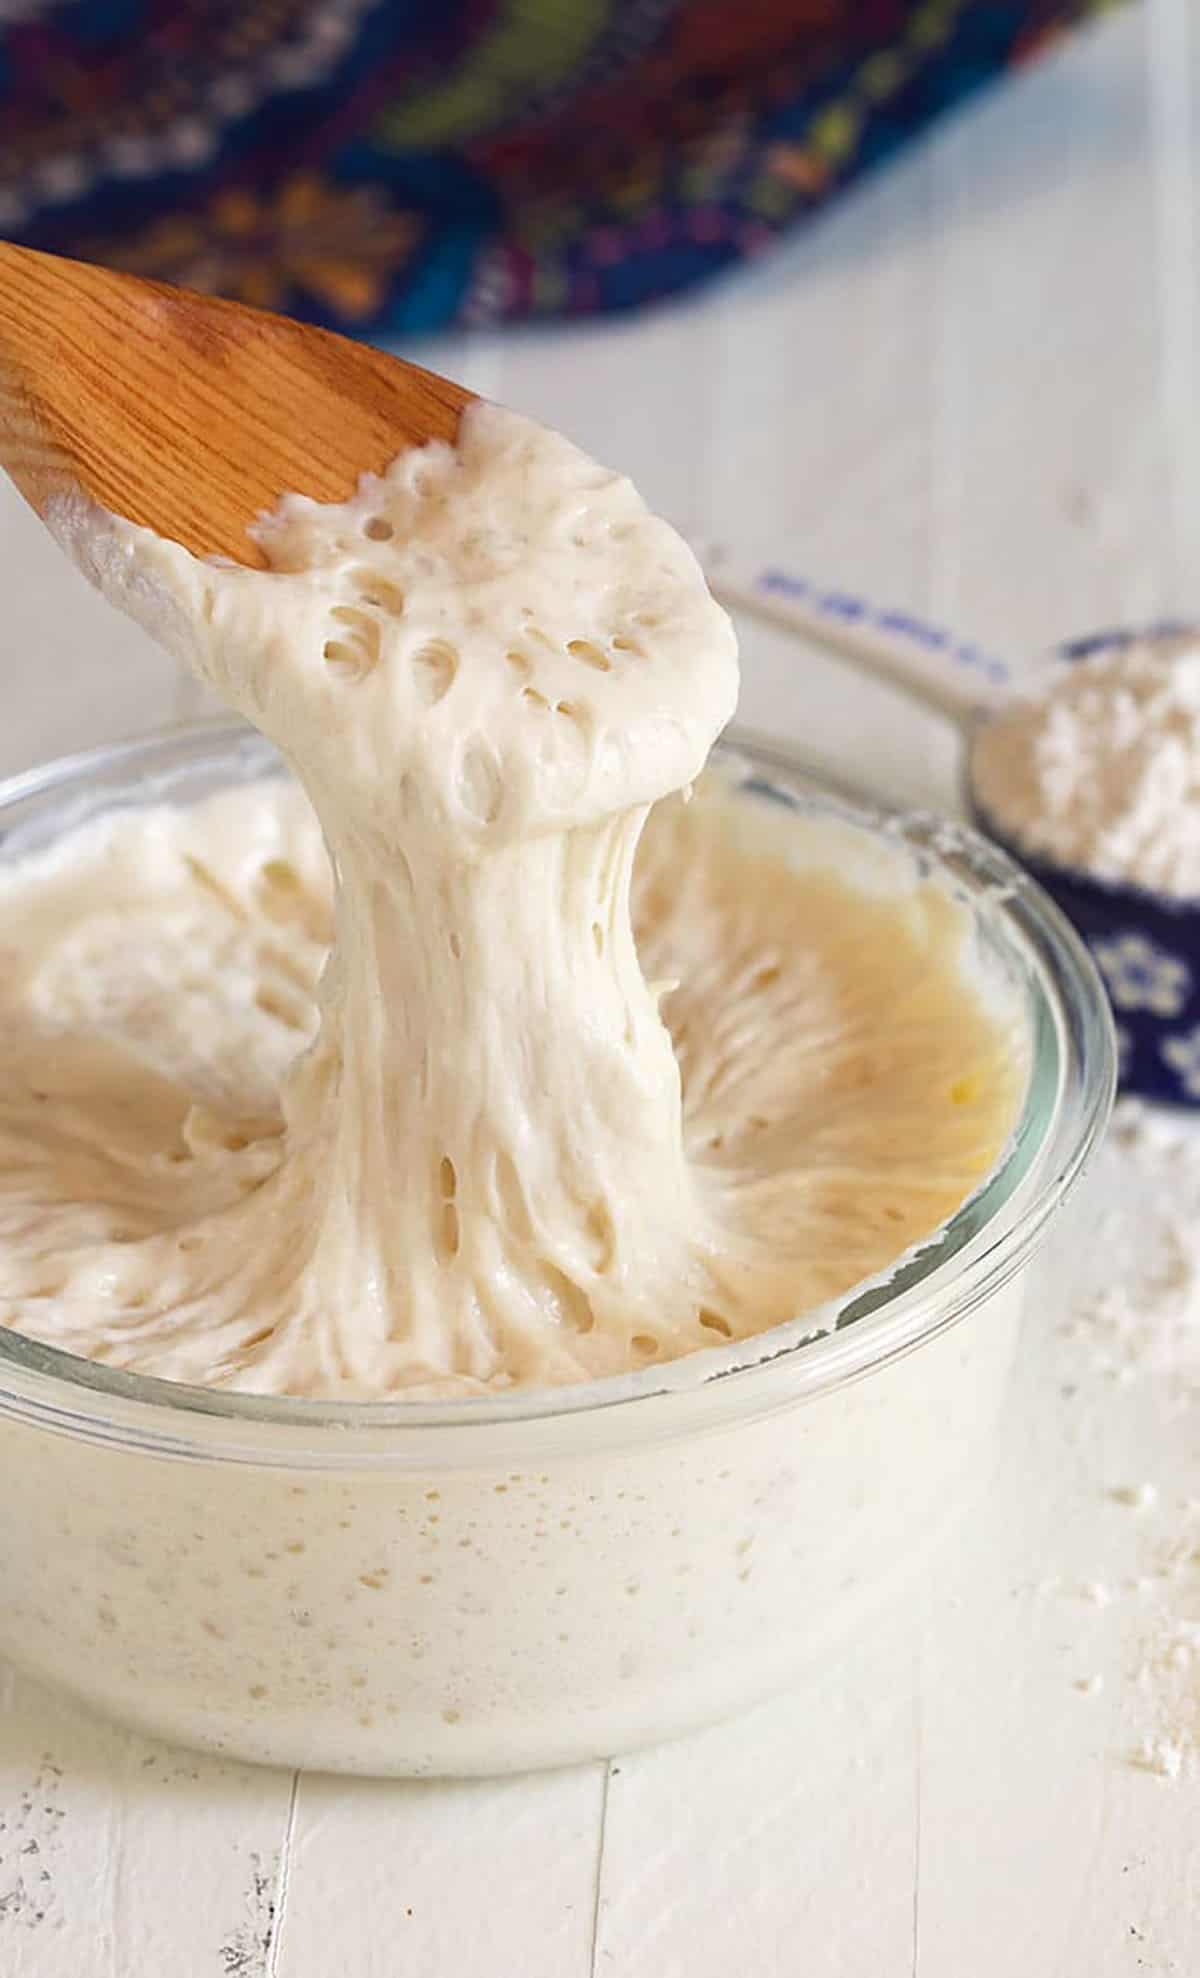
Table of Contents
Everyone’s baking bread right now. I guess the things that seem to take a ton of time and patience are finding their way into homes to keep us busy. My secret is, I’ve always loved baking bread and keep a Sourdough Starter in the fridge for bread emergencies.
My family doesn’t know that this starter is what I throw into things that need a bit of tang and a quick rise when I’m out of yeast. So, a commercial yeast shortage is never a problem because you’re, basically, making yeast at home when you make your own sourdough starter. And it couldn’t be easier to make.
Making sourdough starter from scratch isn’t fussy or complicated. It all begins with flour and water and a little bit of time. That’s it. Easy Peasy! Now let’s get started on your sourdough journey.
Sourdough Starter Ingredients
- Flour – The type of flour you use will affect the flavor. Unbleached All-purpose flour will have a more mild sour flavor and whole-grain flour will impart a more sour flavor. Rye Flour is also a popular choice for maximum sourdough flavor. We like to use a mixture of flour for our starter recipe. Bleached flour can work but is not recommended because the bleaching process can harm the wild yeasts and bacteria needed for the fermentation process.
- Water – Filtered water is recommended because water can contain chlorine which can kill the starter. Spring water, bottled water or filtered tap water are all great choices. Some people use pineapple juice to get the starter going faster since it lowers the pH level of the starter.
For the full measurements and instructions, see the recipe card below.
How To Make Sourdough Starter
Although I touched on this a little bit in the last paragraph, making sourdough starter from scratch is super simple to do. The type of flour you use is going to help get things moving more quickly or slowly depending on what you choose.
Wheat flours tend to move things along at a faster pace but since specialty flours are not readily available to everyone, I’ve tested this starter recipe with just about every flour you can imagine.
This Sourdough starter recipe begins with a combination of 1/4 cup all purpose flour and 1/4 cup whole wheat flour.
- Whisk the flour together in a bowl until thoroughly combined.
- In a clean jar or bowl, add 1/4 cup lukewarm water to the flour and stir until no flour is left. The dough will look thick and paste-like. Don’t worry, this is normal and it will literally transform in just one day or less.
- Cover your jar or bowl and allow to sit in a warm location, ideally over 70˚F is best, covered with a towel or plastic wrap for 24 hours. (Sometimes, I’ll keep my sourdough starter on top of my dryer while it runs to help speed things along.)
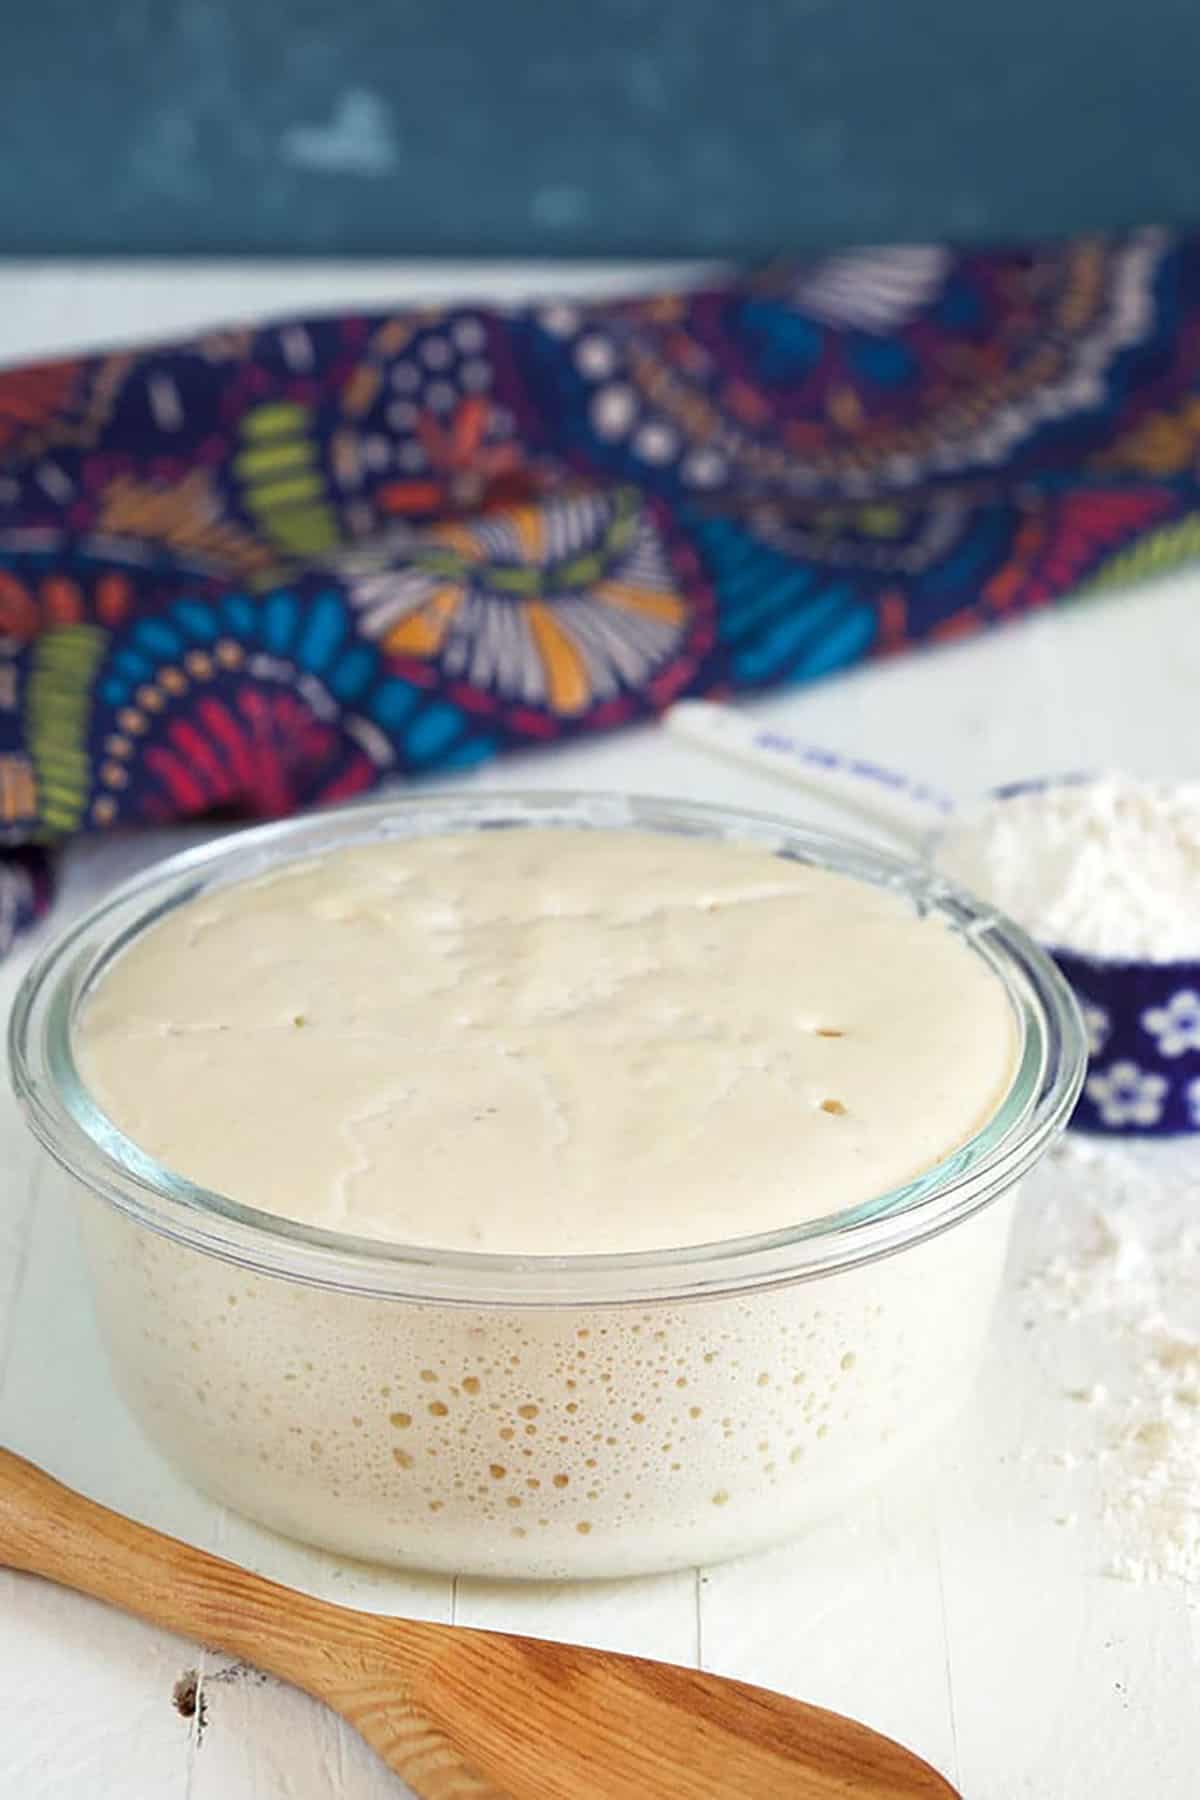
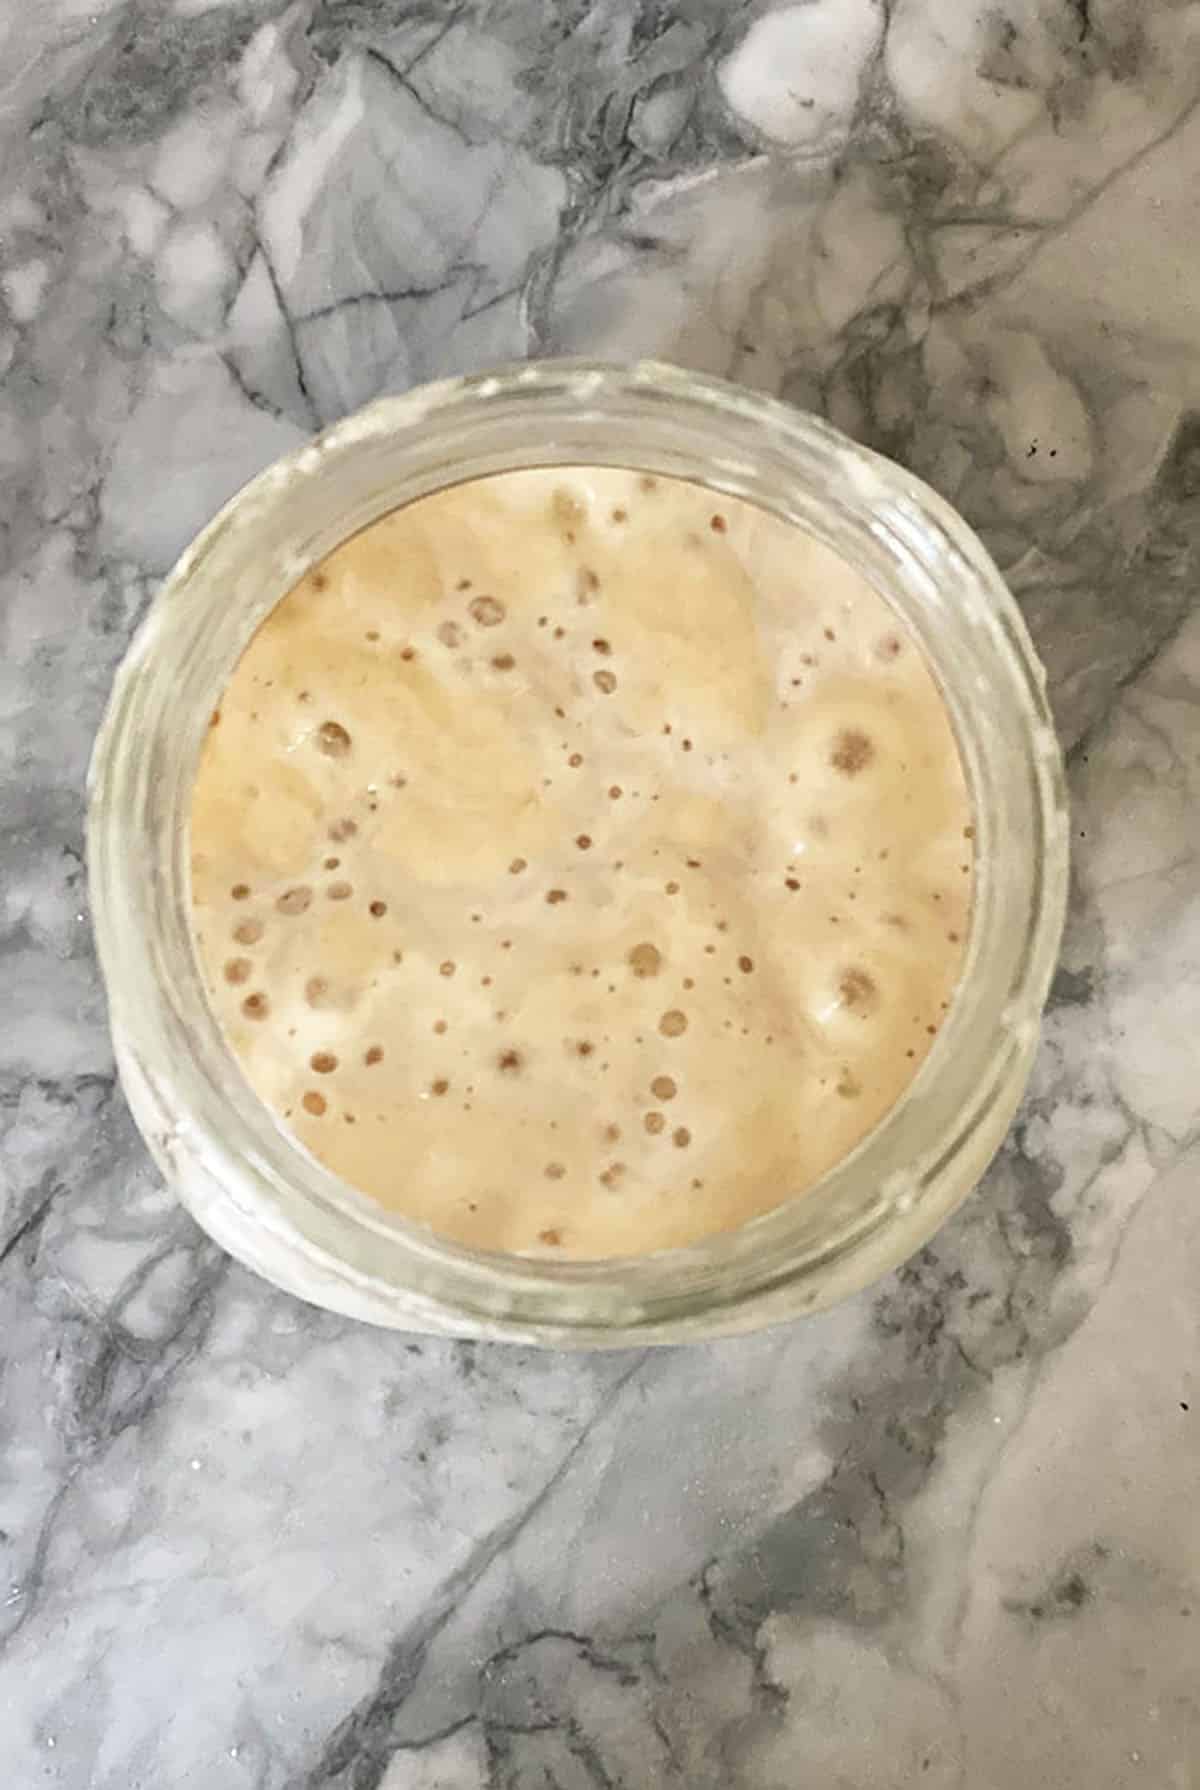
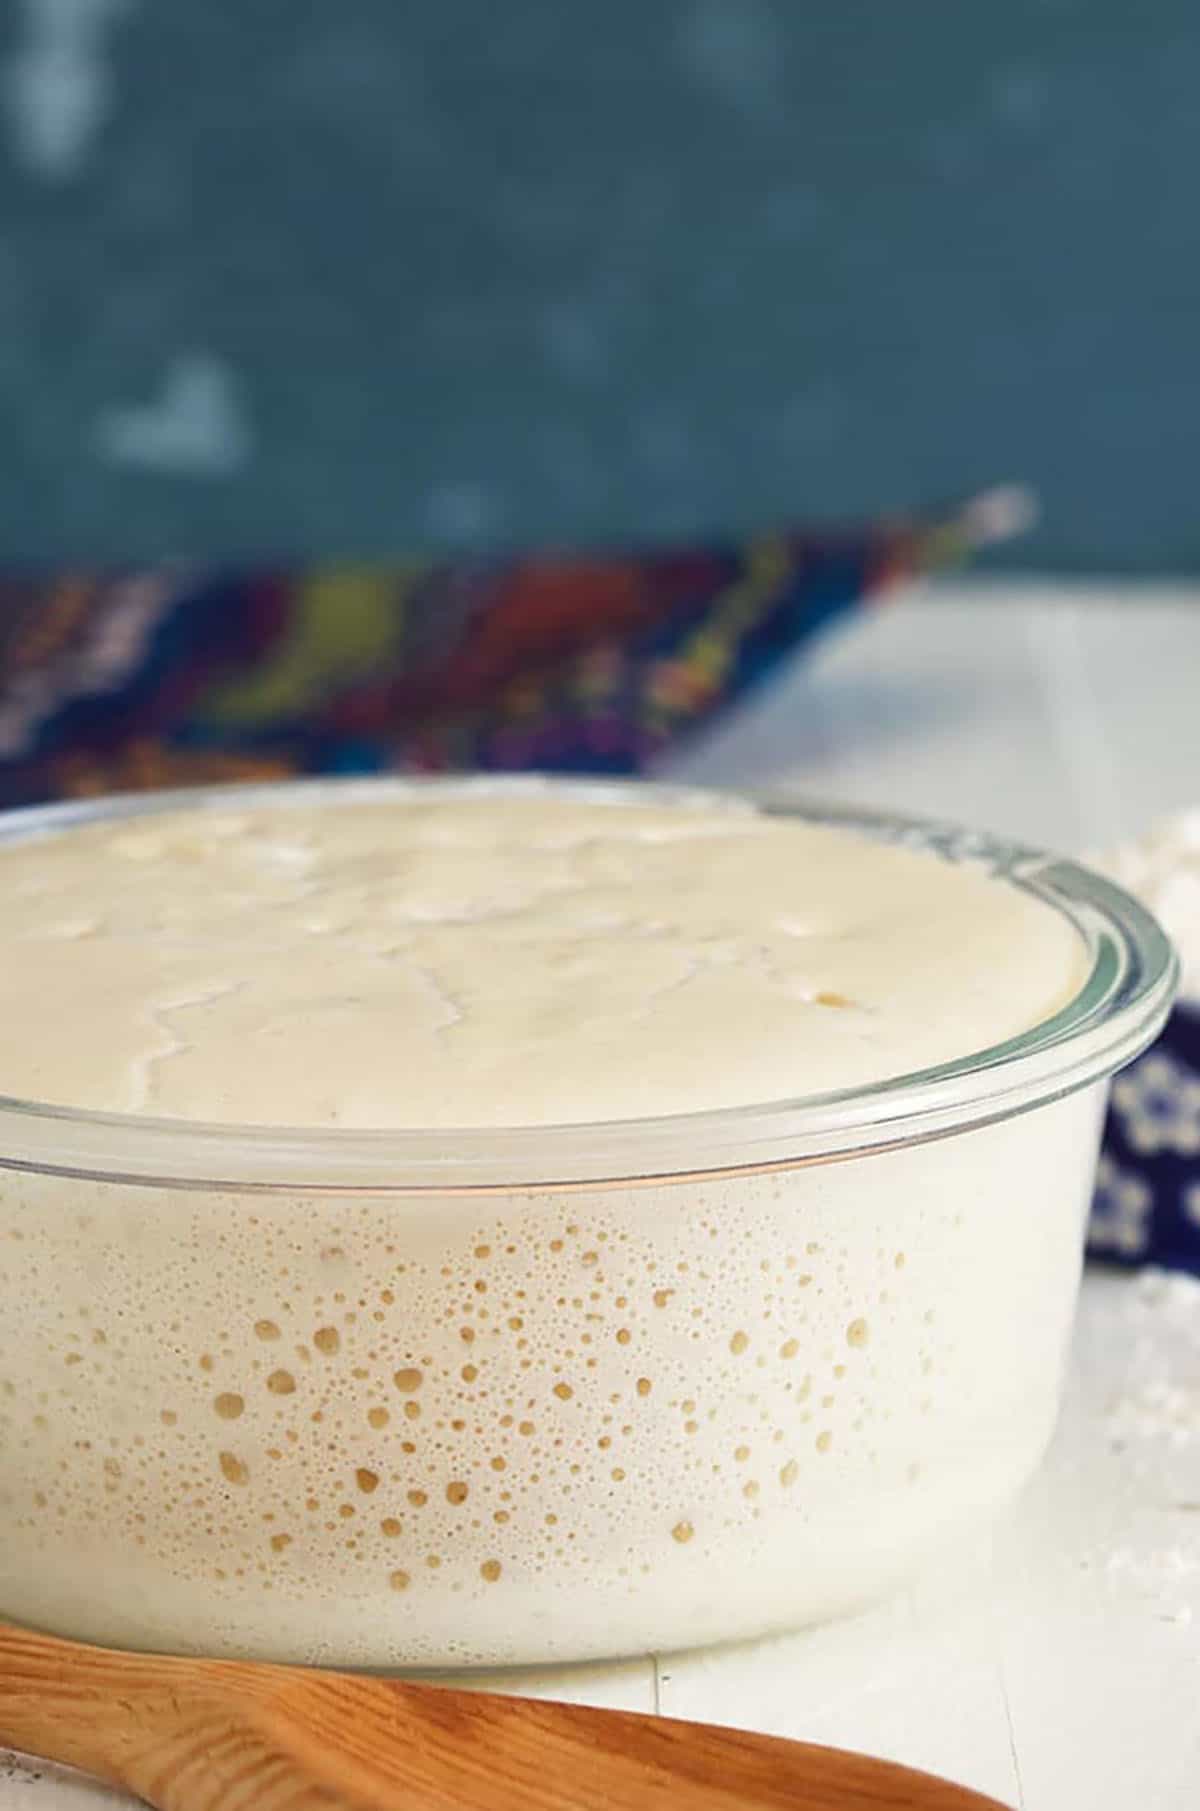
- The next day, check to see if your starter has lots of bubbles and has doubled in volume. If it looks the same, cover and allow to sit for another day.
- Once your starter doubles in volume and has a lot of bubbles forming, the fermentation process has begun and it’s time to feed.
At a Glance: 7-Day Plan
- Ready check: When a post-feeding rise doubles in under 4 hours, smells pleasantly tangy, and looks bubbly/airy, it’s bake-ready.
- Daily rhythm (Days 1–7): Discard half of the starter, then feed ½ cup flour and ¼ cup water (about 60 g flour and 60 g water, if weighing).
- Temperature: Keep in a warm spot around 70°F (21°C).
What is Sourdough Starter?
Before you could buy a commercial active dry yeast in a jar or packet at the store, there was wild yeast. Wild yeast can be found just about anywhere like in your flour or in the air. But it must be cultivated into a form that’s suitable for baking and to do that, you create a sourdough starter.
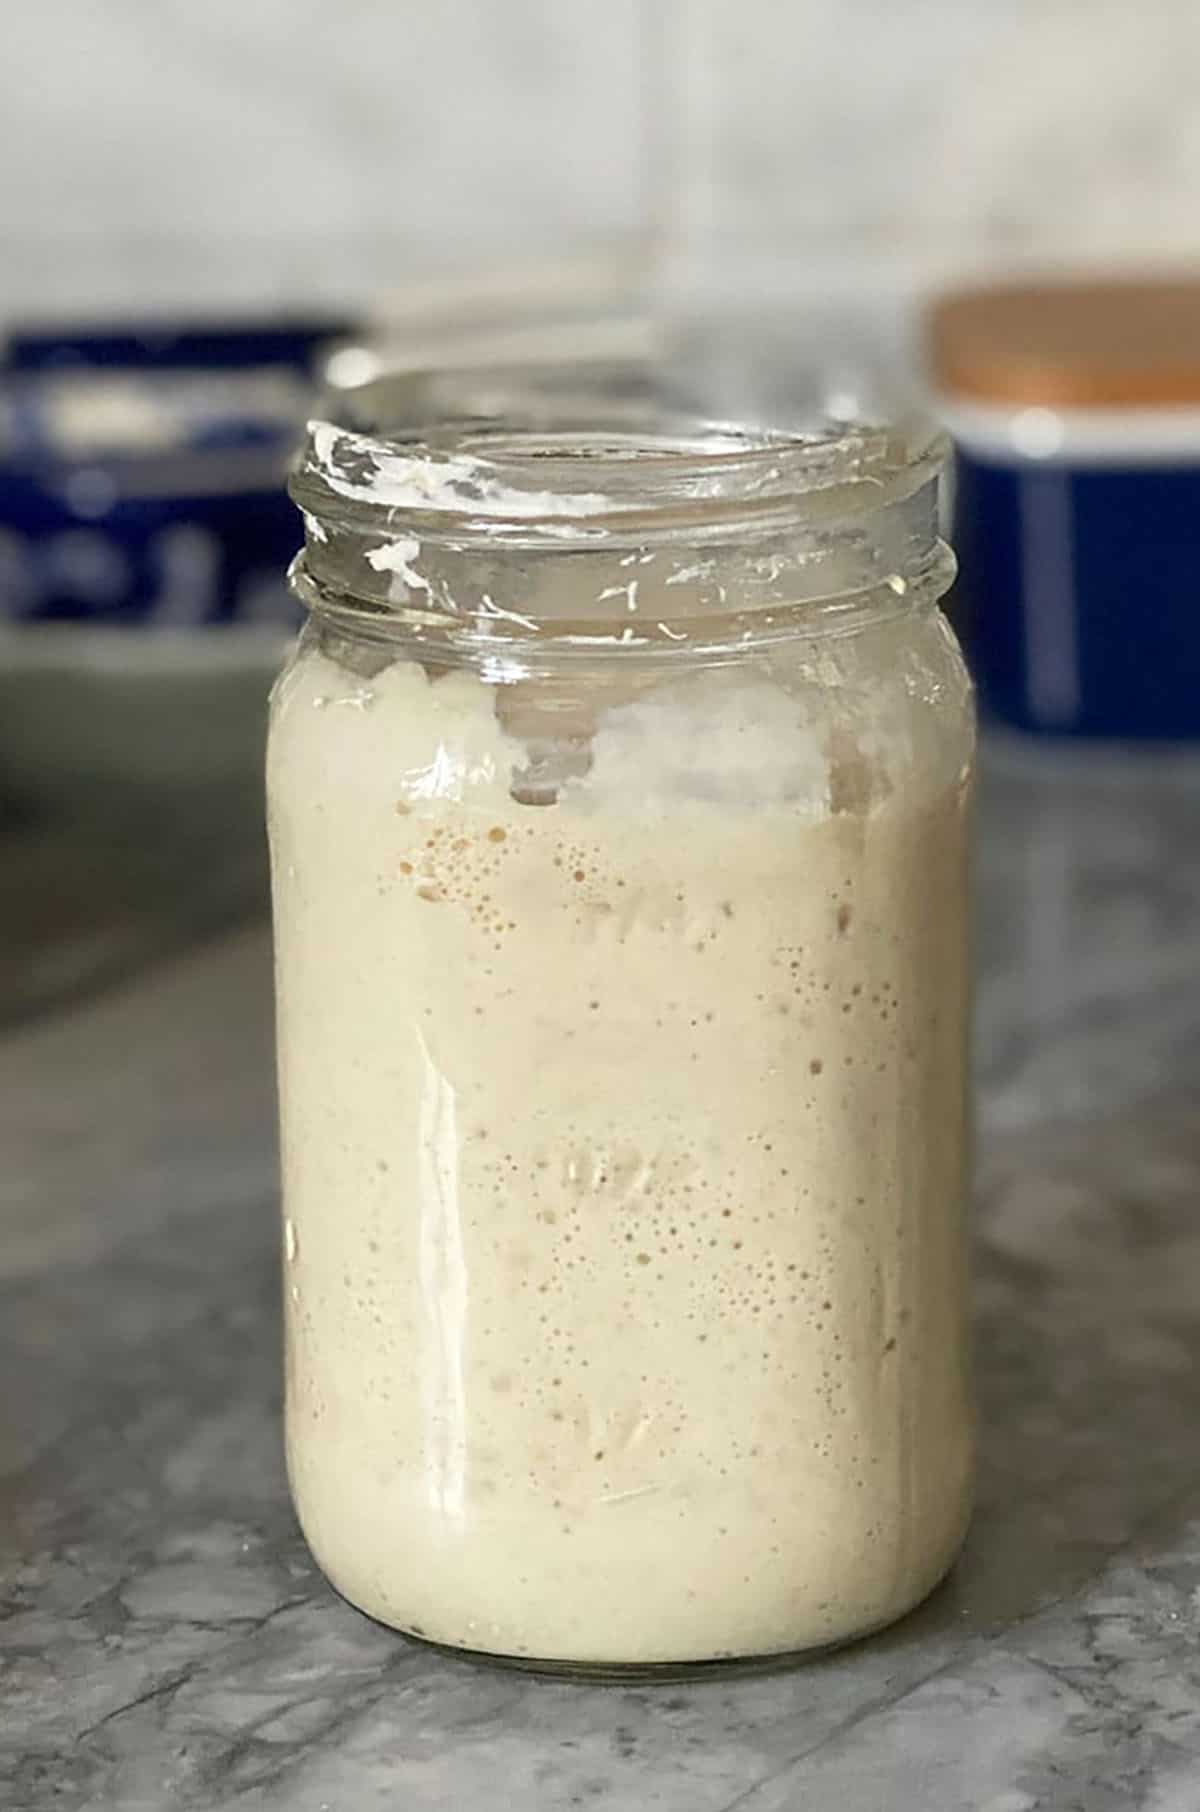
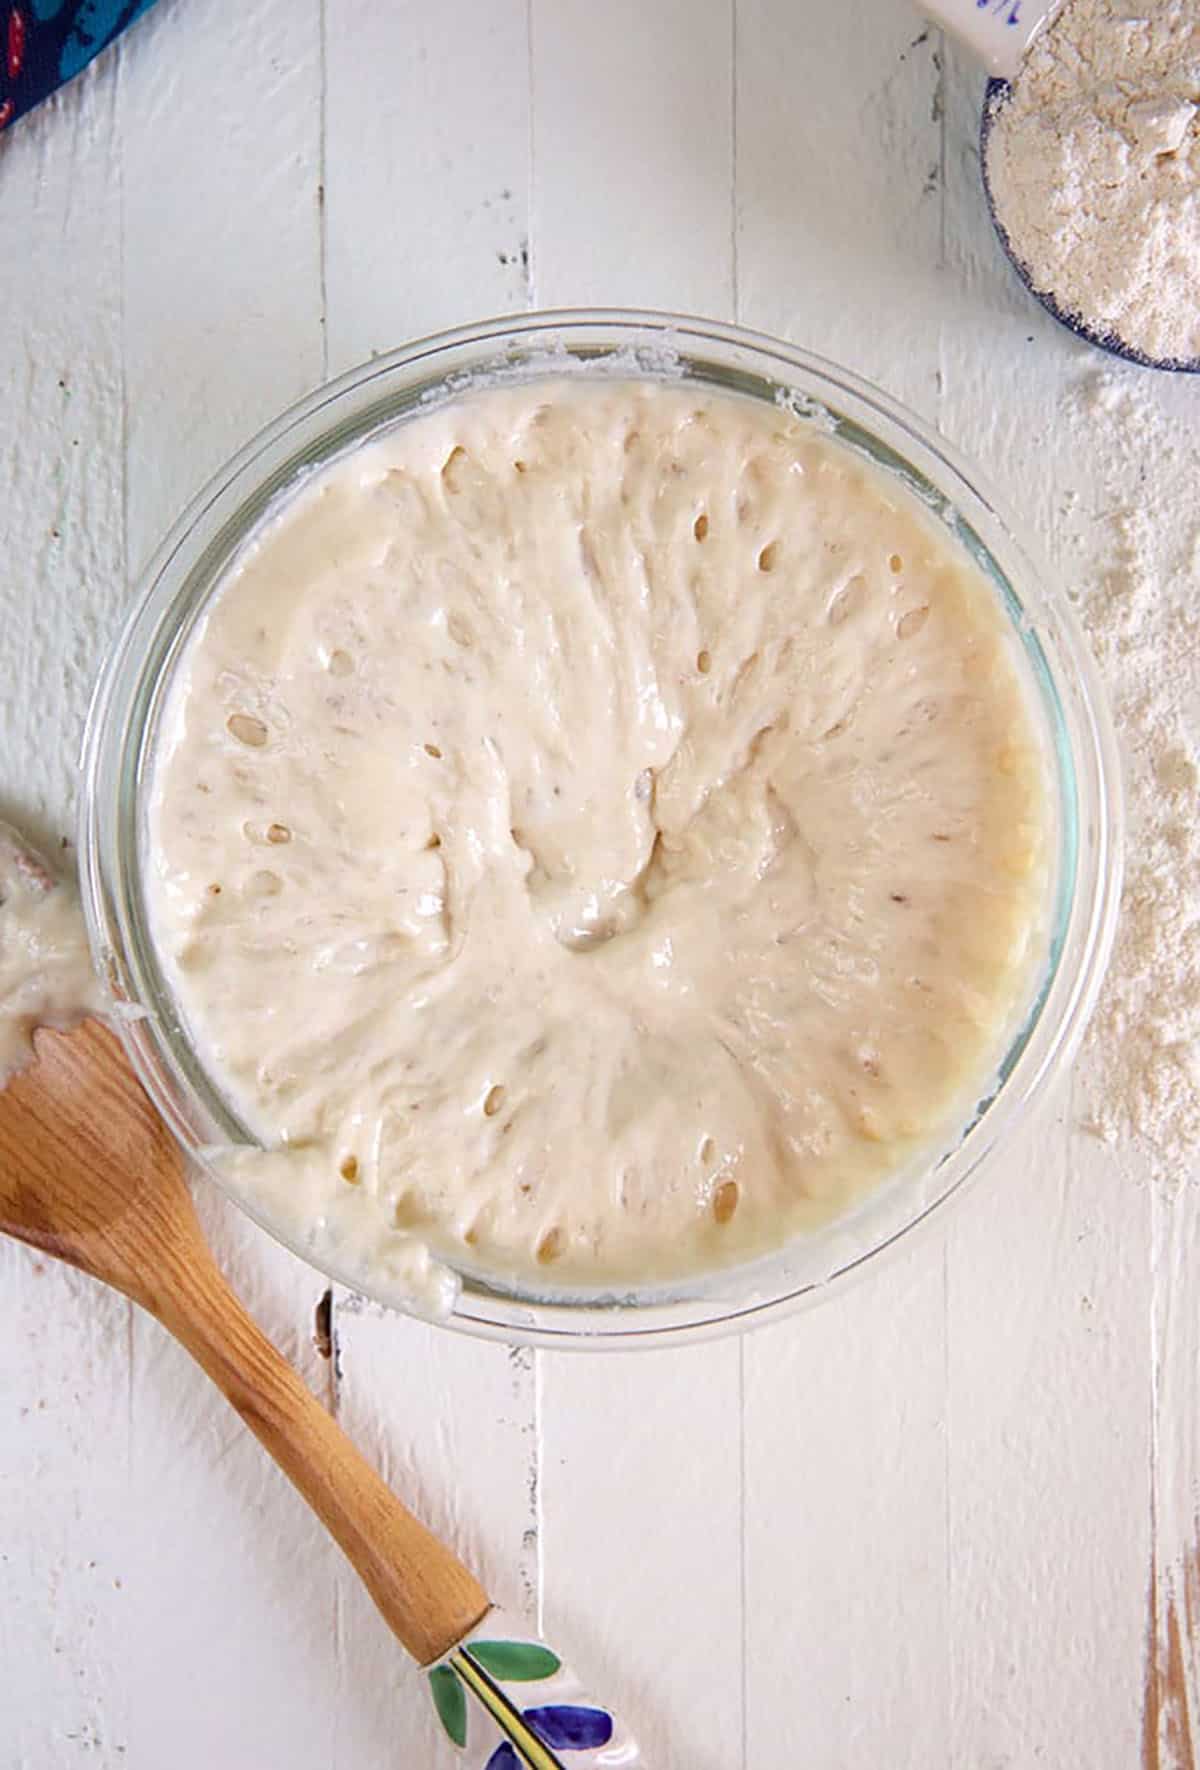
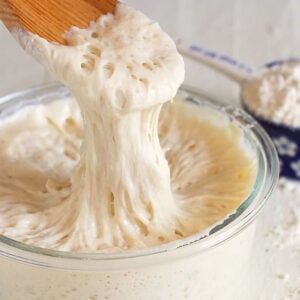
A sourdough starter is simply a combination of equal parts water and flour that’s been allowed to hang out for a few days on your kitchen counter or other warm place. After a day or so, bubbles will begin to form in the starter and that’s when you know the yeast is becoming active.
To keep things moving along, you feed your starter water and fresh flour for the next several days until the mixture becomes light, bubbly and puffy. Once it reaches that stage, it is now an active sourdough starter and it’s ready to be used in your favorite sourdough recipe.
Wild yeast is finicky when it comes to storage, it likes to be kept at cooler temperatures and in an acidic environment. It’s also is much more leisurely when it comes to rise….in that it takes much longer to proof breads.
How To Feed Your Starter
Now that the starter has created some movement and developed those happy bubbles, you have to keep it happy by feeding it.
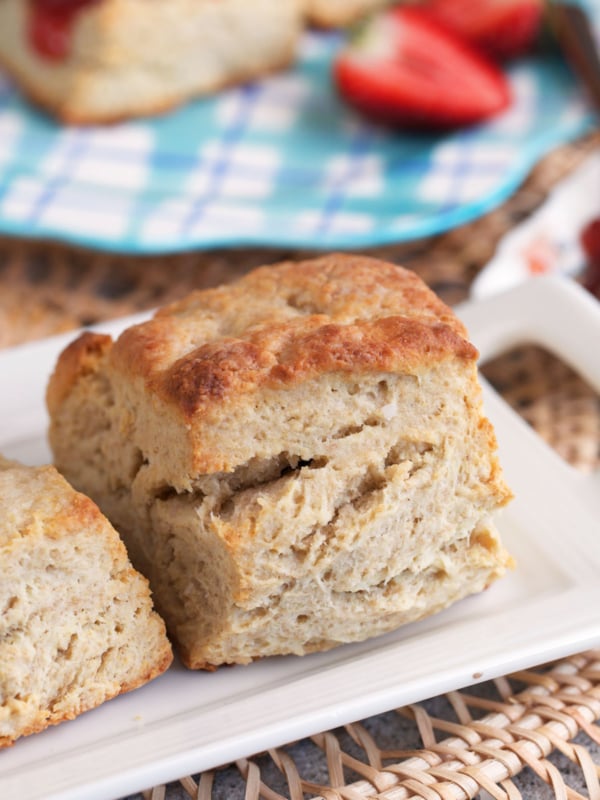
- To feed your starter, you will first remove 1/2 of the starter and discard it. Now, when I say discard it, I actually put it in another container and use it for other recipes like pancakes or waffles or muffins, crackers and biscuits. We, also, LOVE these sourdough pretzels…they’re crunchy and addicting.
- So, you’re not actually throwing it away but you do need to discard half the starter in order to move forward with feeding your starter.
- Once you’re removed half the starter, you can now feed it the remaining starter by adding 1/2 cup flour (at this point, I use all-purpose flour only) and 1/4 cup water. Stir the mixture to combine thoroughly and cover with a towel.
- Allow the starter to rest another 24 hours.
- Repeat this process of feeding your starter each day for 3-5 more days until the starter is super bubbly and billowy and light. At this point, it’s ready to use for your first loaf of bread!
Small-Starter and Levain Scale-Up
Prefer less waste? Keep a tiny “mother” and build what you need only on bake day.
- Keep a small mother: Maintain 20–60 g starter in a small jar. Feed 1:1:1 (starter:water:flour by weight) once or twice daily at room temp, or keep in the fridge and feed weekly.
- Build a levain for baking: 8–12 hours before mixing dough (timing varies with temperature), mix for example:
10 grams starter + 40 grams water + 40 grams flour (scale as needed). - Use at peak: Levain is ready when doubled, domed, and bubbly; it should leave streaks on the jar and smell mildly sweet–tangy.
- Replenish the mother: After pulling starter for levain, feed the mother back to 20–60 g.
Why this path? It minimizes flour use between bakes and keeps your main culture small and consistent.
No-Discard Micro-Feed Method
A low-waste way to get started with tiny daily additions. This is an optional step if you don’t want a lot of discard to tend to.
Days 1–4 (store on the counter):
- Day 1: Mix 25 grams flour and 25 grams warm water (95°F/35°C).
- Days 2–4: Each day, stir in 25 grams flour with 25 grams water (no discard yet). Keep warm (around 70°F/21°C). Look for bubbles and a light, tangy scent.
Day 5+:
- When activity picks up, begin the standard feeding method: discard half, then feed 1:1 by weight (or ½ cup flour and ¼ cup water).
- Aim for feeds that let the culture peak and fall predictably; adjust to 1-2×/day based on temperature.
Pros: Minimal waste, easy startup.
Cons: Can run thicker and riper; once active, switch to regular discard and feeds for best strength and predictability.
This post may contain affiliate links which won’t change your price but will share some commission.
Which is the Best Flour To Use
You can use any flour for your sourdough starter that is made from a grain. So, rice flour, wheat flour, rye flour, spelt flour, barley flour, sprouted flour and bread flour will all work well. You can make gluten free starter by using a gluten free flour like rice flour.
I haven’t tested it with all of the listed flours like rice flour so you may need to do a bit of research before going down that path. Unbleached flour is highly recommended.
For best results, I like to start with 25–50% whole wheat or rye flour on Day 1–2, then switch to unbleached all-purpose flour.
Kellie’s Tips on How to Store Sourdough Starter
- You can safely store your starter in the refrigerator in a container.
- Pick a feeding day and stick to it. I like to use a jar with a rubber band around it to measure the growth as it doubles.
- Remove the starter from the refrigerator and allow it to sit at room temperature for a few hours before feeding it. Feed it 1/2 cup flour and 1/4 cup water. Allow to sit overnight until bubbly then return to the refrigerator.
- You can leave your starter in the refrigerator for longer periods of time but you will need to allow it to rest at room temperature for a few days to revive it. Feed as normal and you should be back in business.
- You can successfully freeze sourdough starter by adding twice the flour at a regular feeding and then wrapping tightly in plastic wrap. Freeze for up to 3 months. Allow to thaw at room temperature and rest in a container for several days to wake it up. Then, feed as directed.
This easy sourdough starter recipe can be used in so many recipes and I love the easiest ever sourdough bread recipe. If you don’t want to wait for your starter to grow and you have traditional yeast on hand, you may want to try this easy Brioche Bread recipe or our favorite White Bread. Both have been on repeat for the past several weeks.
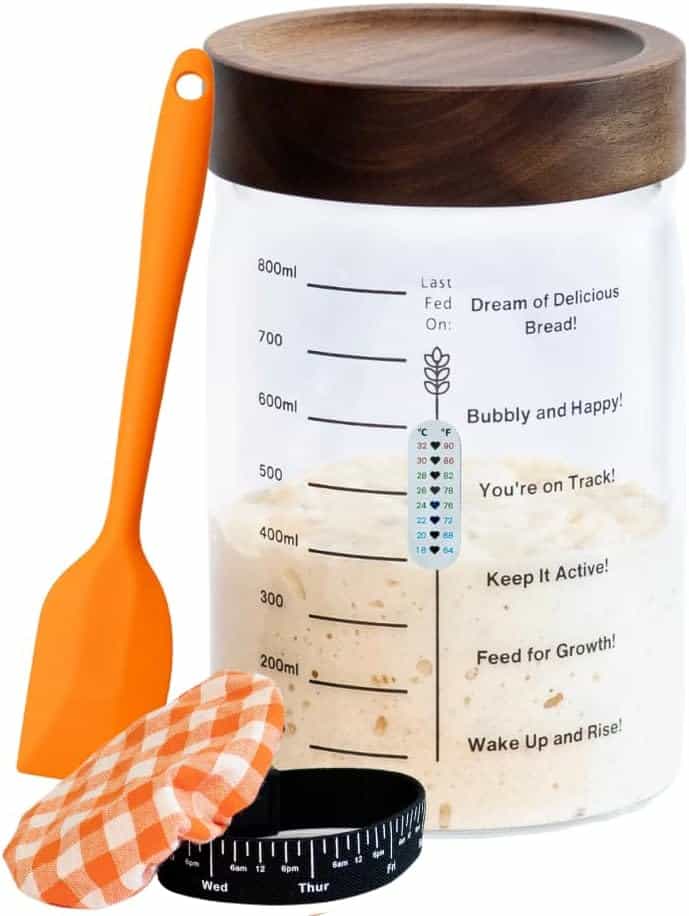
This Sourdough Starter Kit has everything you need to make and maintain your starter recipe. I love the rubber band that’s included to help keep track of your starter’s growth.

Troubleshooting Quick Hits
- Very slow progress? Switch to 50% whole-rye (with 50% AP Flour) for 1-2 feeds to boost fermentation, then return to your usual flour.
- Not rising? Move to a warmer spot (approx. temperature 70°F/21°C) and feed 2 times daily until activity improves.
- Vinegary smell? It’s over-hungry, stabilize with regular feeds at consistent times.
- Grey hooch on top? Harmless alcohol that’s accumulated on your starter, stir it in (or pour off) and feed as usual.
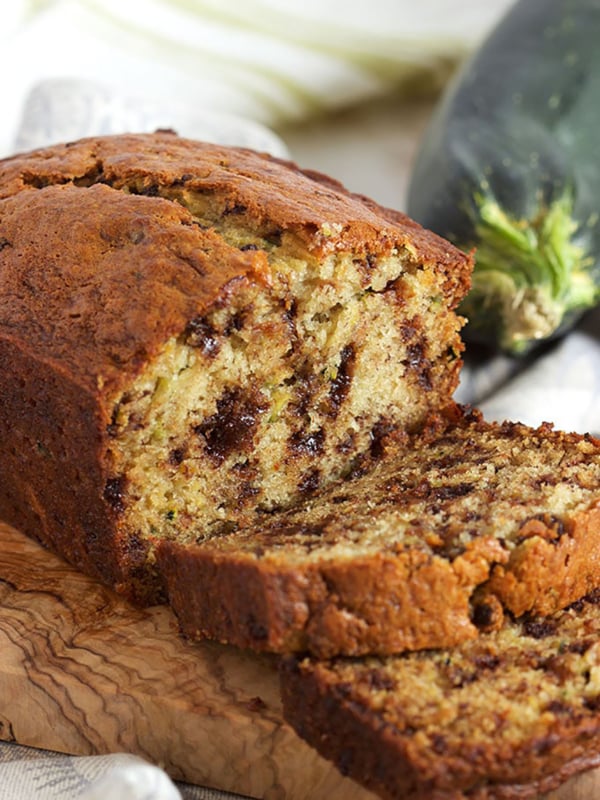
Sourdough Discard Recipes
While you feed your starter, you’ll have a bit of discard to tend with. You can toss it or you can save it in a container in the refrigerator to use in recipes. However, don’t use discard from a new starter. Be sure your sourdough starter is at least 7 days old before reserving the discard for other recipes.
You could also use this starter as a substitute for yeast in these easy Brioche Buns to give them a tangy flavor that’s so not common in a buttery brioche.
DON’T MISS A RECIPE! Be sure to follow us over on Instagram (where I shared the behind the scenes how-to on making this easy starter recipe) and on Facebook!
Sourdough Starter Recipe
Equipment
- 1 clean jar
Ingredients
- 1/4 cup Whole Wheat Flour, or other whole grain flour
- 5 lb All Purpose Flour
- 1/4 cup water, room temperature
Instructions
Day 1
- In a wide mouth 4 cup jar or bowl, whisk together 1/4 cup wheat flour with 1/4 cup All Purpose flour until thoroughly combined.
- Using a fork, stir in the water until no dry flour is remaining. The mixture will resemble a thick dough or paste that's a little on the dry side.
- Cover loosely with the lid or plastic wrap and leave in a warm spot in the kitchen (ideally over 70˚F) for 24-48 hours.
Day 2
- Check your starter for activity, sometimes you'll see tiny bubbles and maybe a little activity. Sometimes you won't. If you see nothing, give it a stir…cover loosely and allow it to sit for another 24 hours.
Day 3
- By this time, you should see lots of bubbles and expansion of your starter. To gauge how much your starter is growing in volume, you can place a rubber band around the jar at the top of your starter to see if it doubles in size. I prefer to just eyeball it. Discard half your starter (saving the discard in a separate container for later.)
- Add 1/2 cup all-purpose flour and 1/4 cup lukewarm water to the remaining starter. Stir to combine until no dry flour is visible. Cover loosely and allow to rest at room temperature in a warm location for 24 hours.
Day 4-7
- At this point, you should see your starter doubling in volume with lots of bubbles each day. Continue feeding your starter each day by discarding half the starter then feeding with 1/2 cup flour and 1/4 cup water.
- Cover loosely and allow to rest at room temperature in a warm location for 24 hours. By day 7, your starter should be ready to use in your favorite recipe.
- To test if your starter is ready to use, feed the starter and time how long it takes to double in size. When your starter doubles in less than 4 hours, it's ready. Alternatively, you can do the float test. Simply fill a glass with water and place a bit of starter in the water. If it floats, it's ready to use. (I'm not a fan of the float test….just saying.)
Notes
Nutrition
Nutrition information is automatically calculated, so should only be used as an approximation.


I have used this recipe at least 4 times & it has never failed me. I will only give up on sourdough for a bit is the only reason I’ve used it that many times. I’m currently on day 2 & it has doubled in size.. am I able to use for bread since it has already doubled?
Hi Kass, it’s best to wait at least 7 days before using it for baking bread. The fermentation process is just getting started at this point.
On day 5 of the sour dough starter, it was very thin and watery? What could have happened?
Hmmmm, sometimes I can get it to perk back up by feeding it again but often times it could have died. There could be many factors at play, once I covered mine with a piece of cloth and it did not like that. No reason at all, just took itself out. Try feeding it again and make sure it is warm but not in direct sunlight.
does the bowl or jar need to be glass?
Glass does work best for sourdough.
My sourdough starter on day 3 doubled in size with bubbles. By the next morning it was again deflated, I feed again but it’s not bubbling and kinda of watery. What am I doing wrong? Let it sit an extra day or continue to feed anyway?
Hi Kristi,
Definitely let it sit an extra day and then feed. Mine just died this week and I’m not sure if it was the flour or not. Sometimes, starter is like a plant that has lost its will to live. I’m so sorry.
Hi!!
Quick question please!
Day four- my sourdough starter is rising beautifully, but hardly any bubbles what am I doing wrong?
Hi Andreea! You may need to make sure it’s in a warmer spot. Sometimes, if mine rises but no bubbles, I’ll do a feed cycle anyway.
I understand that on day 3 I should remove half of the starter as discard. How much is half? Will it be easy to eyeball when I have removed enough? What happens if I remove too much or too little discard? Sorry, I need very black-and-white directions when it comes to baking.
Yes, you can totally eyeball it. Some people weigh it but I don’t have the patience for that and it works out just fine for me. This starter isn’t really a perfectionist because you’re basically just fermenting, you’re not baking quite yet.
hello. can I keep the discarded starter in a new jar and feed them too? I think it would make great gifts
You can! Just don’t refrigerate the new starters until you’re ready for them to rest.
So, you discard every time before you feed??
I do discard every time I feed. But I don’t keep all the discard because it will overtake my kitchen. 🙂