Strawberry Jam Filled Thumbprint Cookies
These easy to make Strawberry Jam Filled Thumbprint Cookies are light, buttery, and have the sweetest strawberry center! Perfect for the sunny season, these simple strawberry-filled cookies are loved by friends and family of all ages.

Strawberry Jam Filled Thumbprint Cookies
Canning season leaves me with jars filled to the brim with spring and summer’s bounty like my favorite strawberry jam. And what better way to use it up than in a soft, sweet cookie!
Strawberry jam sits in the center of a buttery cookie that’s slightly crisp on the outside and soft on the inside. They’re perfect for packing in your lunchbox!
Even if you have no picnics planned in your immediate future, these cookies should still be a part of your baking routine. I love a good homemade cookie (who doesn’t?!), and these are some of the best. They’re wonderfully quick and easy to make in just under 30 minutes and always yield the most scrumptious results. If you love strawberries, you’ll love these easy treats.
You can absolutely use a store-bought jar of strawberry jam for these cookies to keep things even easier. However, now that I’ve made these cookies with my Homemade Strawberry Jam, I’ll never go back to store-bought again! I not only get to brag that the cookies are completely from scratch, but the flavor and consistency of the thumbprint centers is beyond delicious. You can really taste the freshness!

How to Make Them
Prepare your kitchen. Preheat your oven to 320°F / 160°C, line your baking tray with parchment paper and keep aside.
Mix the dry ingredients. In a large bowl, mix the dry ingredients – flour, baking powder, and salt and keep aside.
Cream the butter and sugar. In the bowl of your stand mixer (you can use a hand mixer for this) add in the butter and sugar and beat them at medium speed, scraping down the sides for at least 2-3 min or until it’s light and creamy.
Add more wet ingredients. Add in the egg, and almond extract, and beat until everything is incorporated well.
Form the dough. Add the flour mixture in batches and mix it well till the dough comes together.
Roll the dough. Take a portion of the dough and roll it into a 1-inch ball; repeat with the rest of the dough, keeping the size same for all. Place the dough balls on the prepared baking tray.
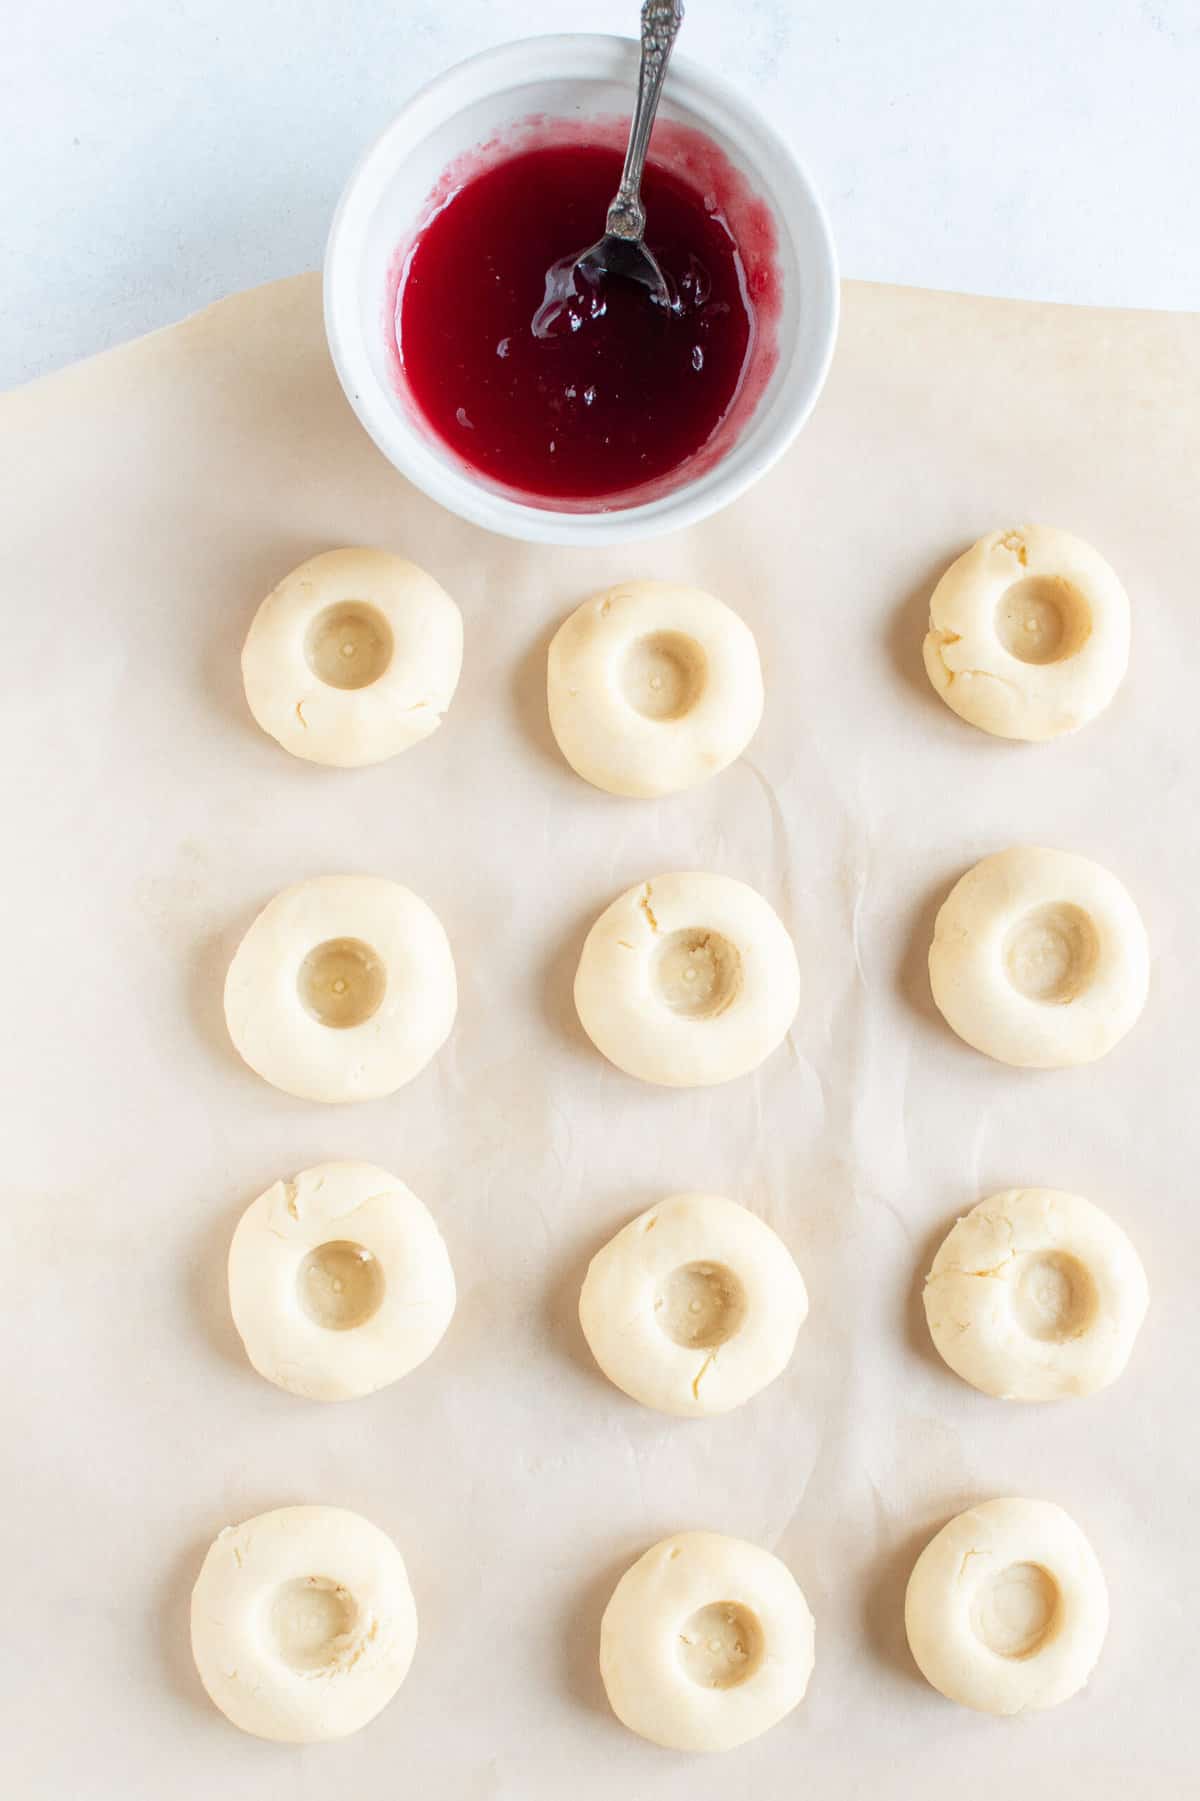
Imprint the cookies. Use the back of a wooden spoon or your thumb to make an indent in the center of the cookies.
Fill the cookies. Fill each cookie with strawberry jam. Slightly overfill as the jam will flatten a bit while baking.
Bake. Bake for 15-18 min or till the sides of the cookie turn slightly golden.

Storing Strawberry Thumbprint Cookies
In an airtight food storage container at room temperature, these thumbprint cookies will stay fresh for about 4-5 days. To keep them fresh for even longer, place them in an airtight container in the fridge, where they’ll last for up to 7-8 days.
These homemade cookies can also be frozen for around 3 months when stored properly. Keep them in a heavy-duty freezer container with wax paper between each layer of cookies. When you’re ready to enjoy them, allow them to thaw at room temperature for about 1-2 hours, then dig in!
Tips for the Best Strawberry Jam Filled Thumbprint Cookies
- Get a little creative with the jam! If strawberry isn’t your jam (get it?), then opt for any other fruity flavor you’d prefer. Blackberry Jam would be delicious as well!
- Just like the jam center, you can also play around with the flavor of the cookies themselves. I love the touch of almond these cookies have from the extract, but you can switch that out with pure vanilla extract if preferred.
- I suggest heating the jam a bit in the microwave for about 15-20 seconds, which helps in loosening up the jam a little bit and makes it easier to pour!

Make more of my favorite strawberry recipes!
- Strawberry Rhubarb Crisp
- Strawberry Pretzel Salad
- The Very Best Strawberry Shortcake
- Mini Strawberry Pretzel Salad Cheesecake
For more easy cookie recipes, follow us on Instagram and Facebook!

Get the Recipe: Strawberry Jam Filled Thumbprint Cookies
Ingredients
- 1 1/2 cups All-purpose flour, 190 grams
- 1/4 teaspoon Baking powder
- 1/8 teaspoon kosher salt
- 1/2 cup Butter at room temperature, 113 grams
- 1/2 cup Granulated sugar, 100 grams
- 1 large egg
- 1 teaspoon Almond Extract
- 1/2 cup Strawberry Jam
Equipment
- baking sheet
- hand mixer
Instructions
- Preheat your oven to 320˚ F / 160˚ C.
- Line a baking sheet with parchment paper and set aside.
- In a large bowl, whisk the dry ingredients, flour, baking powder, and salt.
- In a bowl of your stand mixer (you can use a hand mixer, as well) beat the butter and sugar at medium speed, scraping down the sides for at least 2-3 min or until it’s light and fluffy.
- Add in the egg and almond extract beating until everything is incorporated.
- Add the flour mixture in batches and mix it just until the dough comes together.
- Take a tablespoon of the dough and roll it into a 1-inch ball; repeat with the rest of the dough, keeping the size the same for the cookies. Place the dough balls on the prepared baking tray.
- Use the back of a spoon or your thumb to make an indent in the center of the cookies.
- Fill each well with strawberry jam. Slightly overfill as the jam will flatten a bit while baking.
- Bake for 15 or until the sides of the cookie turn slightly golden.
- When they’re finished baking, transfer to a wire rack to cool to room temperature.
- Serve.
Notes
STRAWBERRY JAM FILLED COOKIES can also be frozen for around 3 months when stored properly in a heavy-duty freezer container with wax paper between each layer. Thaw them for 1-2 hours at room temperature and serve.

One Comment on “Strawberry Jam Filled Thumbprint Cookies”
Thank for the recipe! My neighbor wanted me to make some for her, I got this recipe yesterday and made them for her. DELICIOUS!! A hit! Now, I will make more using all kinds of jam/ jelly.