
This post may contain affiliate links. Please read our disclosure policy.
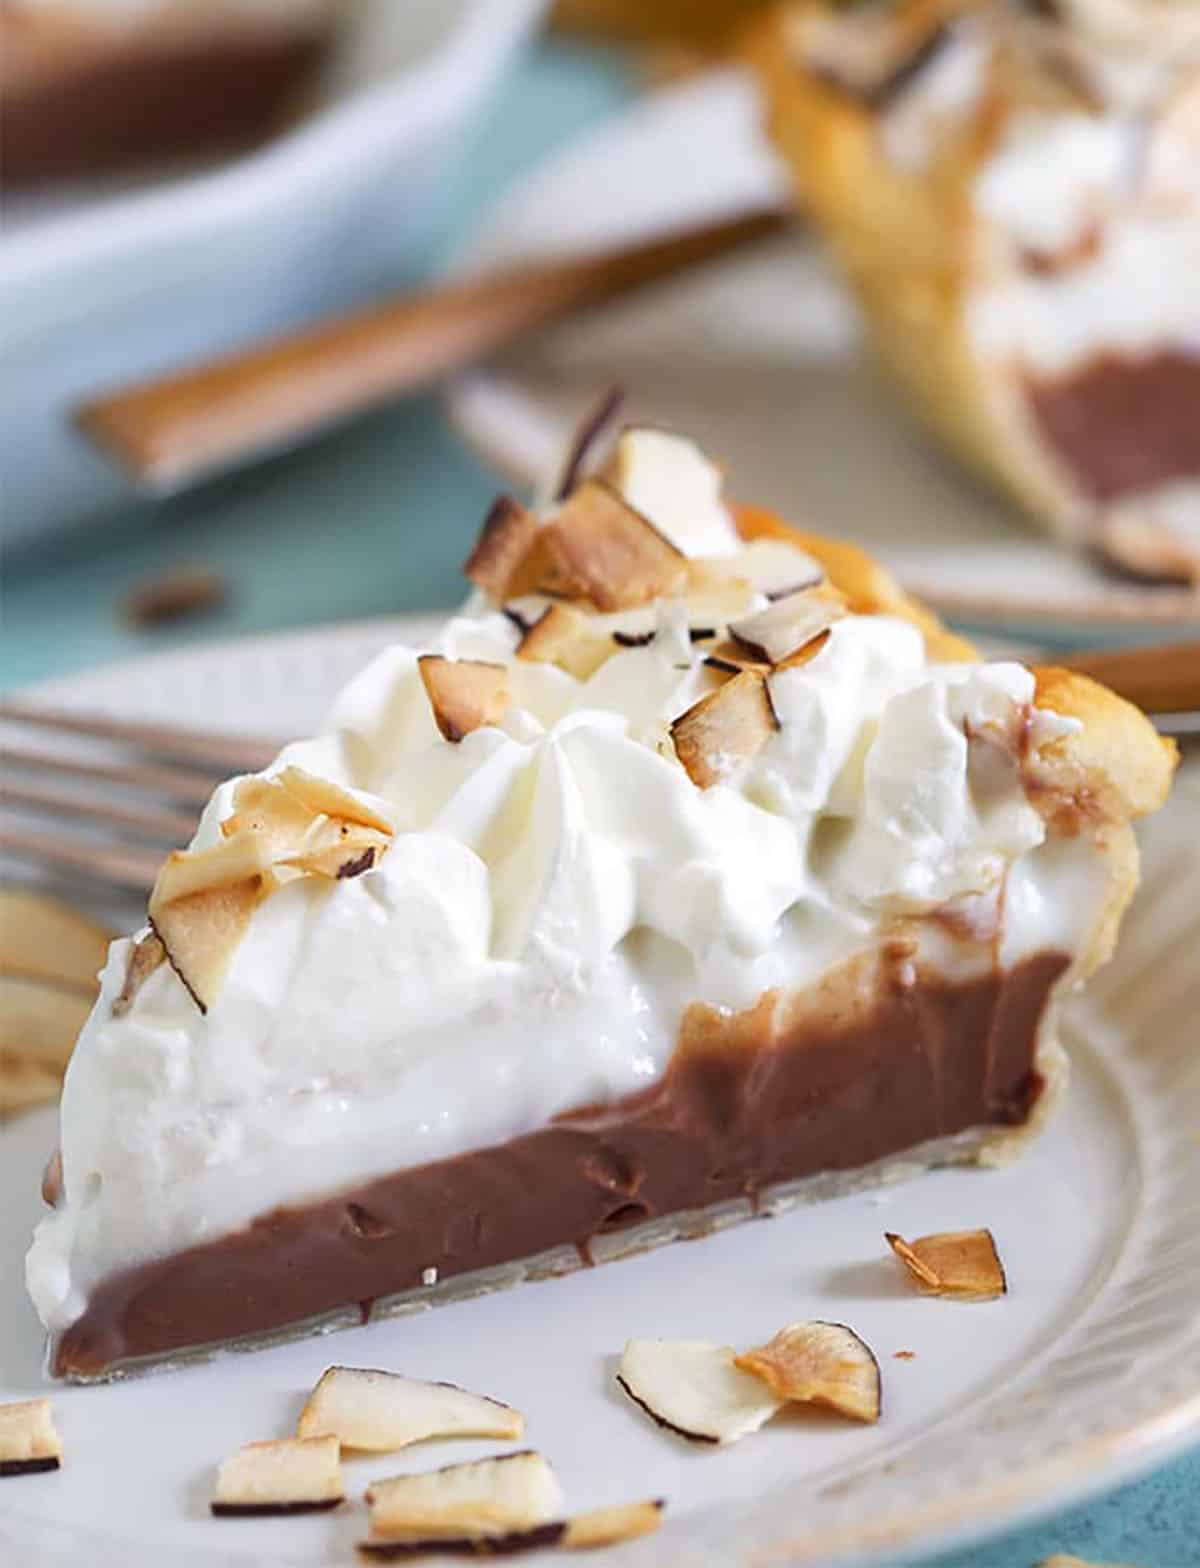
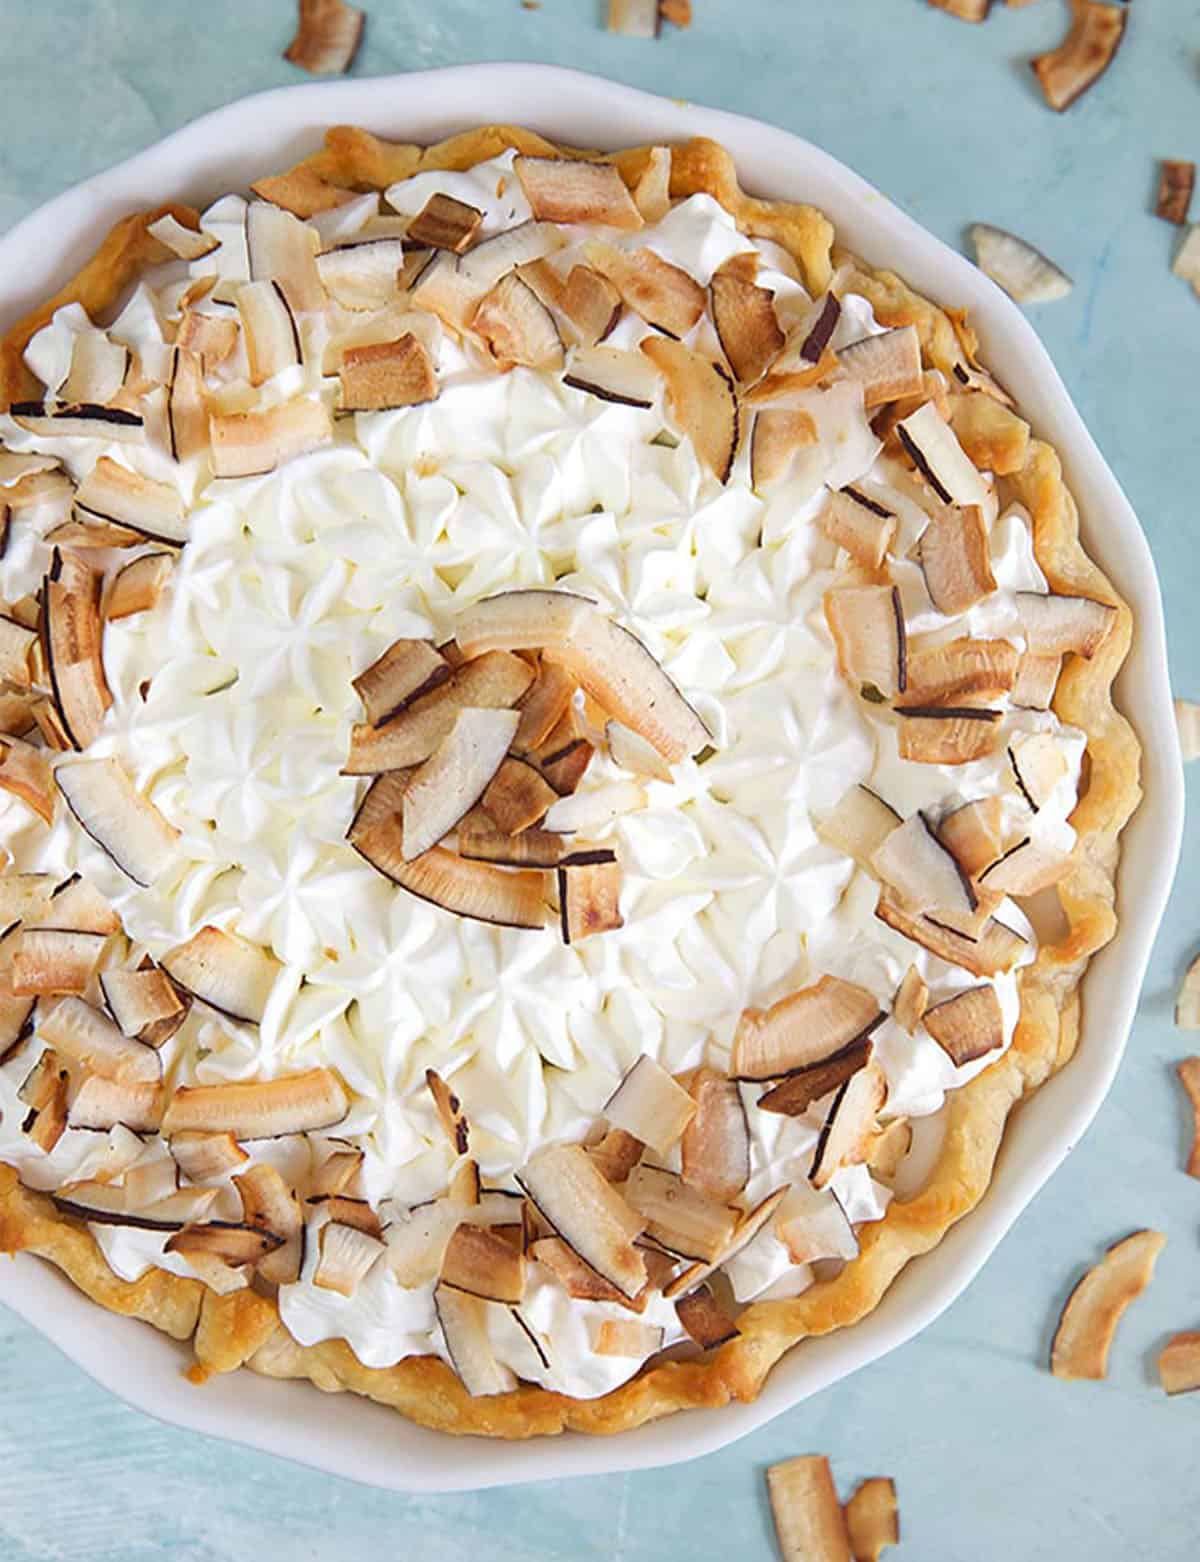
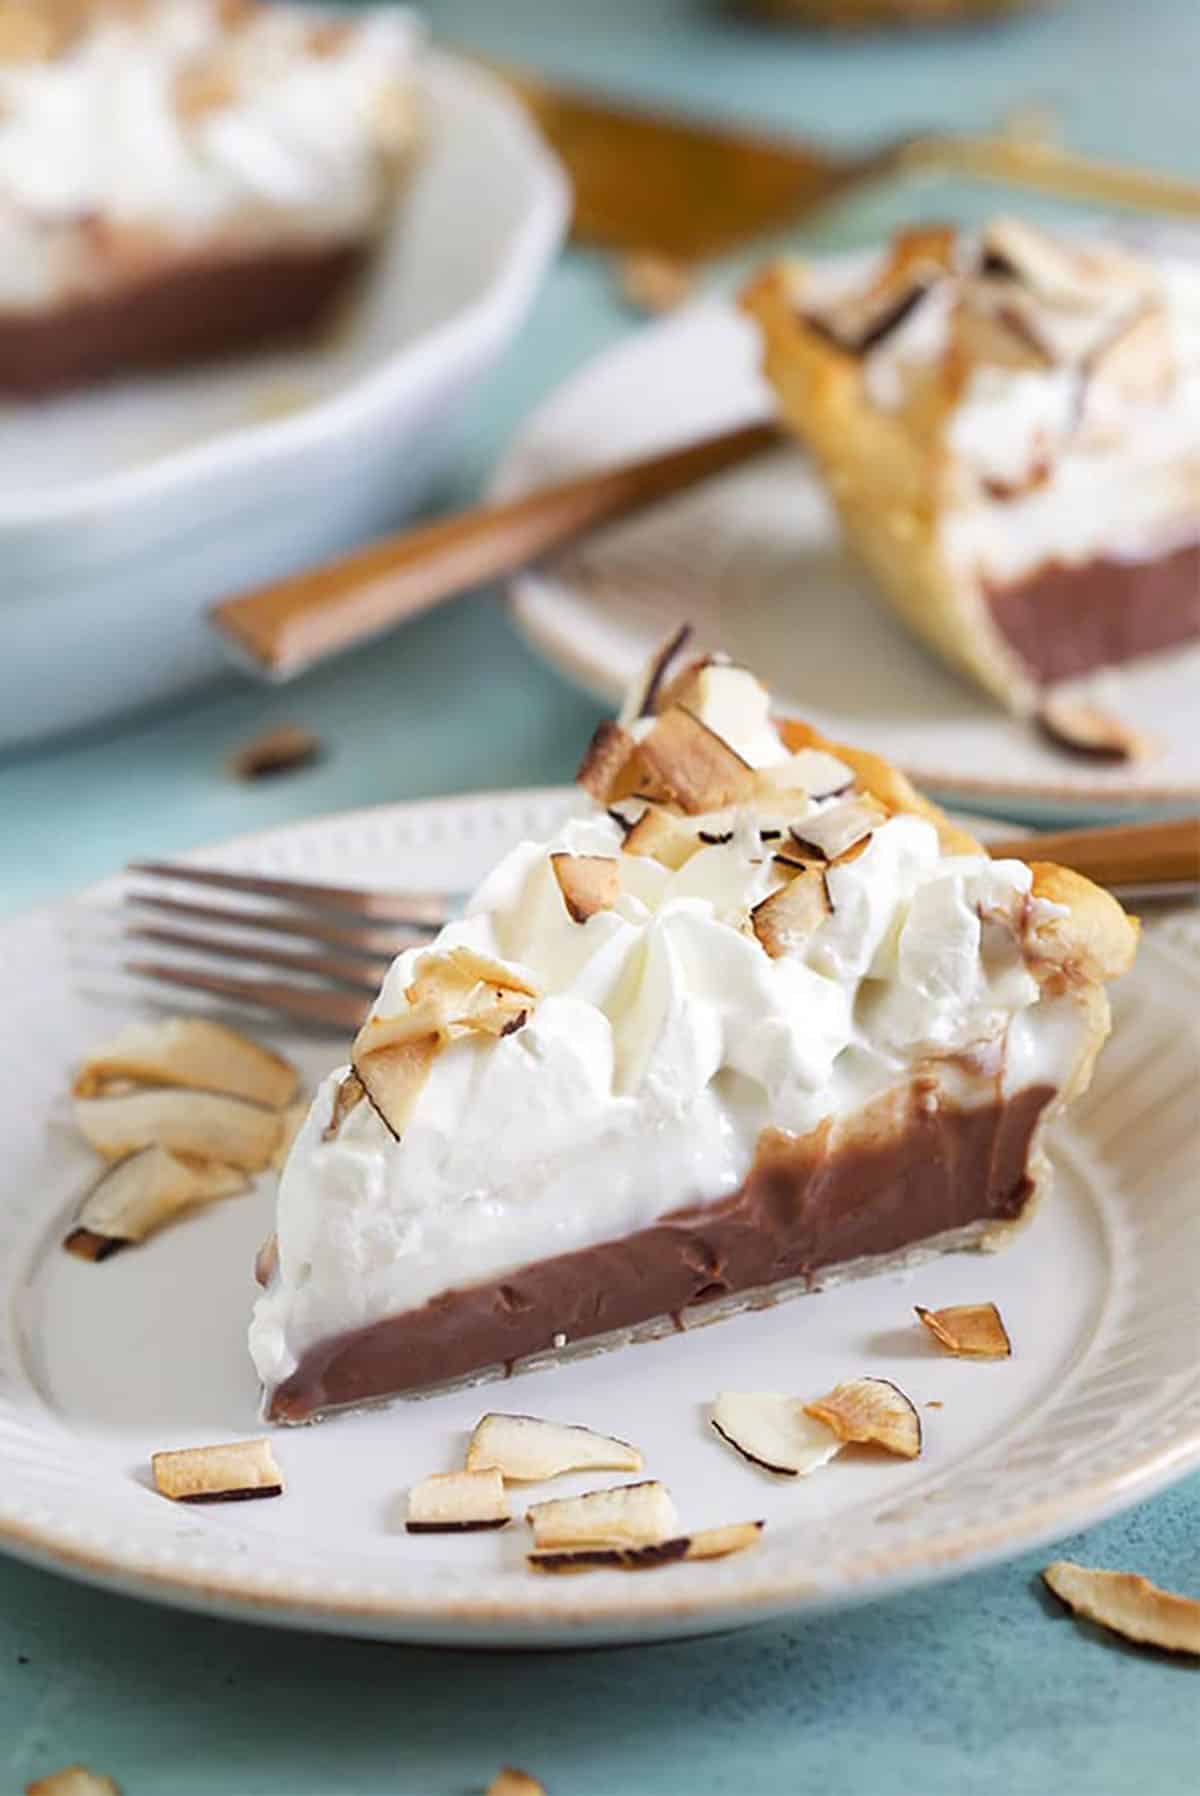
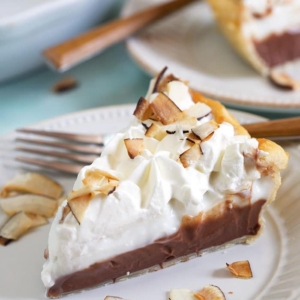
Chocolate haupia pie is a classic Hawaiian dessert made with a flaky pie crust, rich chocolate coconut pudding, creamy haupia, and whipped cream. This easy haupia pie recipe gives you beautiful, sliceable layers with just a few simple ingredients and plenty of make-ahead convenience.
If you love coconut and chocolate together, this pie is the best of both worlds. The chocolate layer is smooth and rich, the haupia layer is cool and creamy, and the whipped cream topping makes every bite taste like a little vacation.
It’s mostly no-bake, aside from the crust, and it’s best made ahead so the layers have plenty of time to chill and set.
Kellie’s Note
Going Coconuts

I’m whipping up all my favorite Hawaiian inspired recipes like Huli Huli chicken and refreshing Kani Salad. But my new favorite is this Haupia Pie. It’s so simple to make and it’s no bake (except for the pie crust) so you won’t heat the house up baking a cake all day long.
If you like coconut and chocolate, this recipe is for you. It’s sweet and coconut-ty, light and creamy. It’s the perfect dessert for all your summer soirees.
If you’ve never tried Haupia, you’re in for a treat! Haupia (pronounced how-pee-ah) is a traditional Hawaiian dessert that’s commonly found at luaus and large parties. It’s made of coconut milk and has been a popular topping for wedding cakes since the 1940’s.
Most often, Haupia is available as a square confection like a candy bar and less of a pudding. I first tried it at a Hawaiian food truck called Poi Dog in Philadelphia. It’s really sweet but so addicting.
Haupia is a traditional Hawaiian coconut pudding made with coconut milk, sugar, and cornstarch. It sets firmer than a traditional pudding, which makes it perfect for slicing into squares or layering into a pie.
Chocolate haupia pie adds a chocolate layer to the coconut filling, then finishes everything with whipped cream. The result is creamy, cool, coconutty, chocolatey, and perfect for making ahead.
I love it in pie form because it’s more like a coconut pudding pie or a coconut custard pie than a candy or confection. It’s lighter and a little less sweet than traditional Haupia so you can eat half the pie yourself.

Ingredients You Will Need
Haupia pie is made with a short list of simple ingredients. The most important thing is using full-fat coconut milk so the filling sets properly.
- Pie crust – Use a baked and cooled 9-inch pie crust. Homemade, store-bought, or graham cracker crust all work.
- Full-fat coconut milk – Don’t use light coconut milk here. Full-fat canned coconut milk helps the haupia layer set.
- Granulated sugar – Sweetens both the chocolate and coconut layers. Coconut sugar can also be used, but it may slightly darken the filling.
- Whole milk – Adds creaminess. Half-and-half also works in a pinch.
- Cornstarch – Thickens the haupia filling and helps the pie slice cleanly.
- Water – Used to dissolve the cornstarch before it’s added to the hot coconut mixture.
- Semi-sweet chocolate – Chocolate chips work well, but chopped high-quality chocolate melts especially smoothly.
- Whipped cream – Homemade whipped cream is best, but whipped topping works for a shortcut.
- Toasted coconut flakes – Optional, but they add crunch and extra coconut flavor.
Ingredient Tips
Use full-fat canned coconut milk for the best texture. Light coconut milk can make the filling too soft.
Use semi-sweet chocolate for a balanced chocolate layer. Dark chocolate makes the pie richer, while milk chocolate makes it sweeter.
Let the pie crust cool completely before adding the filling so the layers stay firm and clean.
Add the whipped cream after the pie has chilled, especially if you’re making it ahead.
How To Make Haupia Pie
This no bake pie is so easy to make. I like to use my homemade pie crust to get things started because it’s buttery and flakey. You can save time by using a pre-baked pie crust or a graham cracker crust, too.
- Bake the crust. Bake the pie crust until golden brown, then let it cool completely before adding the filling.
- Make the coconut base. Whisk together the coconut milk, whole milk, and sugar in a saucepan over medium heat. Cook until hot and the sugar is dissolved.
- Make the slurry. In a separate bowl, whisk the cornstarch and water until completely smooth.
- Thicken the haupia. Slowly whisk the cornstarch mixture into the hot coconut mixture. Cook over low heat, whisking constantly, until thick like pudding.
- Divide the filling. Transfer half of the haupia mixture to a bowl.
- Make the chocolate layer. Melt the chocolate, then stir it into one half of the haupia mixture until smooth.
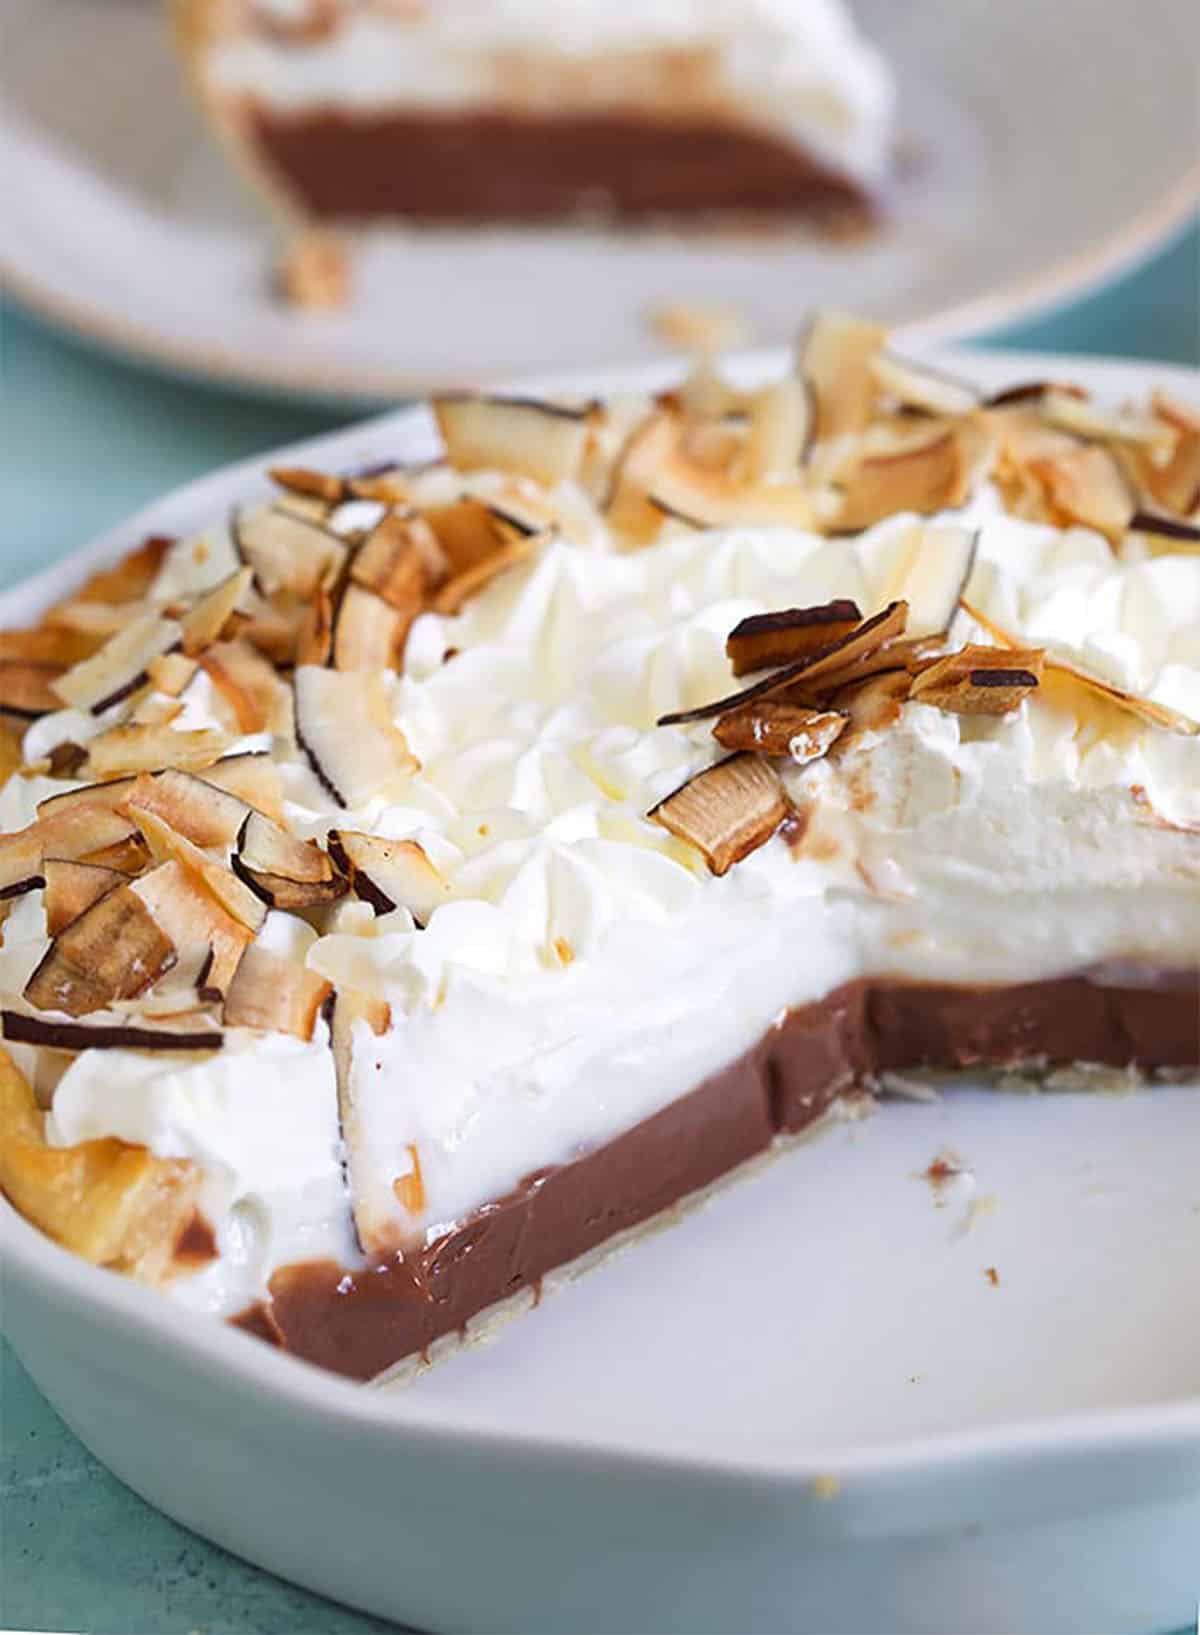
- Layer the pie. Pour the chocolate haupia into the cooled crust and smooth the top. Carefully spoon or pour the plain haupia layer over the chocolate layer.
- Chill until set. Refrigerate for at least 4 hours, or overnight for the cleanest slices.
- Top and serve. Add whipped cream and toasted coconut just before serving.
Kellie’s Tips for the Best Haupia Pie
- Whisk the cornstarch and water until completely smooth before adding it to the pan. Any dry bits of cornstarch can create lumps.
- Cook the filling until it is thick like pudding and leaves faint tracks from the whisk. If it is still loose, keep whisking over low heat.
- Let the chocolate layer sit for 10–15 minutes before adding the plain haupia layer if you want cleaner layers.
- Pour the plain haupia layer slowly over the back of a spoon to keep it from breaking through the chocolate layer.
- Chill the pie overnight for the neatest slices.
- Add whipped cream close to serving for the freshest texture.
Variations on Haupia Pie
- Graham cracker crust: Use a graham cracker crust for an easy shortcut and a slightly sweeter flavor.
- Oreo crust: Try an Oreo crust for an extra chocolatey version.
- Dark chocolate haupia pie: Use dark chocolate instead of semi-sweet chocolate for a richer chocolate layer.
- Milk chocolate haupia pie: Use milk chocolate for a sweeter, softer chocolate flavor.
- Macadamia nut crust: Add finely chopped macadamia nuts to a graham cracker crust for extra island-inspired flavor.
- Gluten-free haupia pie: Use your favorite gluten-free pie crust or gluten-free graham cracker crust.
- Dairy-free option: Use a dairy-free crust, dairy-free chocolate, and coconut whipped cream.
Storage and Make-Ahead Tips
Chocolate haupia pie is a great make-ahead dessert because it needs time to chill and set.
- Make ahead: Prepare the pie up to 48 hours in advance and store it in the refrigerator.
- Storage: Keep the pie covered in the refrigerator for up to 3 days.
- Whipped cream: For the best texture, add whipped cream the day you plan to serve the pie.
- Freezing: Freeze the pie without whipped cream, tightly wrapped, for up to 1 month. Thaw overnight in the refrigerator before serving.
- Reheating: Do not reheat this pie. Haupia pie is served chilled.
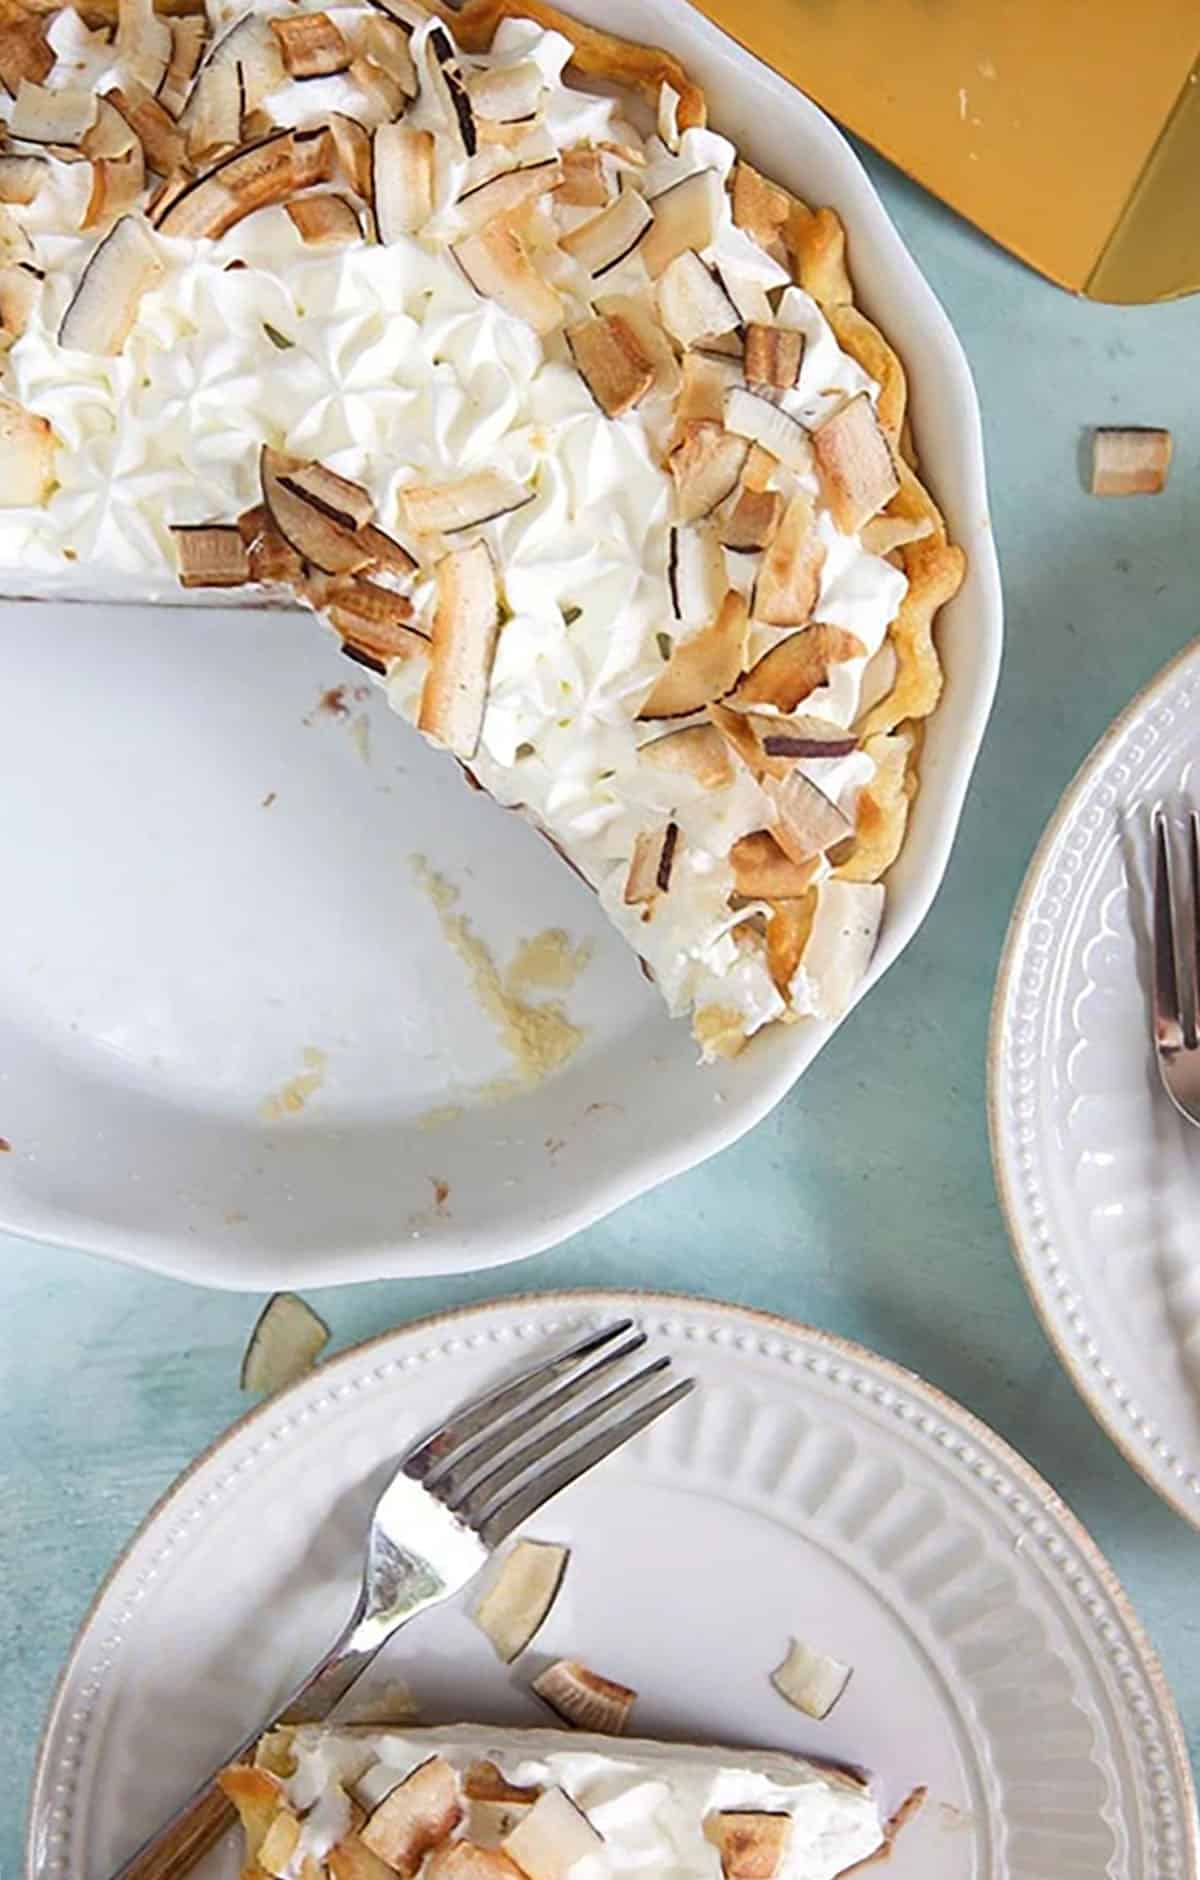
What to Serve with Haupia Pie
For garnish, keep it simple so the chocolate and coconut layers can shine. Try:
- Toasted coconut flakes
- Chocolate curls or chocolate shavings
- Chopped macadamia nuts
- A light drizzle of chocolate sauce
- Extra whipped cream
Serve haupia pie chilled so the layers stay firm and slice cleanly.
We also love to serve Chocolate Haupia Pie as part of our own luau at home complete with this easy Kalua Pork! A side of Macaroni Salad with these easy Chicken Teriyaki Kabobs are fantastic, too.
More Easy Pie Recipes
If you want even more easy pie recipes, try this Chocolate Mousse Pie….it’s also NO BAKE! Or this easy No Bake Peach Pie is fruity and refreshing….as is this easy Strawberry Pie….kinda No Bake, too!
WANT MORE FUN FOOD IDEAS! FOLLOW US ON INSTAGRAM AND FACEBOOK FOR MORE FAMILY FAVORITE RECIPES!
Chocolate Haupia Pie Recipe
Equipment
- pie plate
- saucepan
- whisk
- measuring cup
- measuring spoons
Ingredients
- 9 inch pie crust, baked and cooled
- 14 ounce can full-fat coconut milk
- 3/4 cup granulated sugar
- 1 cup whole milk
- 1/2 cup cornstarch
- 1 cup water
- 8 ounces semi-sweet chocolate chips or chopped semi-sweet chocolate
- 2 cups whipped cream
- Toasted coconut flakes, optional
Instructions
- Preheat oven to 350°F.
- Bake the pie crust for 10 minutes, or until golden brown. Cool completely.
- In a saucepan over medium heat, whisk together the coconut milk, whole milk, and sugar until hot and the sugar is dissolved.
- In a separate bowl, whisk together the cornstarch and water until smooth.
- Bring the coconut mixture to a gentle boil, then reduce the heat to low.
- Slowly whisk in the cornstarch mixture.
- Continue whisking over low heat until the mixture is thick like pudding and leaves faint tracks from the whisk.
- Divide the haupia mixture in half.
- Melt the chocolate until smooth. Stir the melted chocolate into one half of the haupia mixture.
- Pour the chocolate haupia mixture into the cooled pie crust and smooth the top.
- Carefully spoon or slowly pour the remaining plain haupia mixture over the chocolate layer. Smooth the top.
- Refrigerate for at least 4 hours, or overnight, until fully set.
- Top with whipped cream and toasted coconut flakes before serving, if desired.
Notes
- For best results, chill the pie overnight before slicing. The haupia filling should be thick like pudding before it is poured into the crust.
- Store leftovers covered in the refrigerator for up to 3 days. Add whipped cream just before serving or the day you plan to serve the pie.
- To freeze, wrap the pie without whipped cream and freeze for up to 1 month. Thaw overnight in the refrigerator before serving.
- Do not use light coconut milk. Full-fat coconut milk helps the pie set properly.
Nutrition
Nutrition information is automatically calculated, so should only be used as an approximation.











Thanks for this homemade Haupia pie recipe! Previously I’ve had to order the Haupia mix in a packet from Hawaii. This is far superior!