
This post may contain affiliate links. Please read our disclosure policy.
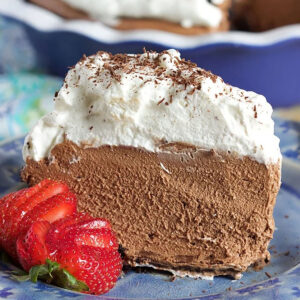
This No Bake Chocolate Mousse Pie is a chocolate lover’s dream! A rich, fluffy homemade chocolate mousse filling is tucked into a buttery chocolate cookie crust, then topped with a cloud of whipped cream and chocolate shavings. It’s smooth, creamy, and completely irresistible.
Unlike chocolate pie recipes made with instant pudding, this one uses real melted chocolate and freshly whipped cream for a light, decadent mousse. And the best part? You don’t even need to turn on the oven! It’s a gorgeous make-ahead dessert for Thanksgiving, Christmas, summer parties, or any time a chocolate craving strikes.
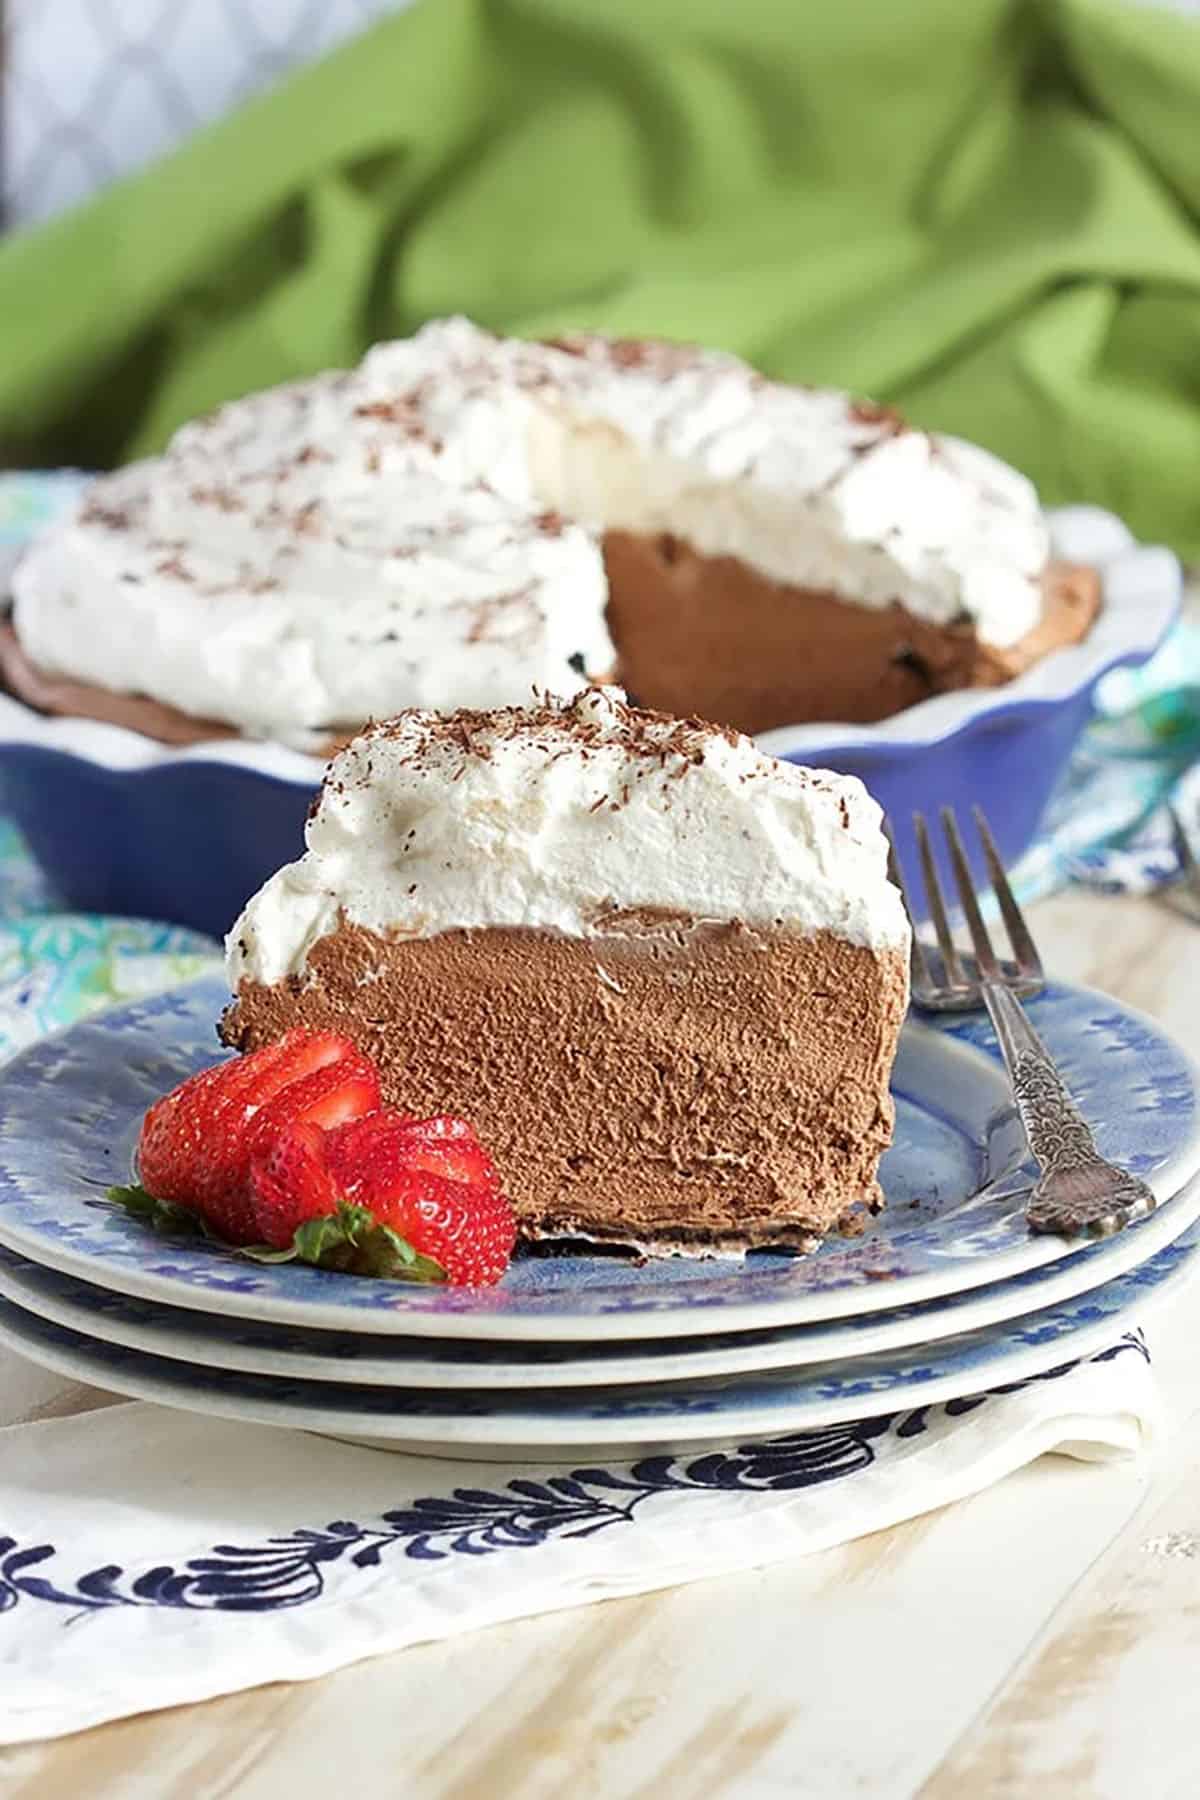
Table of Contents
- Kellie’s Note Easy As Pie
- Why You’ll Love This Chocolate Mousse Pie
- Chocolate Mousse Pie Ingredients
- How to Make Chocolate Mousse Pie
- Kellie’s Tips for the Best Chocolate Mousse Pie
- Substitutions and Variations
- Why Is the Chocolate Layer Hard to Slice?
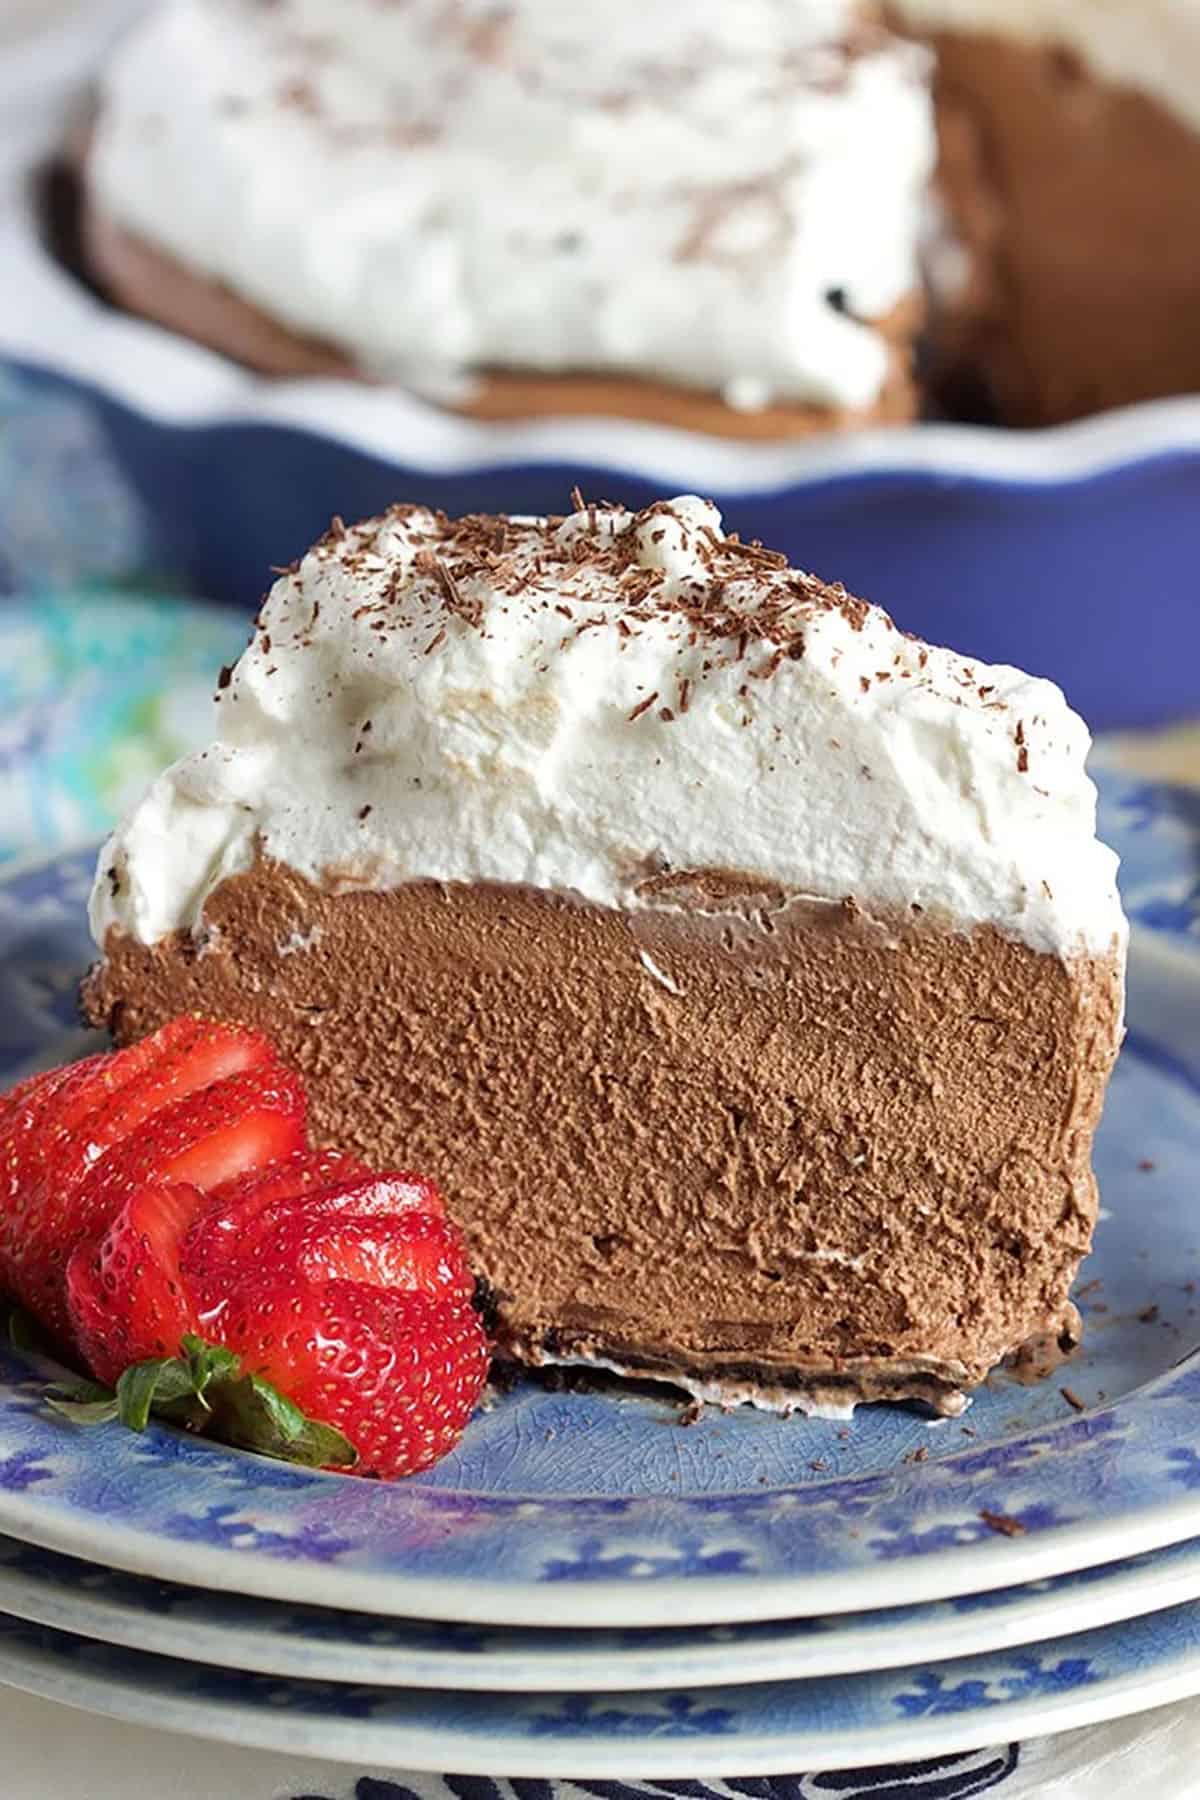
- How to Serve Chocolate Mousse Pie
- How to Make Chocolate Mousse Pie Ahead of Time
- How to Store Chocolate Mousse Pie
- Can You Freeze Chocolate Mousse Pie?
- More Easy Pie Recipes
- Chocolate Mousse Pie Recipe
Kellie’s Note
Easy As Pie

I grew up in a food-loving family, and chocolate mousse pie was always one of my favorite chocolate desserts. This version keeps everything cool and easy with a no-bake cookie crust, a decadent chocolate mousse filling, and a whipped cream topping that makes every slice feel light, fluffy, and special.
It’s simply heaven in a pie plate.

Why You’ll Love This Chocolate Mousse Pie
- No baking required. The chocolate cookie crust and mousse filling come together without turning on the oven.
- Real chocolate flavor. Made with melted semisweet chocolate instead of instant pudding for a richer homemade mousse.
- Light and fluffy. Whipped cream and egg whites give the filling its airy, melt-in-your-mouth texture.
- Perfect for making ahead. Prepare your chocolate mousse pie in advance and add the whipped cream topping before serving.
- A chocolate lover’s dream. Between the chocolate cookie crust, decadent mousse, and fluffy topping, every bite is a little slice of heaven.
Chocolate Mousse Pie Ingredients
You only need a handful of ingredients to make this rich, fluffy chocolate pie recipe. Here’s what makes it so good!
- Chocolate cookie crumbs: Chocolate wafer cookies or Oreo Thins make a rich, crunchy crust. Crush them finely so the crust holds together.
- Salted butter: Melted butter binds the cookie crumbs and helps the crust keep its shape.
- Semisweet chocolate: Used in both the crust and mousse for a rich, chocolatey flavor. Choose good-quality chocolate and melt it until completely smooth.
- Heavy whipping cream: Creates the fluffy texture of the mousse and the whipped cream topping. Use cold cream for the best results when whipping.
- Egg whites: Whipped egg whites give the mousse its light, airy texture. Use pasteurized eggs suitable for whipping because the egg whites aren’t cooked in this recipe.
- Granulated sugar: Sweetens the egg whites and helps them whip into a stable foam.
- Confectioners’ sugar: Sweetens the whipped cream topping without a grainy texture.
- Chocolate shavings: Optional, but perfect for finishing your homemade chocolate mousse pie
How to Make Chocolate Mousse Pie
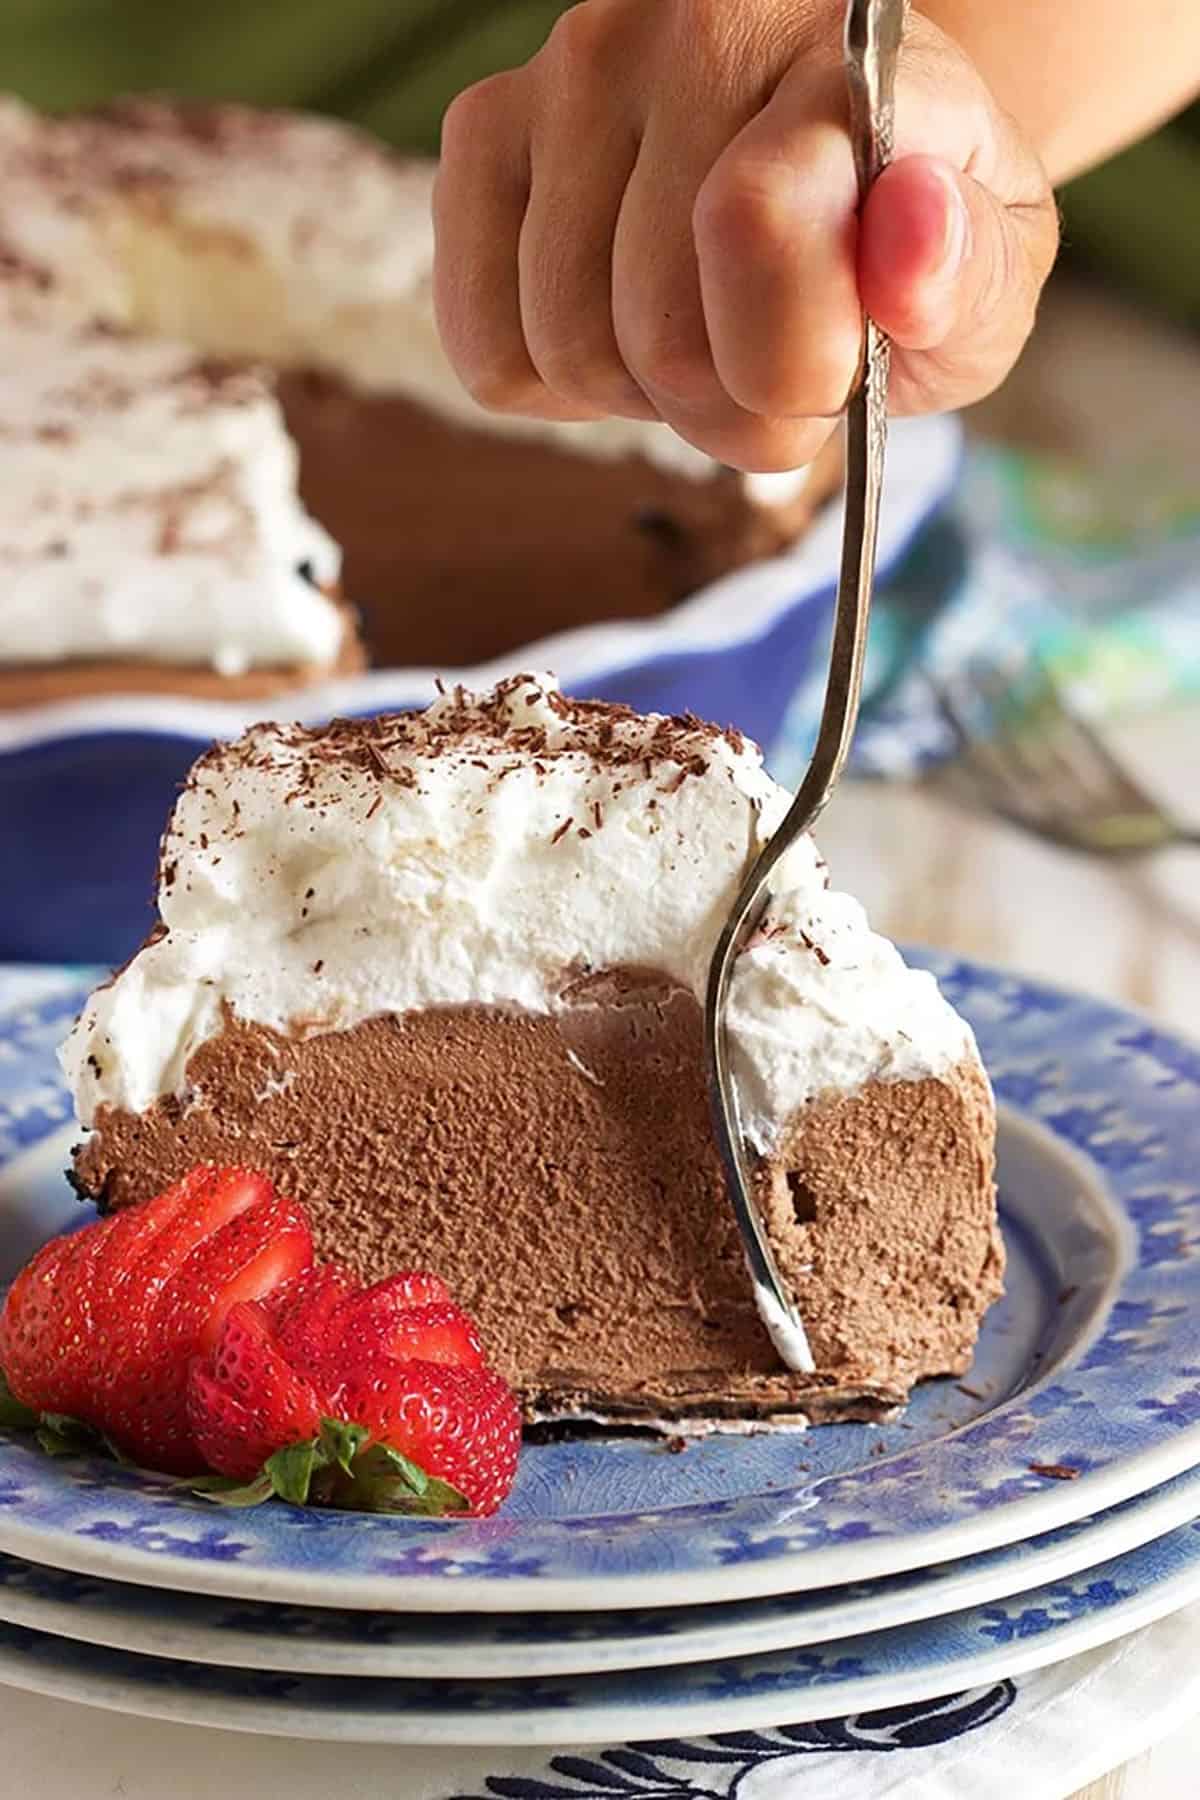
This homemade chocolate mousse pie looks fancy, but most of the work is simply mixing, whipping, and chilling!
- Make the crust. Mix the finely crushed chocolate cookies with melted butter. Press firmly into the bottom and sides of a deep-dish pie plate, then refrigerate.
- Add the chocolate layer. Spread melted chocolate over the chilled crust and return it to the refrigerator until firm.
- Whip the cream. Beat the cold heavy cream until peaks form, then set aside.
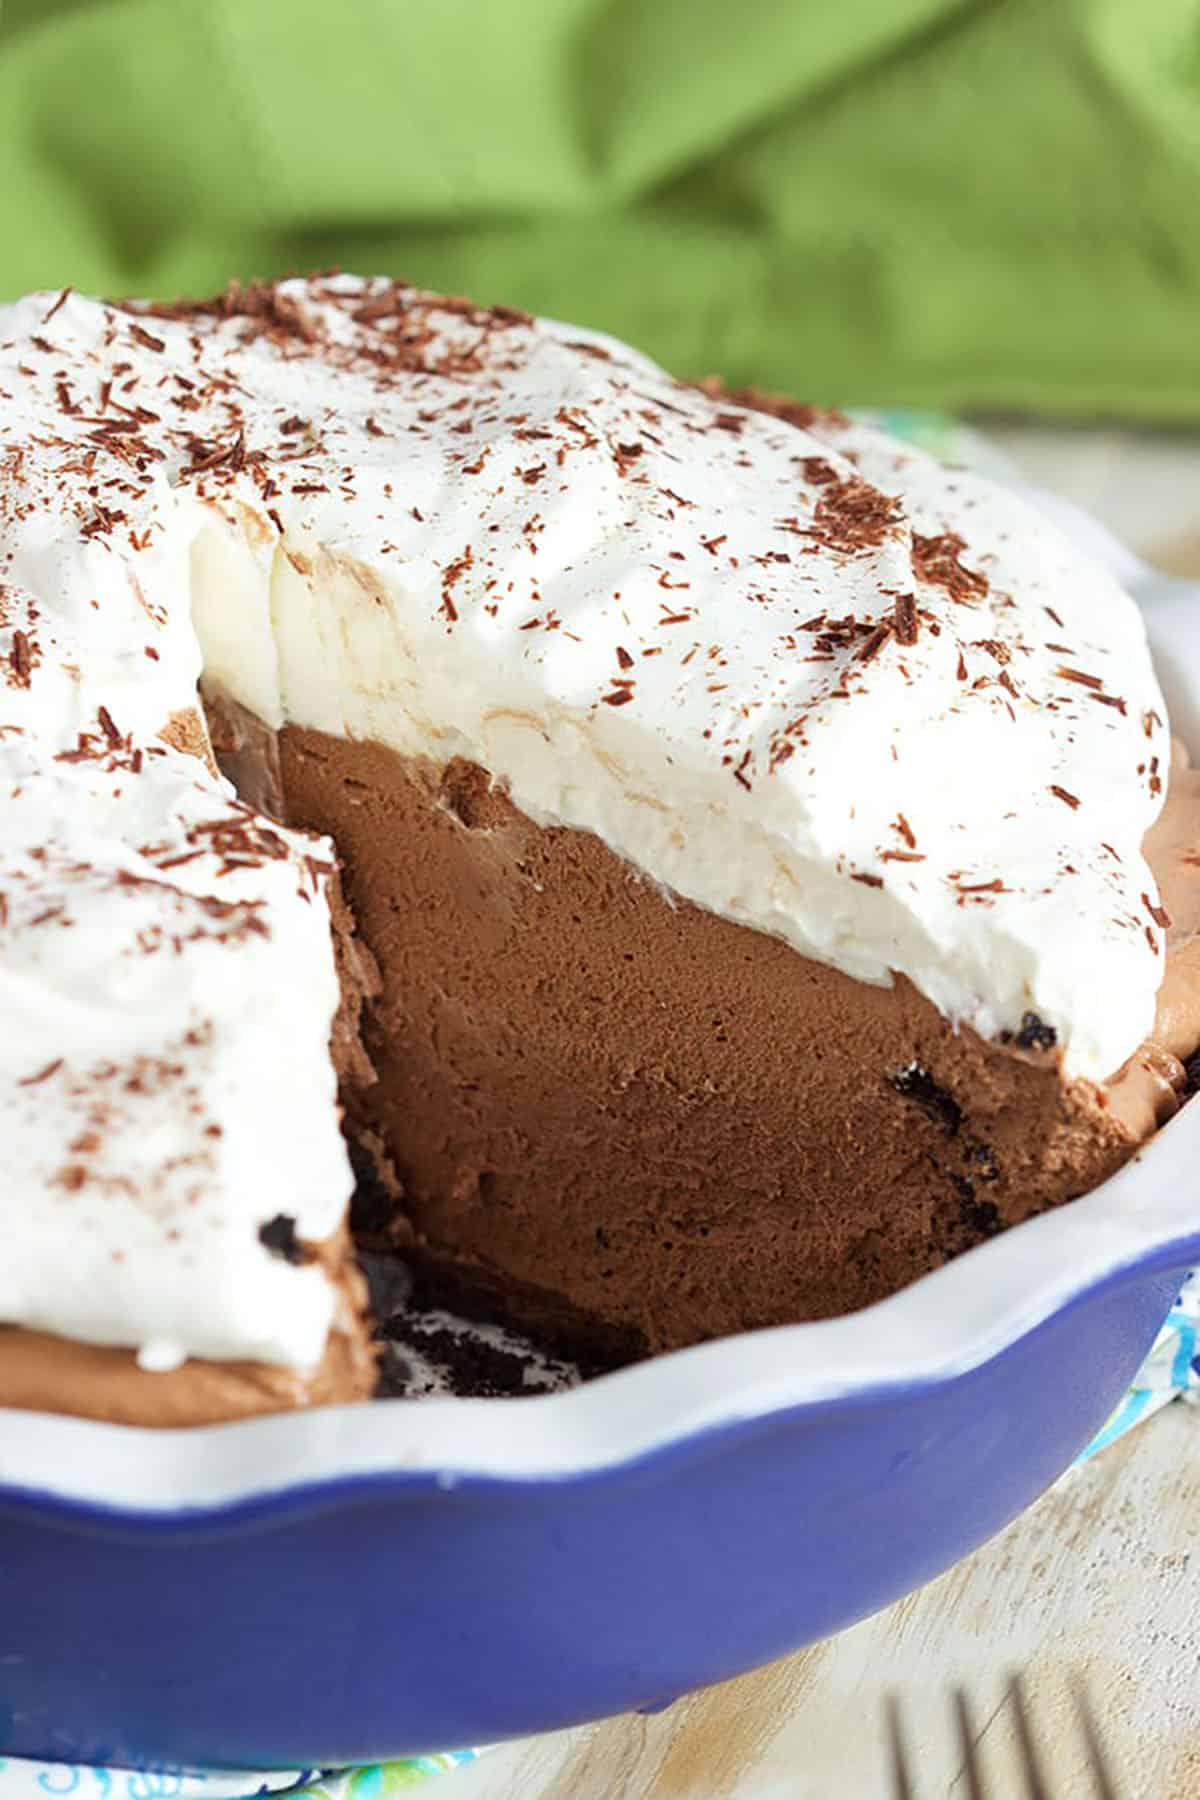
- Make the mousse. Melt the chocolate until smooth. Whip the egg whites with sugar until stiff peaks form, then gently combine the chocolate, whipped cream, and egg whites.
- Fill and chill. Spread the chocolate mousse filling into the prepared crust and refrigerate until set.
- Add the topping. Whip the remaining cream with confectioners’ sugar, spread it over the pie, and garnish with chocolate shavings. Chill before slicing and serving.
Tip: Use a sharp knife dipped in hot water and wiped dry for cleaner slices. If the chocolate layer is especially firm, let the pie rest briefly at room temperature before cutting.
Kellie’s Tips for the Best Chocolate Mousse Pie
- Use good chocolate. Since chocolate is the star of this recipe, choose a semisweet chocolate you enjoy eating.
- Let the melted chocolate cool slightly. It should be smooth and fluid, but not hot when combined with the whipped cream.
- Don’t overwhip the cream. Stop when peaks form. Overwhipped cream can become grainy and harder to fold into the mousse.
- Fold gently. Use a spatula and a light hand to keep the whipped cream and egg whites fluffy.
- Give the mousse time to chill. The filling needs to set before slicing. Overnight chilling is especially convenient when making this pie for a party.
- Warm your knife. Dip a sharp knife into hot water, wipe it dry, and clean it between slices.
- Let the chocolate layer soften slightly. If the chocolate-coated crust is difficult to cut, allow the pie to sit at room temperature for about 20–30 minutes before slicing. Keep the rest of the pie refrigerated.
What’s the Best Chocolate for Chocolate Mousse Pie?
Semisweet chocolate gives this pie a rich chocolate flavor without making it overly bitter. I like using good-quality baking chocolate because it melts smoothly and blends beautifully with the whipped cream.
Avoid overheating the chocolate. Once melted, let it cool slightly before combining it with the cream so the mousse stays smooth and fluffy.
A Note About the Egg Whites
This traditional-style chocolate mousse gets its light, airy texture from whipped egg whites. Because the egg whites are not cooked, I recommend using pasteurized eggs suitable for whipping to reduce the risk of foodborne illness.
Not all carton egg whites whip reliably, so check the packaging before using them. If you’re serving anyone at increased risk from foodborne illness, use an appropriately heat-treated egg-white method instead of raw unpasteurized eggs.
Substitutions and Variations
- Try a graham cracker crust. Swap the chocolate cookie crust for a graham cracker crust for a slightly less chocolatey version.
- Use chocolate sandwich cookies. Oreo cookies or Oreo Thins work for the crust, although cookies with more filling can change the texture.
- Make it gluten-free. Use gluten-free chocolate sandwich cookies or chocolate wafers for the crust, and verify that the other ingredients are gluten-free.
- Add espresso powder. A little espresso powder enhances the chocolate flavor without making the pie taste like coffee.
- Add a little heat. A small pinch of cayenne gives the mousse a subtle kick.
- Switch up the toppings. Try fresh raspberries, strawberries, crushed chocolate cookies, caramel sauce, or extra chocolate shavings.
- For the most reliable mousse texture, stick with the semisweet chocolate and egg-white method in the recipe card unless you’ve tested another combination.
Why Is the Chocolate Layer Hard to Slice?
The thin chocolate layer helps protect the cookie crust from becoming soggy, but it can firm up in the refrigerator. If the pie is difficult to slice, let it sit at room temperature for about 20–30 minutes before cutting. A sharp knife warmed in hot water will also help you slice cleanly through the chocolate layer. This tip also addresses a reader concern from the comments, where the author recommended resting the pie and using a warm knife for easier slicing.
How to Serve Chocolate Mousse Pie
This chocolate mousse pie is pretty spectacular all on its own, but it’s also fun to dress it up for special occasions.
- Fresh berries: Strawberries and raspberries balance the rich chocolate flavor.
- Chocolate curls: Add a few extra chocolate shavings for a bakery-style finish.
- Cookie crumbs: Sprinkle crushed Oreos over the whipped cream for a little crunch.
- Caramel sauce: Add a light drizzle just before serving for an extra-decadent dessert.
It’s one of my favorite chocolate desserts for holiday dinners, birthdays, and parties because you can make most of it ahead of time.
How to Make Chocolate Mousse Pie Ahead of Time
Chocolate mousse pie is a fantastic make-ahead dessert! Prepare the mousse-filled pie up to 48 hours in advance and keep it covered in the refrigerator. Add the whipped cream topping and chocolate shavings closer to serving for the freshest appearance.
How to Store Chocolate Mousse Pie
Cover leftover chocolate mousse pie and refrigerate for up to 48 hours. Keep the pie chilled until shortly before serving so the mousse maintains its fluffy texture.
Can You Freeze Chocolate Mousse Pie?
Yes! For the best results, freeze the pie before adding the whipped cream topping.
- Assemble the pie without the whipped cream topping.
- Wrap tightly in plastic wrap, followed by foil.
- Freeze for up to 2 months.
- Thaw in the refrigerator for approximately 24 hours.
- Add freshly whipped cream and chocolate shavings before serving.
This dessert is served chilled and doesn’t need to be reheated.
More Easy Pie Recipes
If you love this easy chocolate mousse pie, here are a few more homemade pies you’ll want to add to your dessert rotation!
- Easy Frozen Mudslide Pie Recipe
- Deep Dish Pumpkin Pie
- The VERY BEST Apple Pie
- How to make the BEST Pie Crust
- Fresh Strawberry Pie Recipe
- No Bake Banana Split Pie
- Classic Double Crust Cherry Pie
For another chocolate pie with a cool, creamy texture, try this chocolate haupia pie next.
Did you make this Chocolate Mousse Pie? I’d love to hear how it turned out! Leave a comment and a star rating below, and tell me if you added any fun toppings. Your feedback helps other readers, too!
Chocolate Mousse Pie Recipe
Equipment
- 1 hand mixer
- 1 9-inch pie plate
- mixing bowls
- Double boiler or heat-proof bowl and saucepan
- food processor or blender
- spatula
Ingredients
For the Crust
- 9 ounces chocolate wafer cookies, crushed into fine crumbs (Oreo thins or your favorite chocolate cookie works well, too.)
- 5 tablespoons salted butter, melted
- 6 ounces semi sweet chocolate, melted
For the Chocolate Mousse
- 6 ounces semisweet chocolate, broken into 1/2-ounce pieces
- 1 1/2 cups heavy cream
- 3 egg whites
- 2 tablespoons sugar
For the Whipped topping
- 1/4 cup confectioners sugar
- 1 cup heavy cream
- chocolate shavings, for garnish
Instructions
For the Crust
- In a medium bowl, stir together the cookie crumbs and butter until moistened. Press the mixture evenly into a 9 inch deep dish pie plate being sure to coat the bottom and the sides. Refrigerate for 30 minutes.
- Spread the melted chocolate evenly over the bottom of the crust and refrigerate until firm, approximately 5-10 minutes.
For the Chocolate Mousse Filling
- Heat 1-inch of water in the bottom half of a double boiler over medium heat. Place 6-ounces of semisweet chocolate in the top half of the double boiler. Tightly cover the top with film wrap.
- Allow the chocolate to melt slowly, about 9 to 10 minutes.
- Remove from the heat and stir until smooth keep at room temperature until needed.
- Place 1 1/2 cups heavy whipping cream in the well-chilled bowl of an electric mixer fitted with a well-chilled balloon whip.
- Whisk on high speed until peaks form, about 1 minute. Set aside for a few minutes until needed.
- Whisk 3 egg whites in a large stainless-steel bowl, until soft peaks form, about 3 minutes. Add 2 tablespoons sugar and continue to whisk until stiff peaks form, about 2 to 2 1/2 minutes.
- Add a 1/4 of the whipped cream to the chocolate and whisk quickly, vigorously, and thoroughly, then add to the egg whites. Now add the remaining whipped cream.
- Fold all together gently but thoroughly.
- Pour the chocolate mousse filling into the pie crust and spread evenly. Return the pie to the refrigerator and chill for 1 hour or overnight.
For the Whipped Cream Topping
- In a medium bowl, beat the confectioners’ sugar and cream together with an electric mixer until stiff peaks form.
- Spread the whipped cream over the top of the pie.
- Garnish with chocolate shavings, if desired.
- Chill for 30 minutes or overnight.
- Slice with a sharp knife warmed in hot water to make slicing easier.
Notes
- Egg safety: This recipe contains uncooked egg whites. Use pasteurized eggs suitable for whipping to reduce foodborne illness risk.
- Chocolate: Allow the melted chocolate to cool slightly while remaining fluid before combining it with the whipped cream.
- Chilling: Refrigerate until the mousse is completely set and holds its shape when sliced. Overnight chilling is a convenient make-ahead option.
- Slicing: Dip a sharp knife in hot water and wipe dry before cutting. If the chocolate layer on the crust is too firm, let the pie stand at room temperature for approximately 20–30 minutes before slicing.
- Make ahead: Prepare the mousse-filled pie up to 48 hours in advance. Add the whipped cream topping closer to serving.
- Storage: Cover and refrigerate leftovers for up to 48 hours.
- Freezing: Freeze the pie without the whipped cream topping for up to 2 months. Thaw in the refrigerator for approximately 24 hours, then add the topping.
- Substitutions: A graham cracker crust or gluten-free chocolate cookie crust can be used in place of the regular chocolate cookie crust.
Nutrition
Nutrition information is automatically calculated, so should only be used as an approximation.
Yes. This pie is a great make-ahead dessert. You can make it the night before and keep it covered in the refrigerator until you are ready to serve.
Yes. A graham cracker crust works as a substitute for the chocolate cookie crust. The flavor will be less chocolatey, but it will still pair well with the mousse filling. A reader asked about this swap in the comments, and the author confirmed that graham cracker crust works well.
Yes. Use gluten-free chocolate sandwich cookies or gluten-free chocolate wafer cookies for the crust. Check all ingredient labels to make sure they are gluten-free.
The chocolate may not have been melted completely, or it may have cooled too much before being folded into the mousse. Use good-quality chocolate and make sure it is smooth before combining it with the whipped cream and egg whites.
Let the pie sit at room temperature for 20–30 minutes if the chocolate layer is very firm. Then slice with a sharp knife dipped in hot water and wiped dry.
Pasteurized egg whites can be used if you prefer them, but they may whip differently than fresh egg whites. Make sure they reach stiff peaks before folding them into the mousse.












I think I will use either a regular crust or graham cracker crust… I always put the graham crust in the oven for about 10 min to allow the butter to bake into the crust and it holds it together…. I dont get to town much but would have to buy the choc cookies/wafers to make it to this recipe but I find the graham crust usually does well as a substitute… Cant wait to make this…..
Chocolate sandwich cookies work well, too but are much sweeter. The graham cracker crust is a great substitution, as well.
Easy, flavorful, actually LOVE the mousse portion. Would not spread chocolate on crust again. It made it difficult to cut and very hard to eat. I didn’t see anywhere that the pie should sit out a bit but maybe I missed it. Will make it again but would not add chocolate over crust but would drizzle chocolate over slices.
Thank you for your feedback! We do leave it out on the counter for about 30 minutes before slicing as the chocolate does harden a bit making it tough to cut through. A warm knife does help with easing through the chocolate layer.
The filling is amazing. I didn’t make the crust, but I bet that’s good too! So easy, so delicious!
Hi Jen! Thank you so much! I’m so glad you enjoyed it. We like the filling on it’s own, too!
My pie looked nothing like this. I am an experienced baker/cook. The chocolate firms up into small specks and doesnt incorporate well. I would be interested to know how they achieved the pie in the pictures. Even the one they mixed up doesnt look the same. Taste is good.
It sounds like (and I’m just guessing because I wasn’t in your kitchen while you made it) you didn’t melt the chocolate enough OR you didn’t use a high quality chocolate. We have made this recipe so many times I lost count and it always turns out the same.
Can the pie itself be made the night before I need it?
Yes! It’s actually great for making in advance.
This pie was such a hot mess; not enough butter to hold the crust together, so the sides just crumbled. The melted chocolate on the bottom made it so rock hard, people we’re having to pick it up with their fingers and eat it like chocolate bark; chocolate/fudge sauce may have been better. The mousse was good, but used up more dishes and took more steps than another mousse recipe I prefer. The taste was great, but won’t be making this one again.
I’m so sorry you had difficulty making this pie. I’ve tested the recipe a number of times and never had an issue with the crust holding up, the chocolate being too thick to cut through or the mess of making a standard, classic mousse. I’ll retest again but many readers have made this pie with great success. The addition of using a hot fudge sauce does sound lovely but the regular melted chocolate is to keep the crust from getting soggy and falling apart.
This is one gorgeous pie Kellie! Who could resist a big slice of this chocolate creation … not me!
Thank you!
Made it this weekend and it was delish! I added a little cayenne pepper to the chocolate 🙂 I also only made thge mousse part and served it in glass dessert cups. Would definitely make it again. (Bought the pasteurized egg whites from Aldi)
Love the addition of the cayenne! And ALDI is a treasure trove of ingredients!