This post may contain affiliate links. Please read our disclosure policy.
I’ve been making this Chocolate Chip Cookie Bars recipe for years because it’s the kind of no-fail treat that works for everything – Christmas cookie trays, summer barbecues, and those random “I need something sweet” weeknights.
After testing cookie bars for bake sales, potlucks, and last-minute guests, this is the version I come back to: all the best parts of a classic chocolate chip cookie (buttery, soft, and loaded with chips) without the hassle of scooping batch after batch. And yes, the corner piece usually “disappears” first.
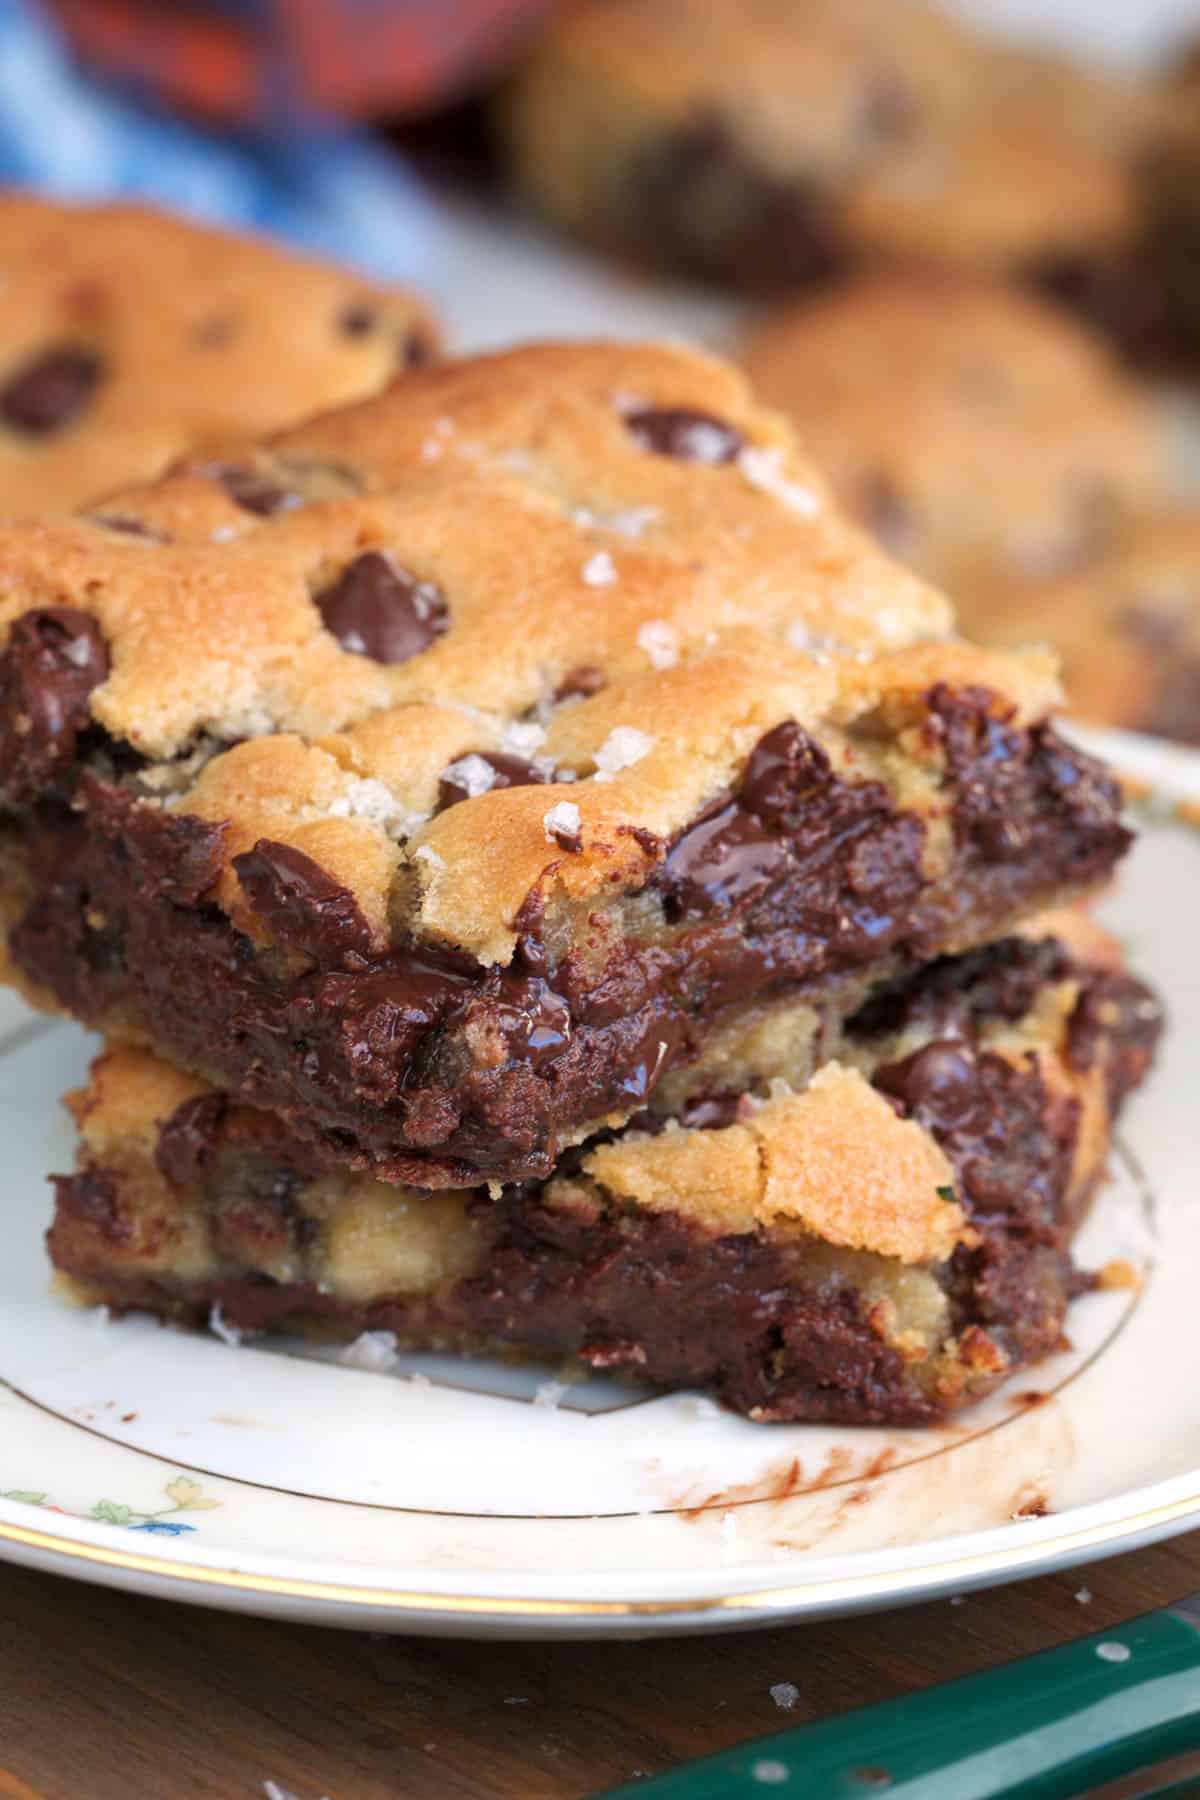
Table of Contents
- Why You’ll Love My Chocolate Chip Cookie Bars
- Ingredients For Chocolate Chip Cookie Bars
- How to Make Chocolate Chip Cookie Bars
- Kellie’s Tips for the Best Chocolate Chip Cookie Bars
- How to Store Leftovers
- What to Serve with Chocolate Chip Cookie Bars
- More Easy Baking Recipes
- Chocolate Chip Cookie Bar Recipe
Why You’ll Love My Chocolate Chip Cookie Bars
- No chilling required: you can have them in the oven fast.
- Quick and easy: One bowl, one pan, no mixer needed (though you can use one to speed things up).
- Soft and chewy with a lightly golden top and a buttery, cookie-like bite.
- Chocolate in every bite thanks to a generous amount of chocolate chips.
- Perfect for sharing: bake them for holidays, potlucks, lunchboxes, or just because.
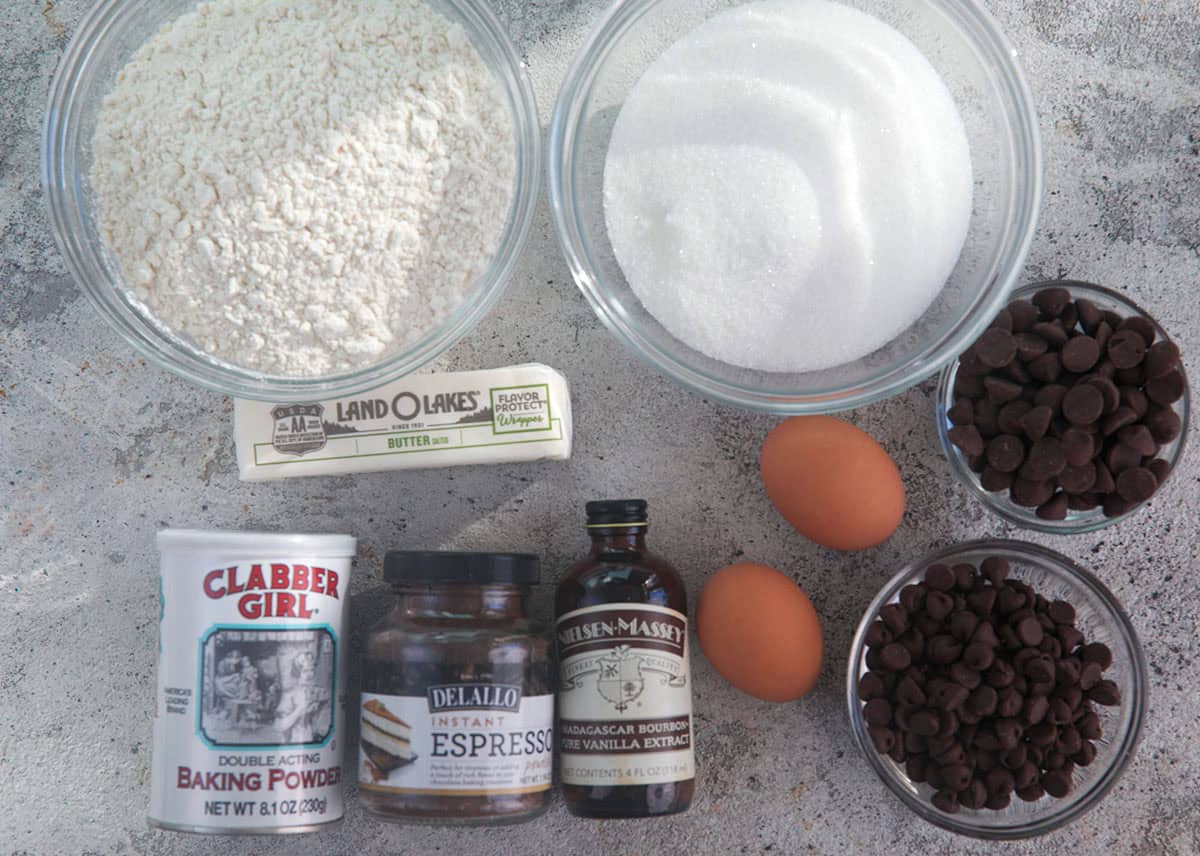
Ingredients For Chocolate Chip Cookie Bars
(Measurements are in the recipe card below, this is the quick “what you need” overview, plus easy swaps.)
- All-purpose flour – Standard for thick, chewy bars. If you need gluten-free, a 1:1 baking blend (one with xanthan gum) is usually the easiest swap.
- Baking soda and baking powder – This recipe uses both for lift and that perfect soft-chewy texture. If you’re missing one, the texture will change a bit, so it’s best to use what’s listed.
- Kosher salt – Balances sweetness and makes the chocolate pop. If you only have table salt, use a little less since it’s finer/saltier by volume.
- Espresso powder – You won’t taste “coffee,” it just deepens the chocolate flavor. No espresso powder? Swap in instant coffee granules (finely crushed), or leave it out if you have to.
- Salted butter (softened) – Salted butter gives great flavor here. If you only have unsalted, it works – just keep the salt in the recipe. And if you want a bakery-style twist, browned butter is amazing, just cool it until it’s soft/opaque again before mixing so the dough doesn’t get greasy.
- Granulated sugar – Keeps the bars sweet and helps the edges get lightly crisp. You can swap a little of it for brown sugar for extra chew, but the recipe is written to work beautifully as-is.
- Vanilla bean paste (or vanilla extract) – Paste gives that extra “fancy cookie shop” vibe, but pure vanilla extract is perfect too.
- Eggs – Help bind everything and keep the centers soft-chewy. If you need an alternative, a flax egg can work in a pinch, but expect a slightly more tender/cake-y bite.
- Chocolate chips (semi-sweet, dark chips and mini dark chocolate chips) – This trio gives the best mix of sweet, rich, and melty pockets throughout. Don’t have all three? Use any combo you love: all semi-sweet chocolate chips for classic, all dark chocolate chips for extra rich, or swap minis for chopped chocolate or chocolate chunks for bigger gooey puddles.
- Optional finishing: flaky sea salt – A tiny sprinkle on warm bars makes the chocolate taste even more chocolatey (and feels very “bakery”).
How to Make Chocolate Chip Cookie Bars
Cookie bars from scratch are basically the “bake once, snack all week” version of chocolate chip cookies, and the process is wonderfully low-stress. A one pan dessert.
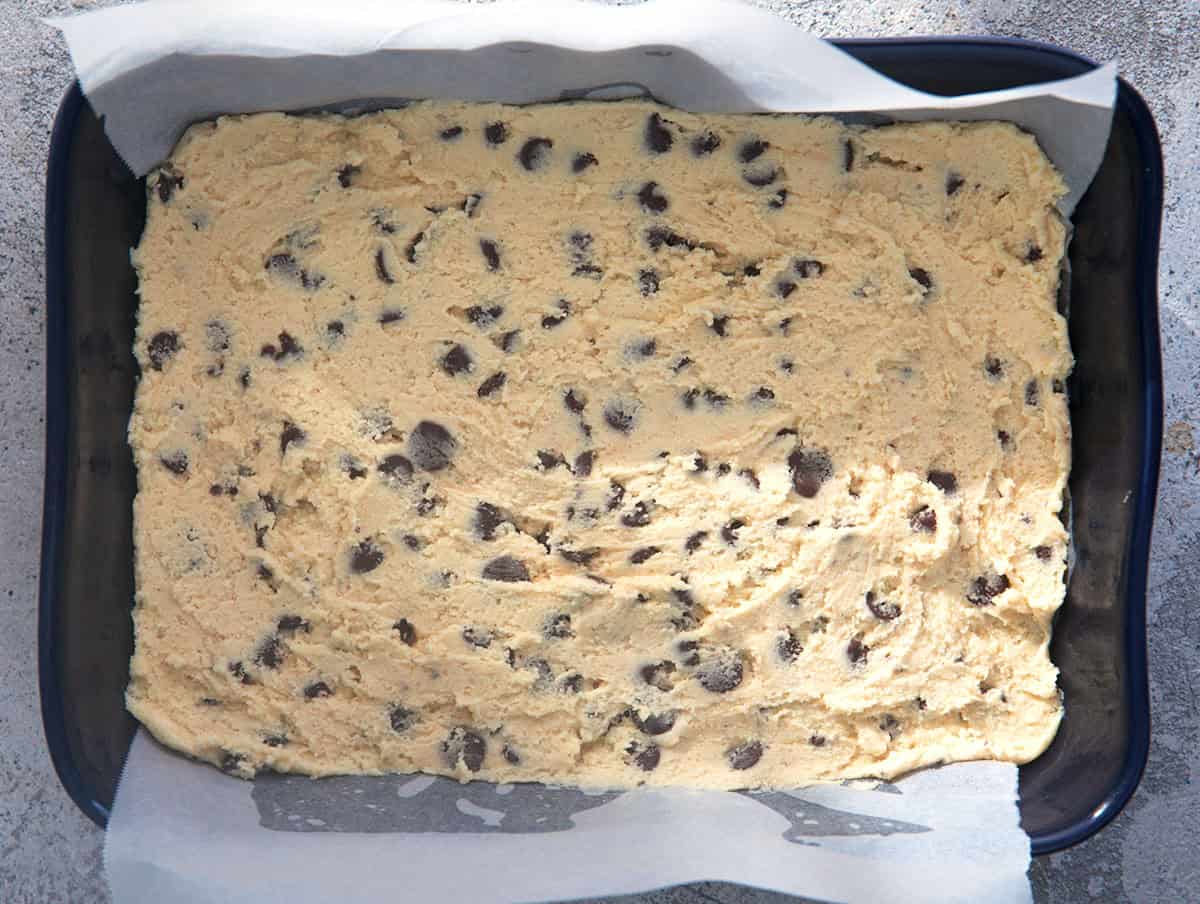
- Prep your pan – Line your baking pan with parchment so you can lift the whole slab out later (this makes cutting way easier). A quick spritz of nonstick spray under the parchment helps it stay put.
- Mix the wet ingredients until glossy – Cream the butter and sugars together until the mixture looks a little lighter and feels smooth, this is where that classic cookie flavor starts. Add the eggs and vanilla and mix until the batter looks thicker and slightly glossy.
- Add the dry ingredients just until combined – When you add flour/leavening/salt, mix just until you stop seeing streaks of flour. Overmixing is the easiest way to lose that soft, chewy texture.
- Fold in the chocolate chips (generously) – The batter will be thick and scoopable, like a soft cookie dough. Save a small handful of chips to press into the top so the bars look extra bakery-style.
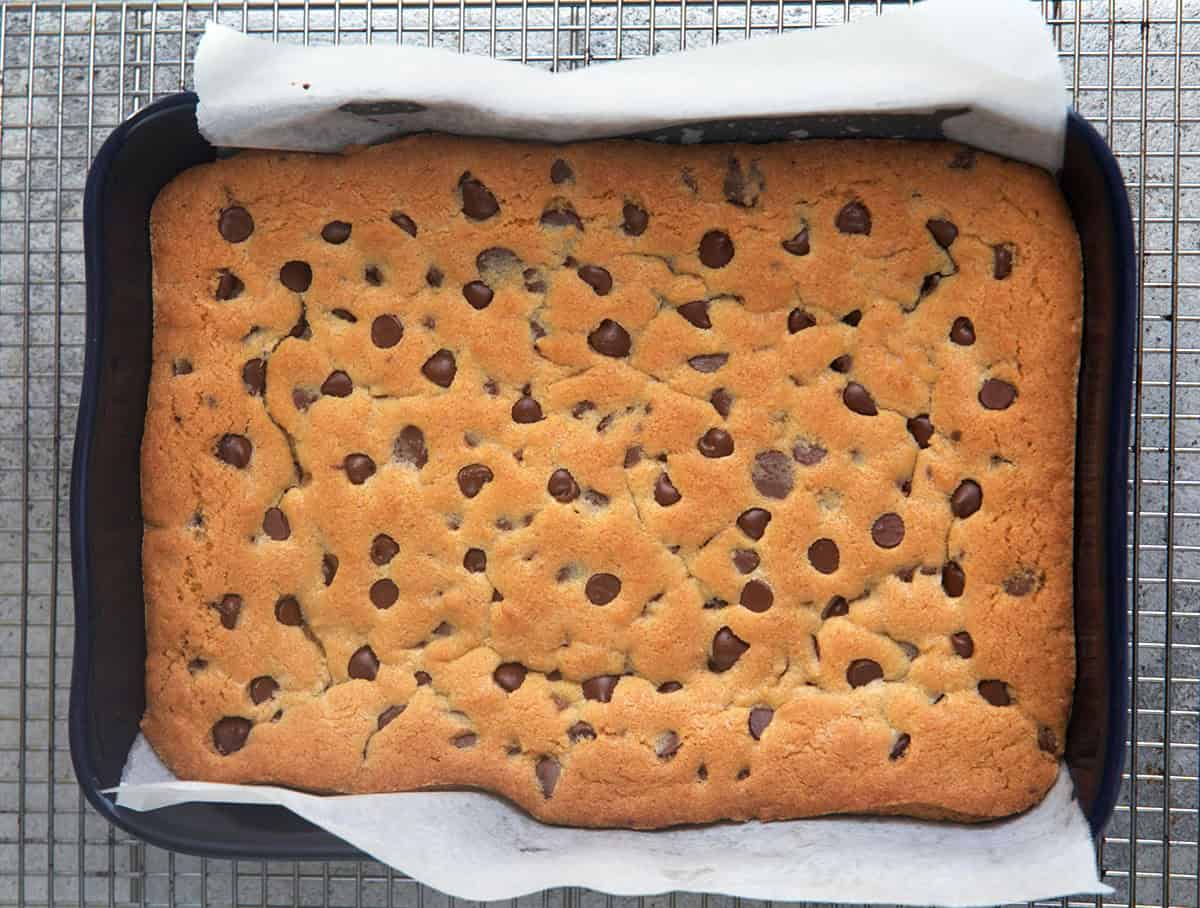
- Press into the pan and bake – Spread the dough evenly in a 9×13 pan or baking dish. It helps to lightly dampen your fingers or use an offset spatula. You’re looking for a top that turns light golden, with the center set but still soft. The middle should not look wet or jiggly, but it should still feel tender, cookie bars continue to firm up as they cool.
- Cool before slicing – This is the hard part. Let them cool so you get clean slices and the perfect chewy bite instead of a molten chocolate situation (unless that’s what you want, no judgment).
Kellie’s Tips for the Best Chocolate Chip Cookie Bars
- Want a gooier center? Pull them a minute or two earlier and let them cool in the pan.
- Don’t overbake. The secret to soft, chewy bars is pulling them when the edges are set and lightly golden and the center looks just done. They’ll finish setting as they cool.
- Line the pan. Parchment makes removal, slicing, and cleanup so much easier.
- Press extra chips on top. This makes them look bakery-worthy with almost no effort.
- Cut after cooling. Warm bars are delicious, but if you want neat squares, let them cool completely first.
- Want thicker bars? Use a slightly smaller pan (if your recipe supports it) and watch the bake time.
How to Store Leftovers
- Room temperature: Store sliced cookie bars in an airtight container for several days. If you want them extra soft, tuck a slice of bread in the container, it helps maintain moisture.
- Refrigerator: You can refrigerate them, but the texture will firm up. Let them sit at room temp before serving or warm briefly.
- Freezer-friendly: Freeze bars in a single layer, then transfer to a freezer bag or container. They thaw quickly at room temp, and they’re great for “emergency dessert.”
What to Serve with Chocolate Chip Cookie Bars
Here are my favorite “make it a moment” pairings:
- A cold glass of milk (classic for a reason)
- Coffee or a chai latte (especially if your bars are extra chocolatey)
- A scoop of vanilla ice cream with a warm bar on top
- Fresh berries for a lighter, summery plate
- Hot cocoa for holiday trays and cozy nights
More Easy Baking Recipes
If you love simple, nostalgic baking like this, here are a few more sweet treats!
- The Best Chocolate Chip Cookies
- Easy Fudge Brownies
- Magic Cookie Bars
- Chai Sugar Cookies
- Shortbread Cookies
Chocolate Chip Cookie Bar Recipe
Equipment
- stand mixer or hand mixer
- measuring cup
- measuring spoons
- 9×13 baking pan or baking dish
- parchment paper
Ingredients
- 2 ¼ cups all-purpose flour
- 1 teaspoon baking soda
- 1 teaspoon baking powder
- 1 teaspoon kosher salt
- 1 teaspoon espresso powder
- 1 cup 2 sticks salted butter, softened
- 1 ½ cups granulated sugar
- 1 teaspoon vanilla bean paste, or pure vanilla extract
- 2 large eggs
- 1 cup semi-sweet chocolate chips
- 1 cup dark chocolate chips
- ½ cup mini 70% dark chocolate chips
(Optional for finishing)
- Flaky sea salt, for sprinkling
Instructions
- Preheat oven to 350°F (177°C).
- Line a 9×13-inch metal baking pan with parchment paper, leaving a slight overhang on the long sides for easy lifting. Lightly grease the parchment and sides.
- In a large bowl, whisk together the flour, baking soda, baking powder, espresso powder, and salt until well combined. Set aside.
- In the bowl of an electric mixer, beat the butter and sugar on medium speed until lightened in color and fluffy, about 2–3 minutes. Mix in the vanilla bean paste. Add the eggs one at a time, beating well and scraping down the bowl after each addition.
- Turn the mixer to low and gradually add the flour mixture. Stop mixing when just combined and no dry pockets remain; don’t over-mix.
- Using a spatula, fold in the semi-sweet, dark, and mini dark chocolate chips until evenly distributed.
- Transfer the dough to the prepared 9×13 pan. Use an offset spatula or clean hands to press it into an even layer, making sure to get the corners and edges as level as the center.
- Bake on the center rack for 22–28 minutes, or until, the edges are set and a deep golden brown, the top is lightly golden and looks dry, a toothpick inserted in the center comes out with a few moist crumbs but no wet batter. If using a glass pan, you may need an extra 3–5 minutes.
- Place the pan on a wire rack and cool completely in the pan (this helps the bars set and keeps the centers fudgy-chewy).
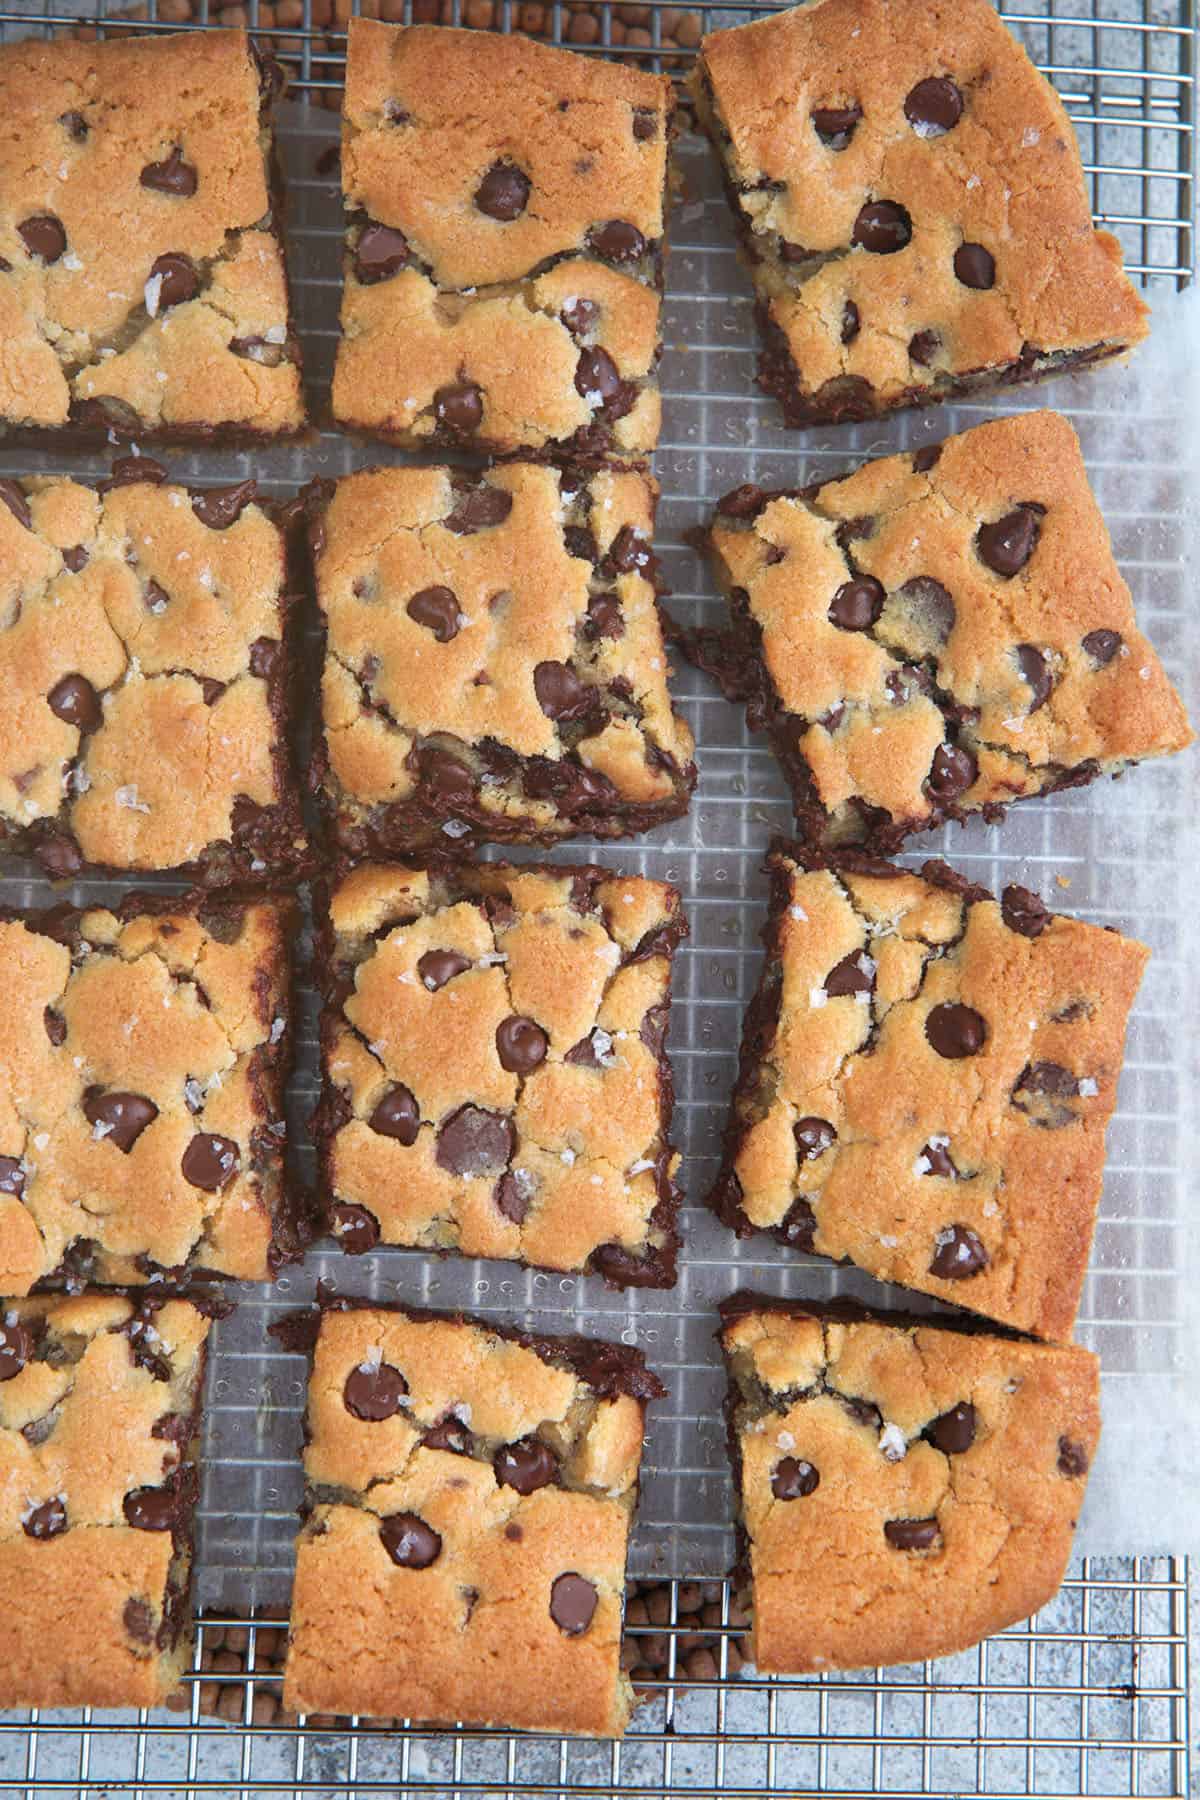
- If desired, sprinkle lightly with flaky sea salt while still warm.
- Once cool, use the parchment overhang to lift the slab out of the pan. Cut into 24 bars (4 rows by 6 columns) or any size you like.
Notes
- Don’t overbake: Pull the bars when the edges are lightly golden and the center is set but still soft, they’ll finish firming up as they cool.
- For clean slices: Let bars cool completely (or chill briefly) before cutting.
- Extra-pretty top: Reserve a handful of chocolate chips and press them into the top before baking.
- Storage tip: Keep bars soft by storing airtight; add a slice of bread to the container if needed.
- Freezer option: Freeze individual squares for quick treats, thaw at room temp or warm for a few seconds.
Nutrition
Nutrition information is automatically calculated, so should only be used as an approximation.