This post may contain affiliate links. Please read our disclosure policy.
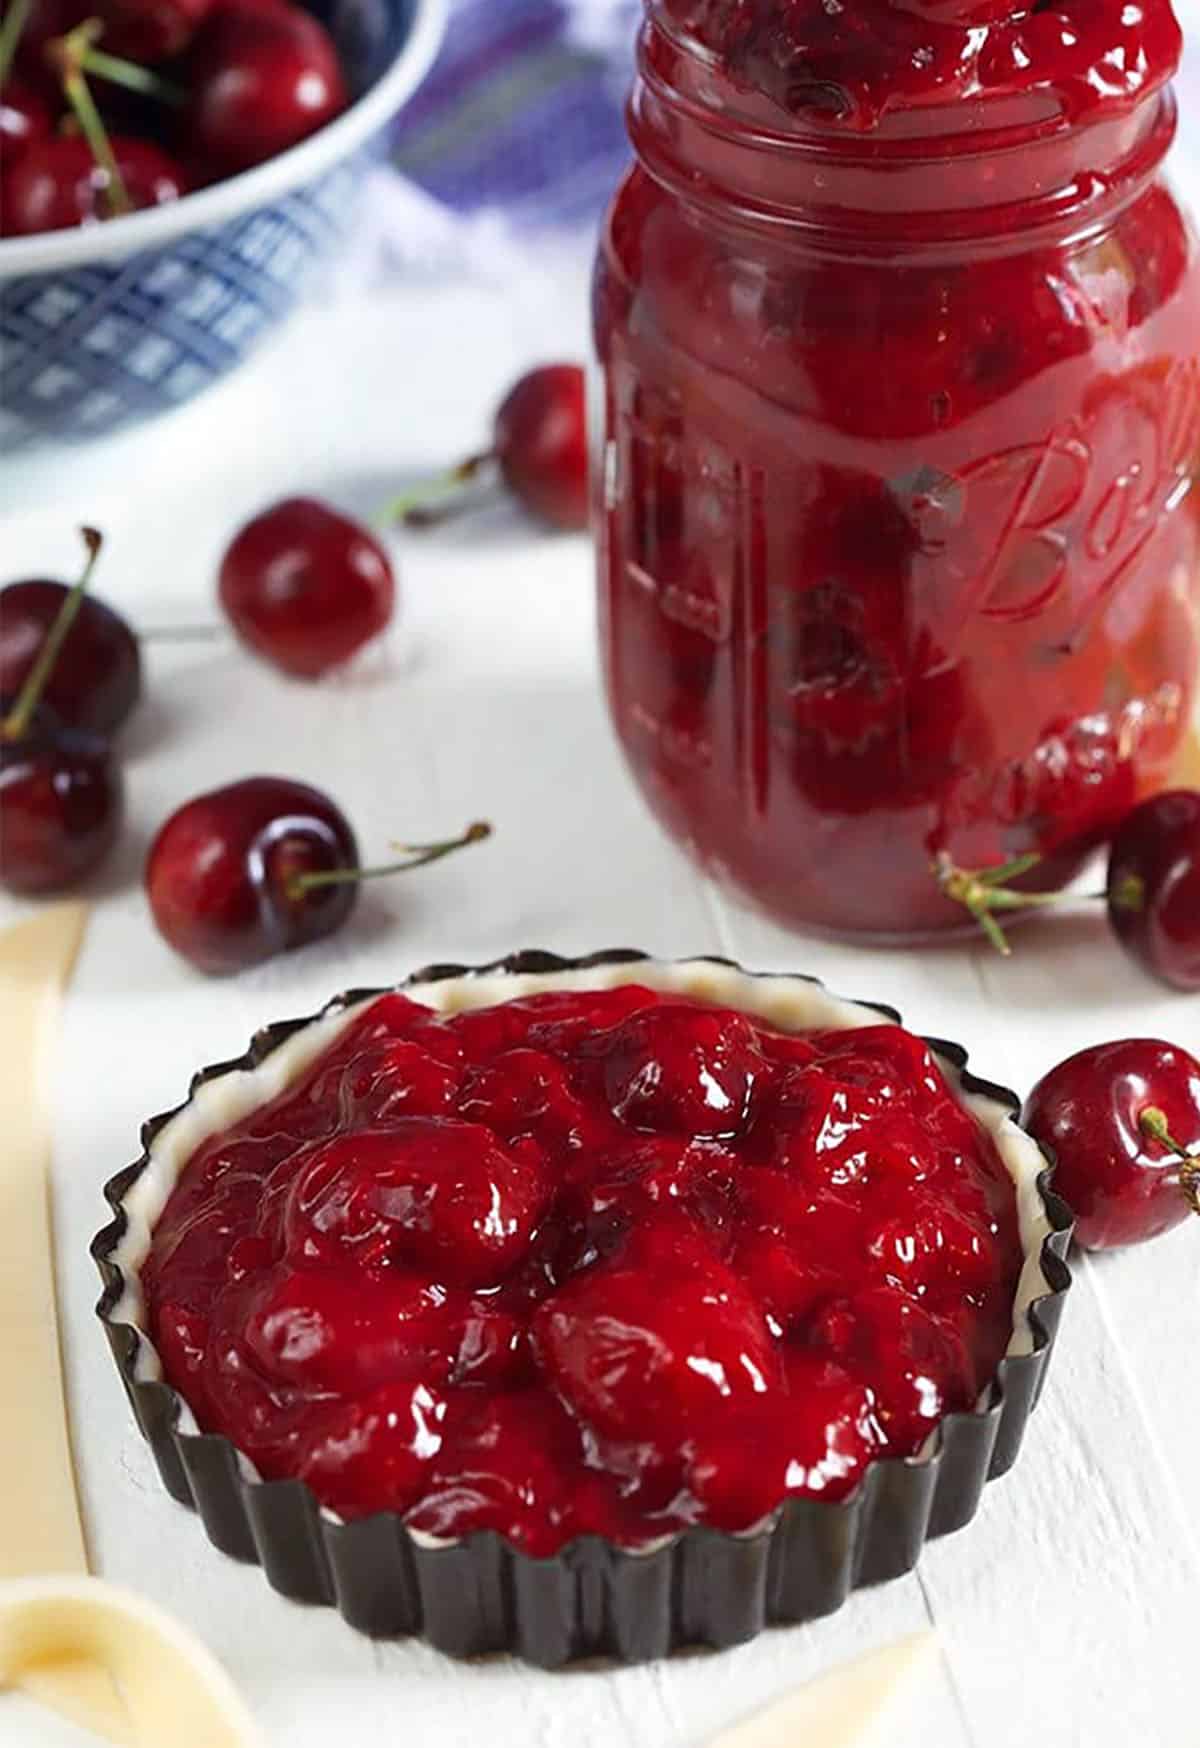
Looking for a dessert that’s bursting with flavor, budget-friendly, and just the right amount of nostalgic? This Homemade Cherry Pie Filling recipe is exactly what you need. Whether you’re baking a classic cherry pie, topping off a cheesecake, or spooning it over pancakes on a cozy weekend morning, this easy filling brings that sweet-tart cherry flavor in every bite—without the need for store-bought cans.
Why I Love this Cherry Pie Filling
Cherry pie has always been one of my favorite desserts, especially when I want something comforting that reminds me of my childhood. But let’s be honest—those canned versions just don’t do it justice. That’s why I decided to make my own cherry pie filling from scratch, and it turns out, it’s shockingly simple.
- Made with just a few pantry staples
- Ready in under 30 minutes
- Perfectly balanced between sweet and tart
- Freezer-friendly so you can always have some on hand
And the flavor? It’s bright, fruity, and rich—just like cherry pie should taste.
Fresh Ingredients You Will Need
Here’s what you need to make this easy cherry pie filling, plus a few helpful substitution ideas:
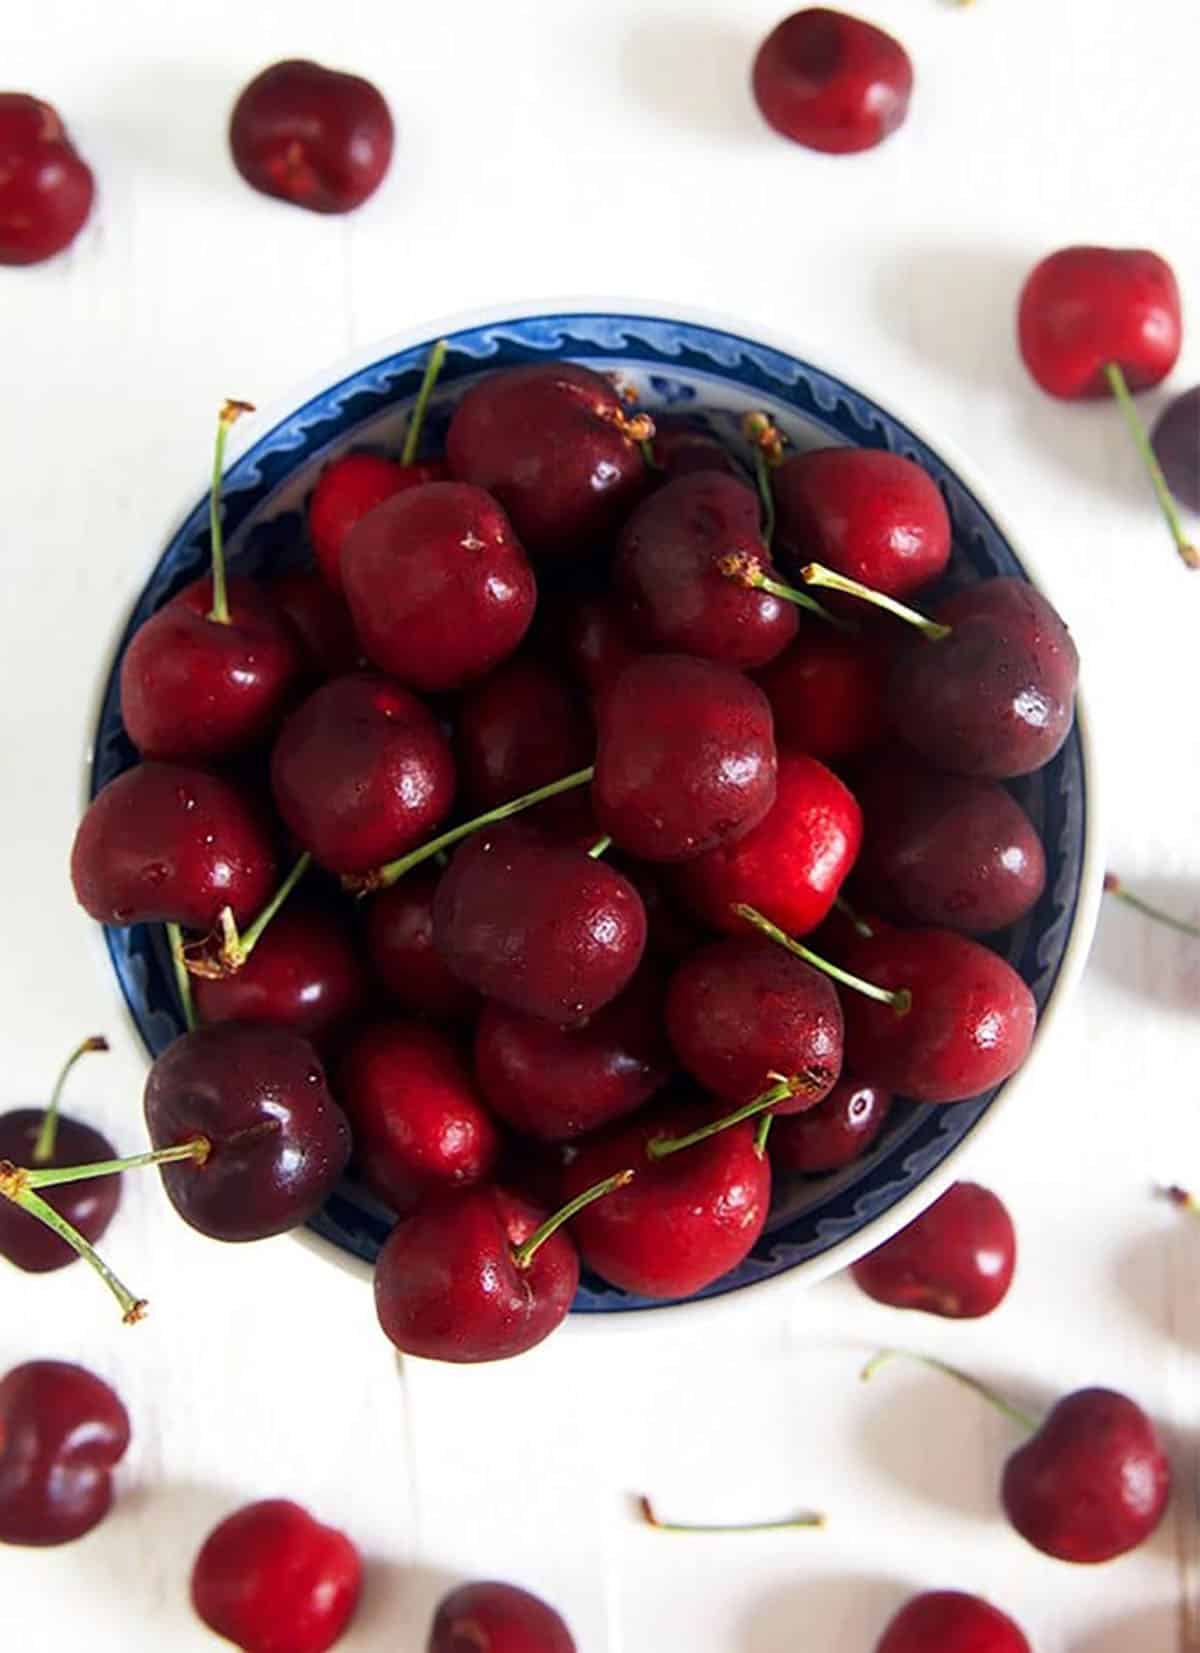
- Cherries (Fresh or Frozen): You’ll need about 4 cups of pitted cherries. Sweet cherries like Bing or Rainier work well, but you can also use tart cherries for a tangier twist.
Substitute: Frozen cherries (no need to thaw) work great if fresh aren’t in season. - Granulated Sugar: This sweetens the filling and balances the cherries’ natural tartness.
Substitute: Coconut sugar or maple sugar for a slightly deeper flavor. - Cornstarch: Cornstarch thickens the filling to that perfect pie-filling consistency.
Substitute: Arrowroot powder or tapioca starch if you prefer a more natural thickener. - Lemon Juice: Adds brightness and helps balance the sweetness.
Substitute: Try lime juice or even a splash of apple cider vinegar if you’re in a pinch. - Water: Used to dissolve the cornstarch and create the syrup base.
Substitute: Use cherry juice or apple juice for even more flavor. - Almond Extract (Optional but Highly Recommended): It adds a subtle, nutty depth that pairs perfectly with cherries.
Substitute: Vanilla extract or leave it out if you prefer a simpler flavor.
For the full ingredient list and instructions, see the recipe card below.
How to Make Cherry Pie Filling
Making your own cherry pie filling is easier than you think. Here’s how:
- Prepare the slurry: In a small bowl, whisk together the cornstarch and water until smooth. Set aside.
- Cook the cherries: In a saucepan over medium heat, combine the cherries, sugar, and lemon juice. Cook for about 5–6 minutes until the cherries begin to release their juices.
- Thicken the filling: Stir in the cornstarch slurry and continue to cook, stirring constantly, until the mixture thickens (about 2–3 more minutes).
- Finish with flavor: Remove from heat and stir in almond extract.
- Cool: Let the filling cool before using or storing.
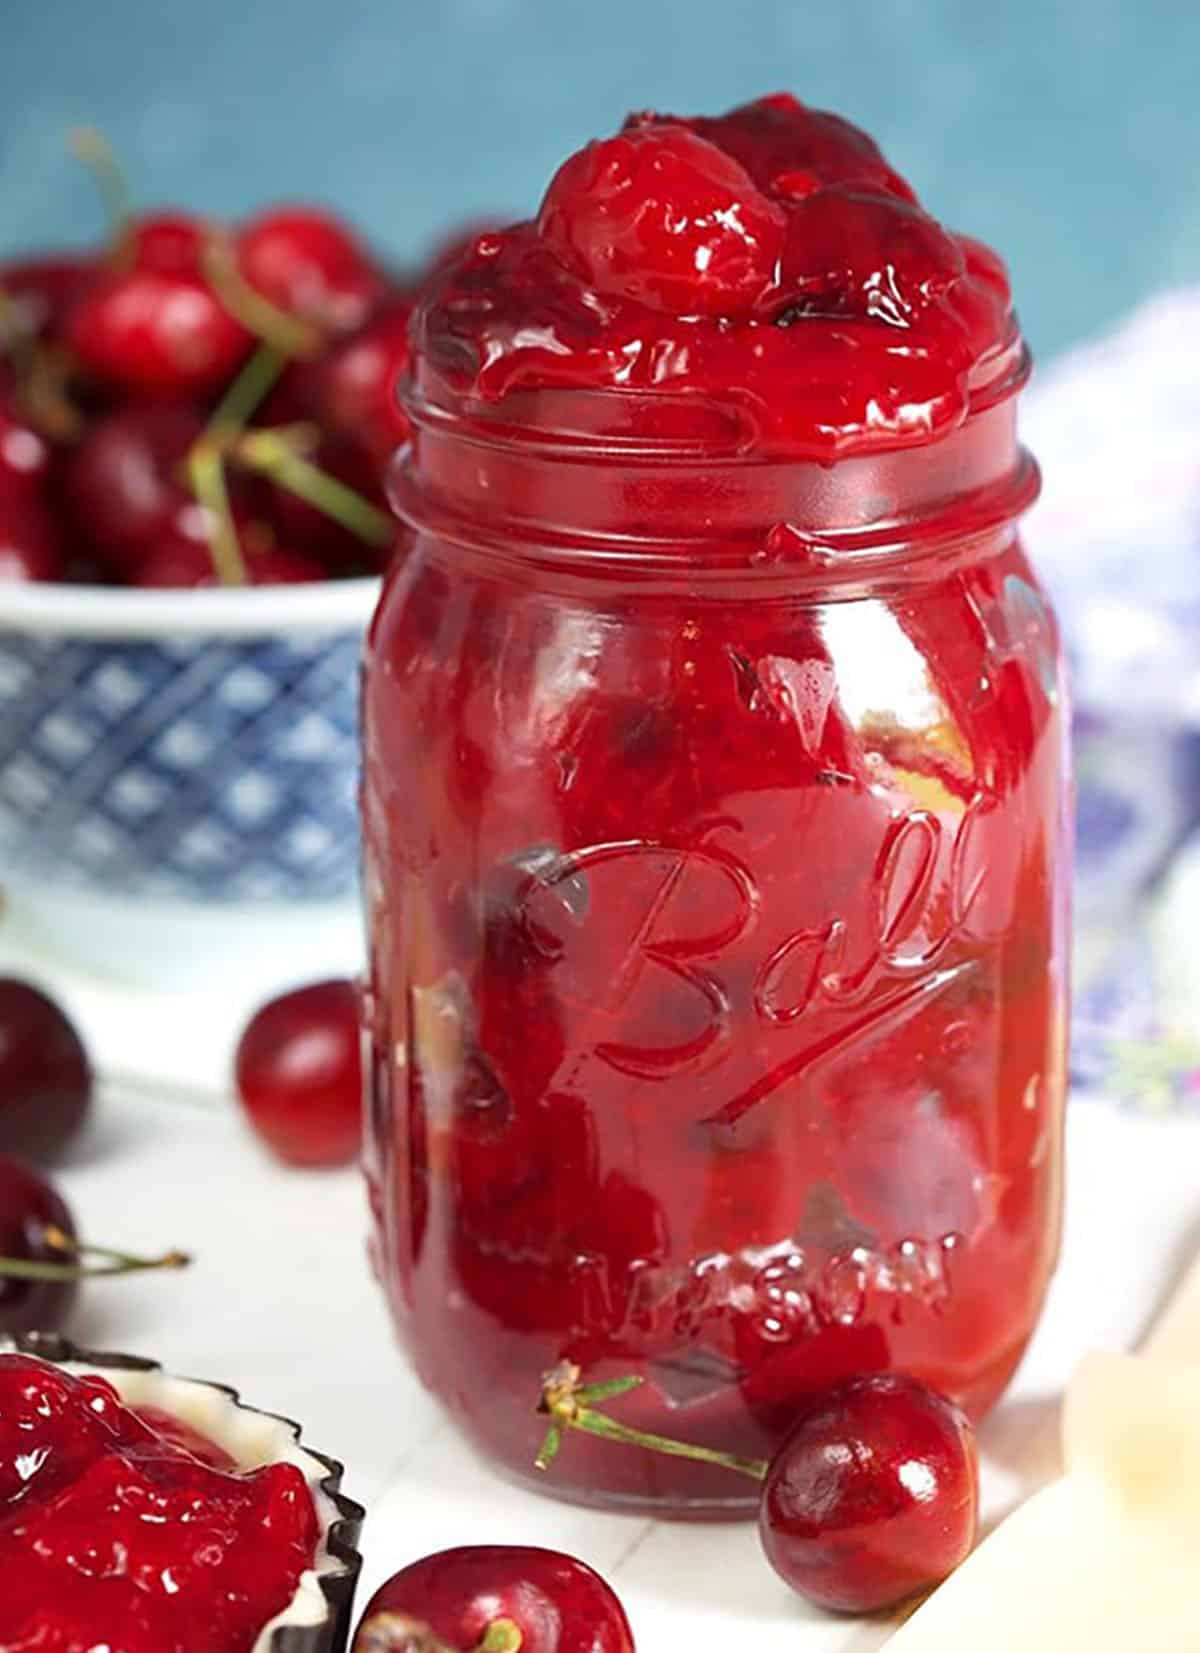
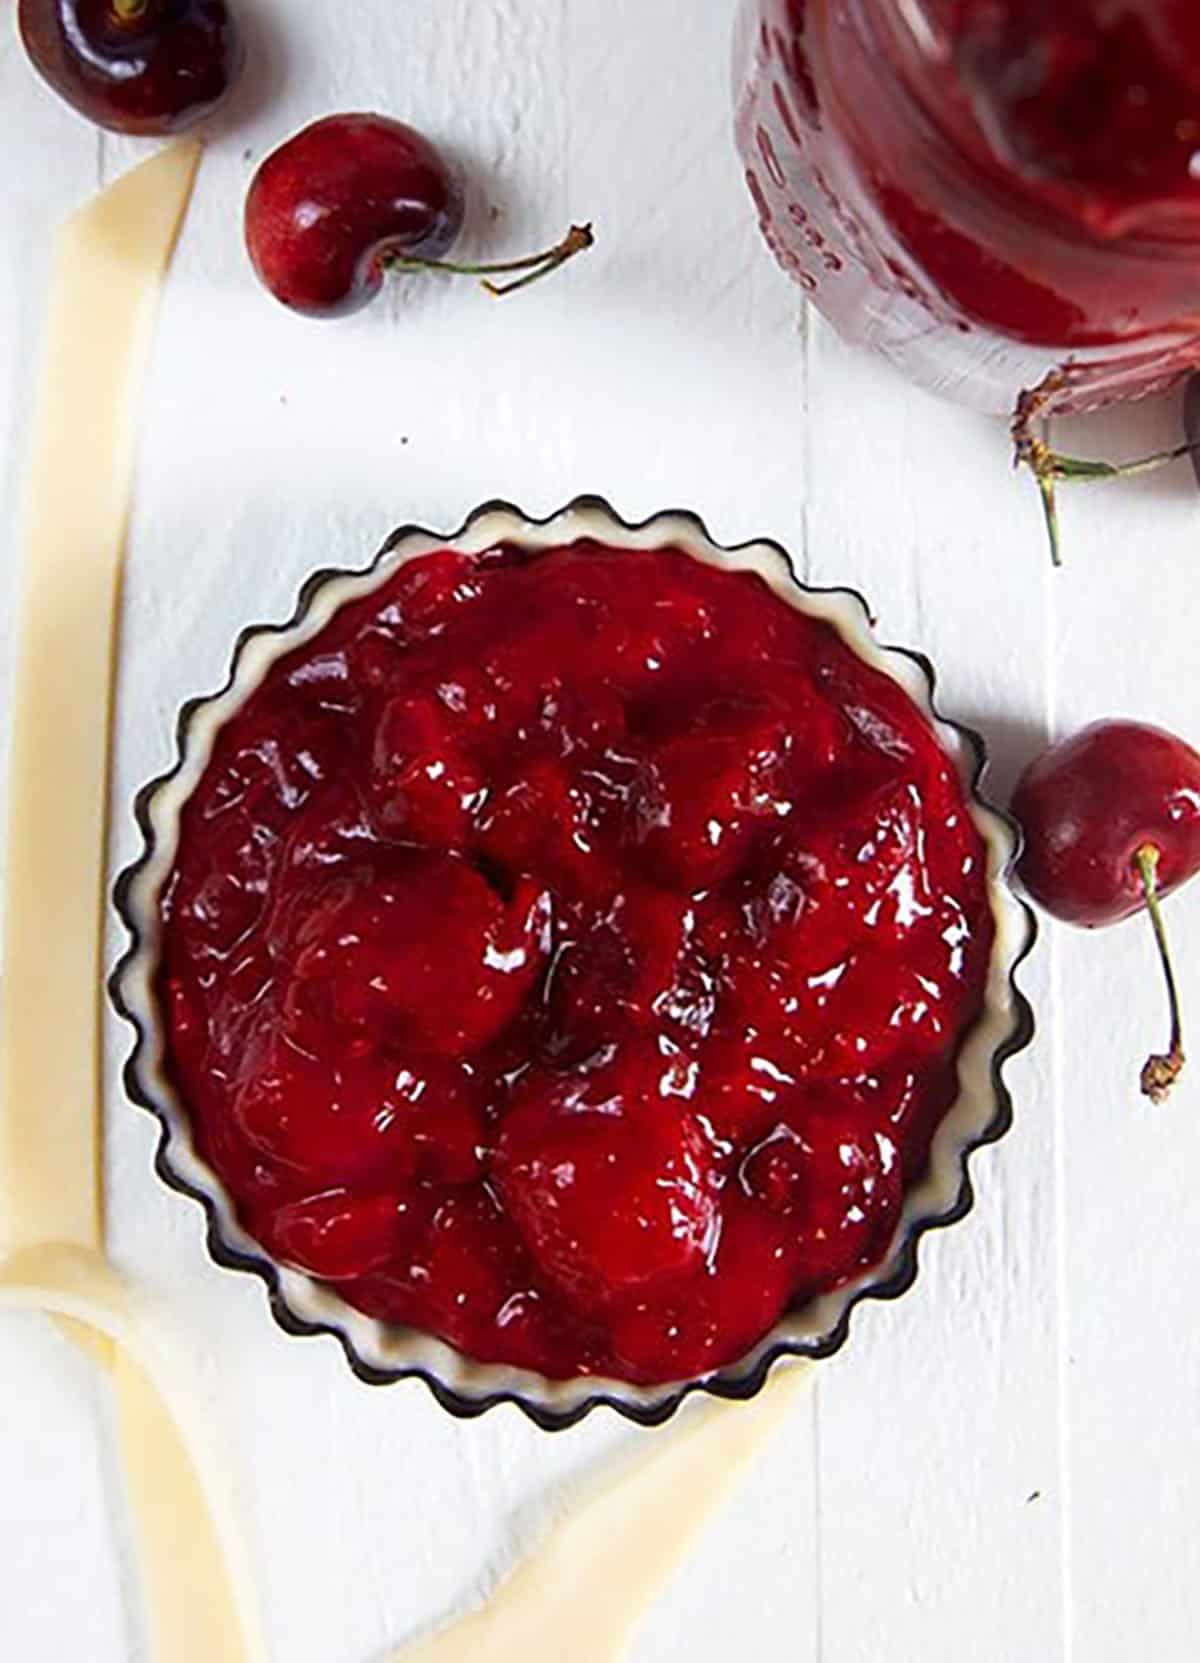
That’s it! You’ve got a thick, glossy, juicy filling that tastes way better than anything from a can.
How to Store Cherry Pie Filling
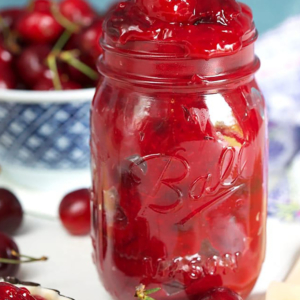
Once cooled, store your cherry pie filling in an airtight container or mason jar in the refrigerator for up to 1 week.
Freezing Instructions
Yes, you can freeze it! Let the filling cool completely, then transfer it to a freezer-safe container or zip-top bag. Flatten the bag for easier storage.
- Freeze for up to 3 months
- Thaw in the fridge overnight before using
How to Pit a Cherry
My favorite way to pit a cherry is by using a cherry pitter. It’s kind of a kitchen drawer hog and a unitasker…at best. So, if you don’t want to purchase a cherry pitter, here are three ways to pit a cherry WITHOUT a cherry pitter.
With a chopstick:
- Using the thin end of a chopstick, push it through the stem end of the cherry to pop out the pit.
With a paperclip:
- Unfold the paper clip and insert one end into the cherry. Hook the pit with the paper clip and pull it out of the cherry.
With a pastry tip:
- Place the pastry tip on your finger and push it into the cherry through the stem end to pop out the pit.
Can I use flour instead of cornstarch to thicken pie filling?
You can totally use flour in place of cornstarch to thicken your cherry pie filling but the filling may be even more cloudy than normal. If you want to achieve a more translucent pie filling, tapioca flour is amazing for perfectly clear pie filling.
Either way, this homemade cherry pie filling recipe is faaarrrr better than even the best canned cherry pie filling.
How to Use Cherry Pie Filling
My favorite recipe for using cherry pie filling are these amazing Chocolate Covered Cherry Cookies….seriously, they’re like the best dessert treat ever. I make them for Christmas now every year.
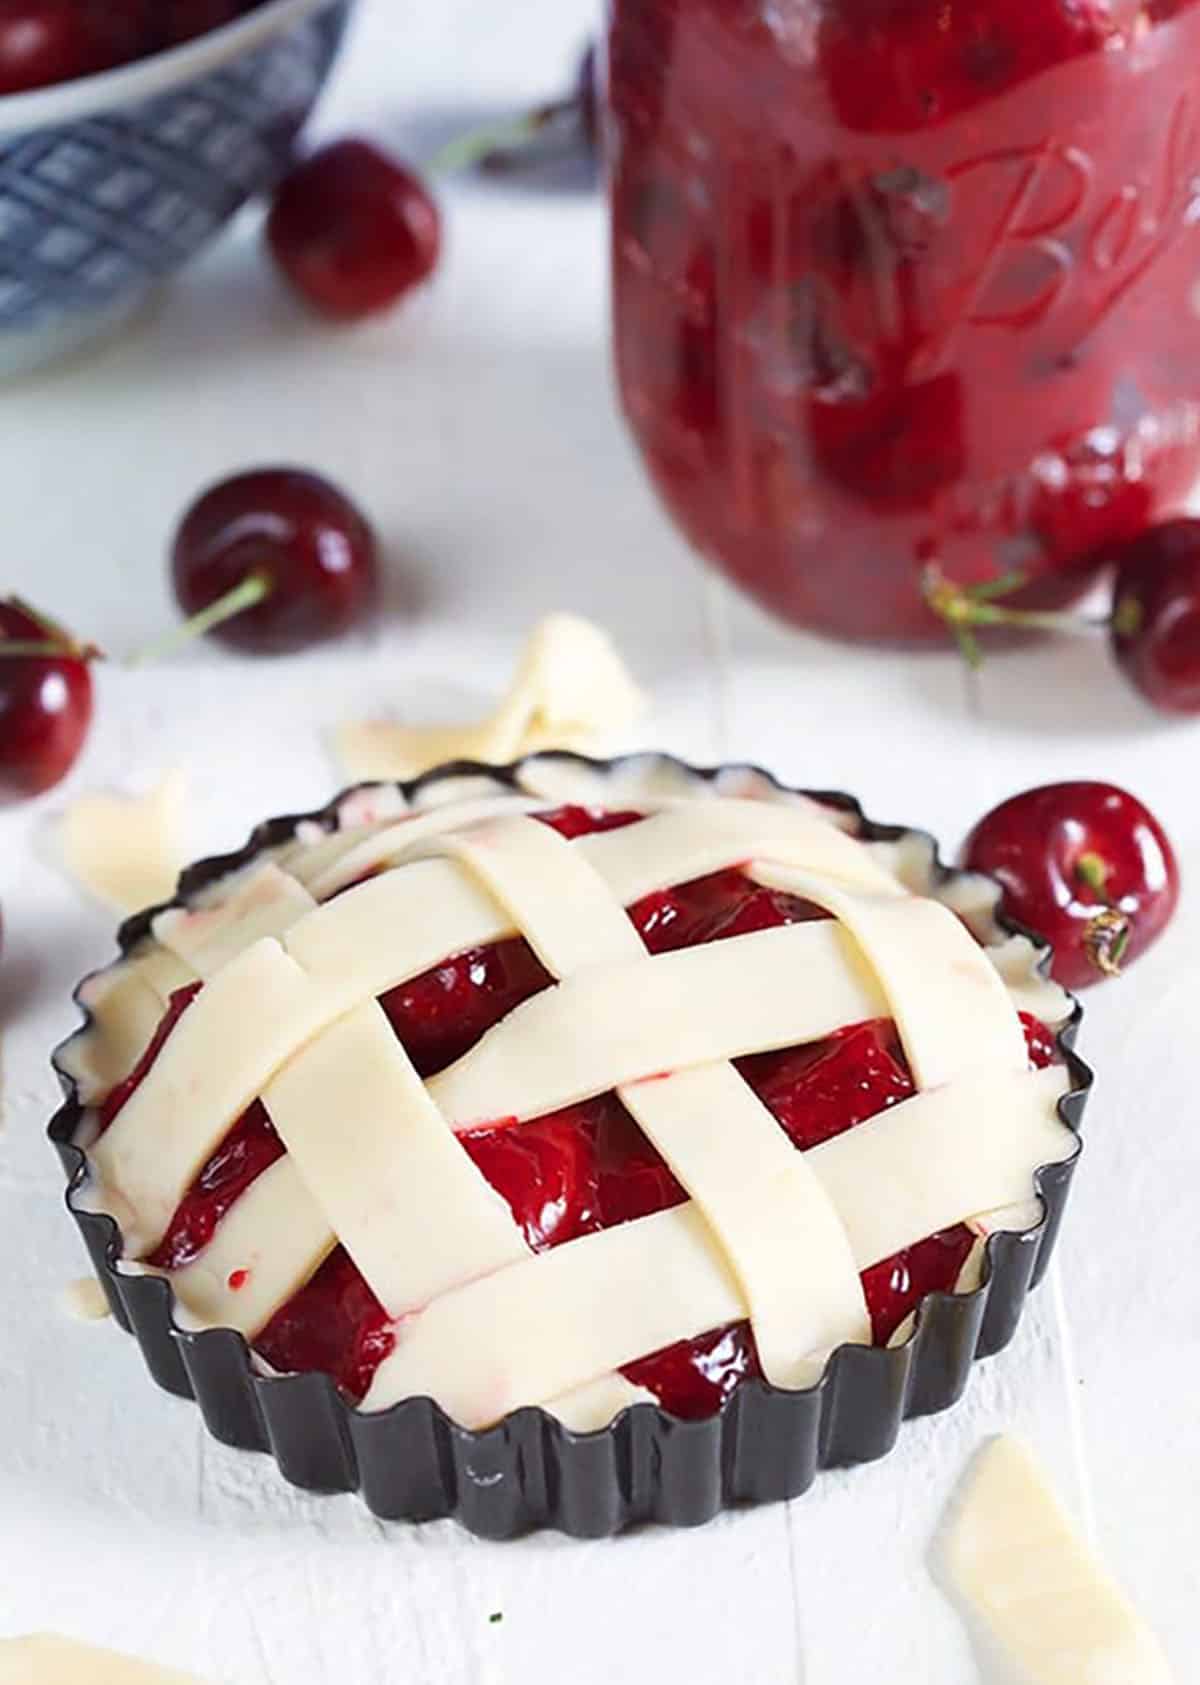
You can also make a quick and easy Cherry Pie with this easy Homemade Pie Crust. It’s super simple to whip up and I tend to make extra to keep in the freezer to solve pie emergencies.
If you want to make a classic cherry pie recipe….this is my favorite cherry pie recipe. I’ve been making it for years now and the lattice crust is super simple to make.
We also LOVE this easy Black Forest Trifle using this homemade pie filling recipe. Best of all…..it’s NO BAKE!
More Cherry Recipes You’ll Love
More Easy Summer Desserts
- Fresh Strawberry Pie with Cream Cheese
- Easy Peach Slab Pie
- Brown Butter Berry Cobbler
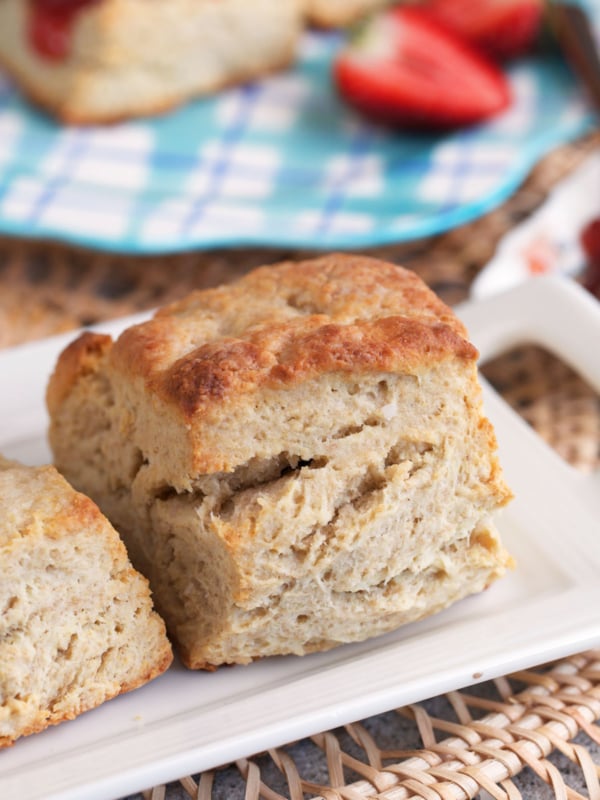
- BEST Strawberry Shortcake Recipe
- Cherry Clafoutis
Want to see what else we’re cooking up? Follow us over on Instagram for fun food and behind the scenes excitement.
Cherry Pie Filling Recipe
Equipment
- saucepan
- whisk
- cherry pitter
- spatula
Ingredients
- 1/3 cup sugar
- 1/4 cup cornstarch
- 1/4 teaspoon salt
- 4 cups fresh sweet cherries, pitted
- 1 1/2 cups water
- lemon, juiced and zested
- 4-5 drops red food coloring, optional
Instructions
- In a large saucepan over medium heat, combine the sugar, cornstarch and salt.
- Stir in the cherries, water, lemon zest and lemon juice.
- Bring to a boil.
- Cook for 2-3 minutes or until thickened, stirring constantly.
- Remove from the heat and stir in food coloring, if desired.
Notes
Nutrition
Nutrition information is automatically calculated, so should only be used as an approximation.


Yummy. Homemade better than canned!
Once my cherry pie filling cooled, it congealed and looked bumpy. How do I bring it back to the more glossy state? I am using it to put on top of a cake.
You may have luck reheating it a bit but it sounds like it may be overcooked.