
This post may contain affiliate links. Please read our disclosure policy.
All great sourdough bread starts with a good sourdough starter, and making one from scratch is much easier than it sounds. You only need flour, water and a little patience.
This beginner sourdough starter recipe walks you through the process day by day, from that first thick mixture of flour and water to a bubbly, active starter that’s ready for baking.
Plan on about a week to get started, but don’t worry if yours needs more time. Temperature, flour and your kitchen environment can all affect how quickly it develops. Instead of watching the calendar, I’ll show you exactly what to look for so you know when your starter is truly ready.
I’ve kept an active starter in my fridge for years and this beginner method is the one I share with sourdough fans.
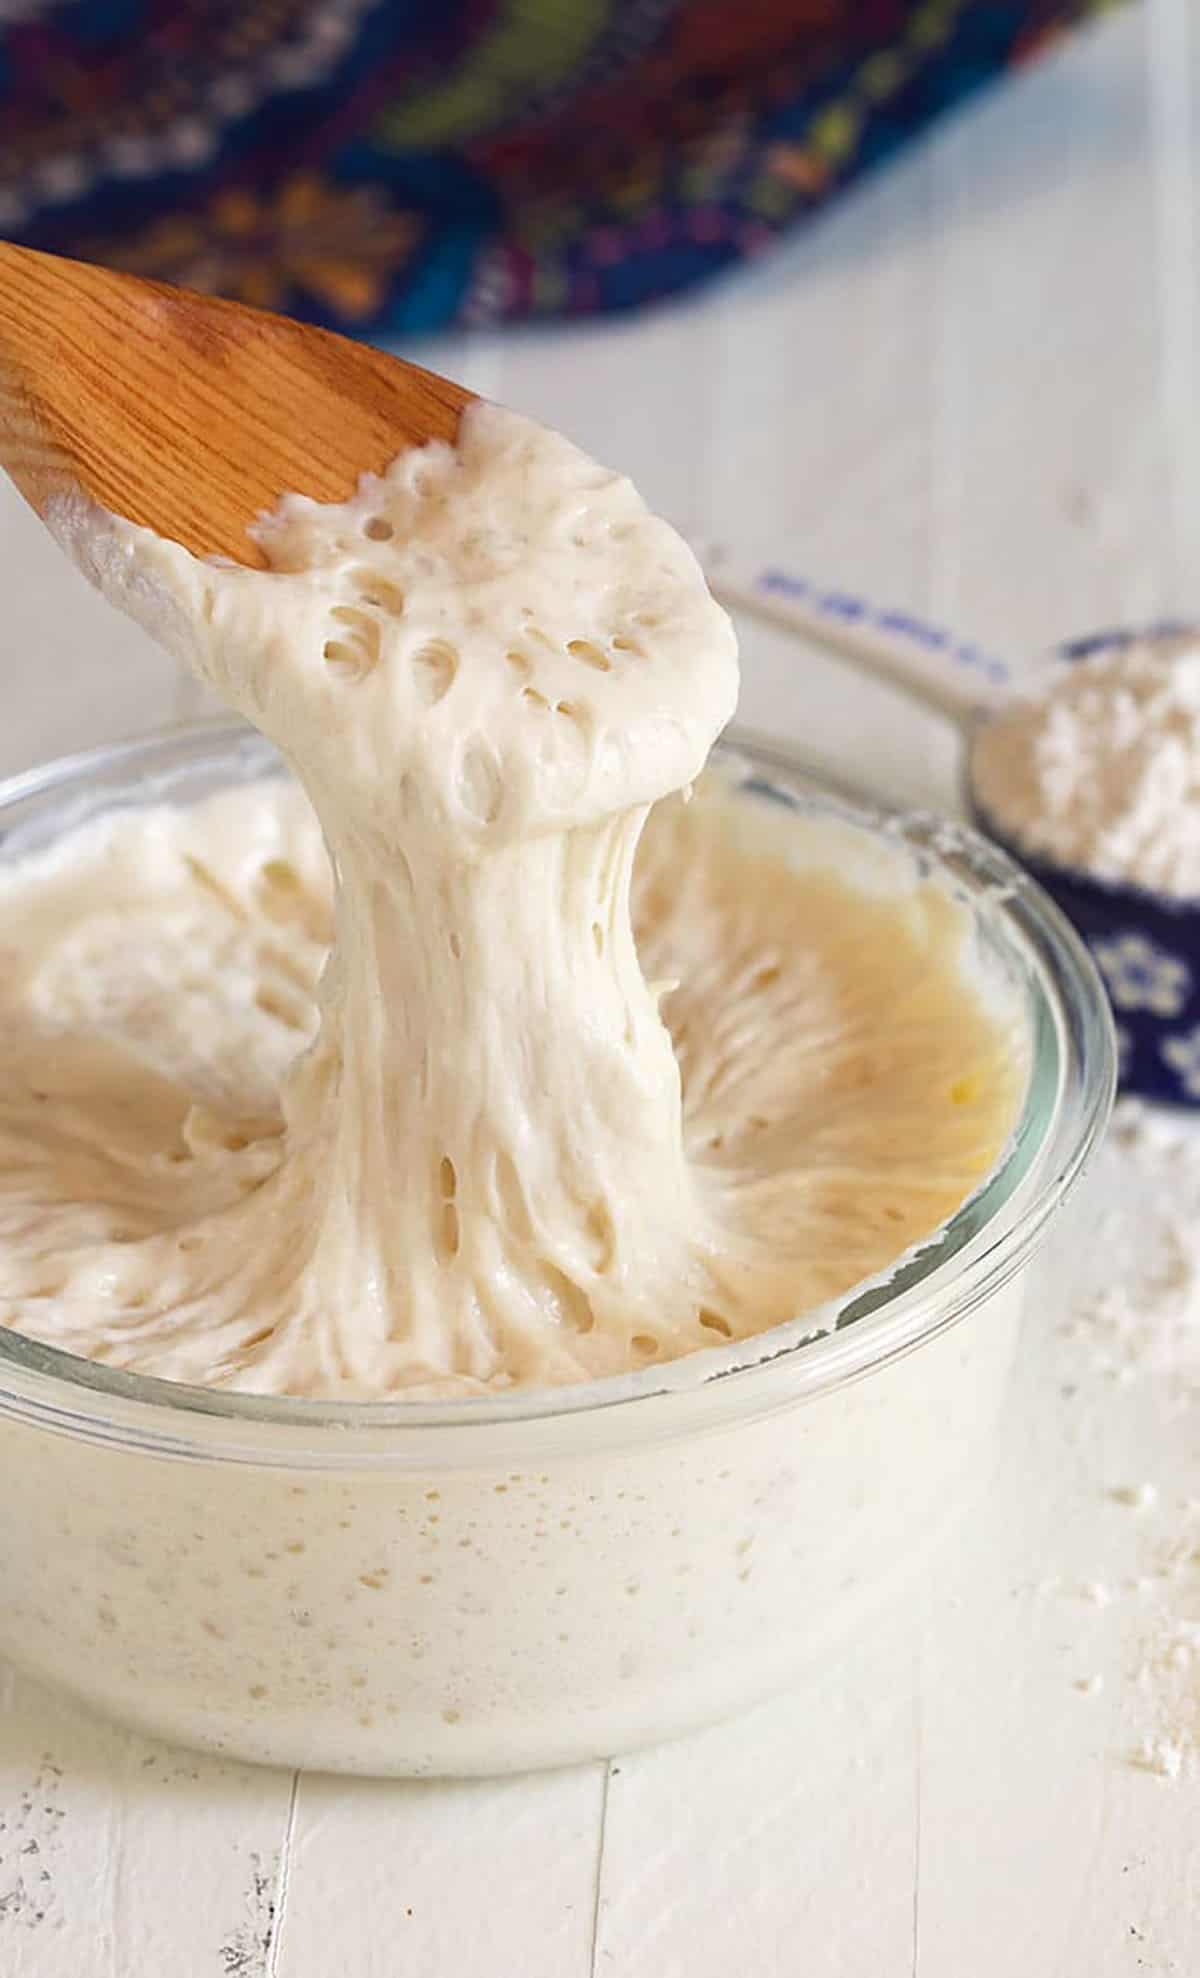
Table of Contents
- Kellie’s Note Start Loafing Around
- Sourdough Starter Ingredients
- Tools You’ll Need
- How to Make Sourdough Starter
- What If My Starter Doubles on Day 2?
- What is Sourdough Starter?
- How To Feed Your Starter
- How Do You Know When Sourdough Starter Is Ready?
- Which is the Best Flour To Use
- How to Store and Maintain Sourdough Starter
- Ways to Use Your Sourdough Starter
- Troubleshooting Quick Hits
- Sourdough Discard Recipes
- Sourdough Starter Recipe
- Sourdough Starter FAQs
I have used this recipe at least 4 times & it has never failed me!
– Kass
Kellie’s Note
Start Loafing Around

Everyone’s baking bread right now. I guess the things that seem to take a ton of time and patience are finding their way into homes to keep us busy. My secret is, I’ve always loved baking bread and keep a Sourdough Starter in the fridge for bread emergencies.
My family doesn’t know that this starter is what I throw into things that need a bit of tang and a quick rise when I’m out of yeast. So, a commercial yeast shortage is never a problem because you’re, basically, making yeast at home when you make your own sourdough starter. And it couldn’t be easier to make.
Making sourdough starter from scratch isn’t fussy or complicated. It all begins with flour and water and a little bit of time. That’s it. Easy Peasy! Now let’s get started on your sourdough journey.

Sourdough Starter Ingredients
You really only need flour and water, but the type of flour you start with can help get fermentation moving.
- Whole wheat flour or rye flour: I like to use some whole-grain flour during the first couple of days because it helps get the starter active.
- Unbleached all-purpose flour: Once the starter is moving, this is my go-to flour for everyday feedings because it’s inexpensive and easy to find.
- Water: Filtered, spring or bottled water is a good choice if your tap water is heavily chlorinated.
One important note: When sourdough bakers talk about feeding with “equal parts” flour and water, they mean equal parts by weight. For example, 60 grams flour and 60 grams water equals about 1/2 cup flour and 1/4 cup water.
I haven’t tested this recipe as a gluten-free sourdough starter, so I recommend using a recipe specifically developed for gluten-free flour if that’s what you need.
For the full measurements and instructions, see the recipe card below.
Tools You’ll Need
You don’t need a bunch of special sourdough equipment to get started, but a few basics make the process easier.
- Loose-fitting lid: Cover the starter without sealing the jar tightly.
- Wide-mouth jar: A clear 4-cup jar gives the starter room to grow and makes it easy to see the bubbles.
- Kitchen scale: Optional, but helpful. Measuring by weight makes feeding ratios much easier to keep consistent.
- Rubber band: Wrap it around the jar at the starter’s level immediately after feeding so you can see exactly how much it rises.
- Spoon or spatula: Use it to stir thoroughly and scrape down the sides of the jar.
At a Glance: Your Sourdough Starter Plan
- Day 1: Mix the flours and water and place the starter in a warm spot.
- Day 2: Check for bubbles. If nothing is happening yet, give it more time.
- Days 3–7+: Discard half and feed with fresh flour and water once daily.
- Temperature: Keep the starter in a consistently warm spot. Cooler kitchens will slow fermentation.
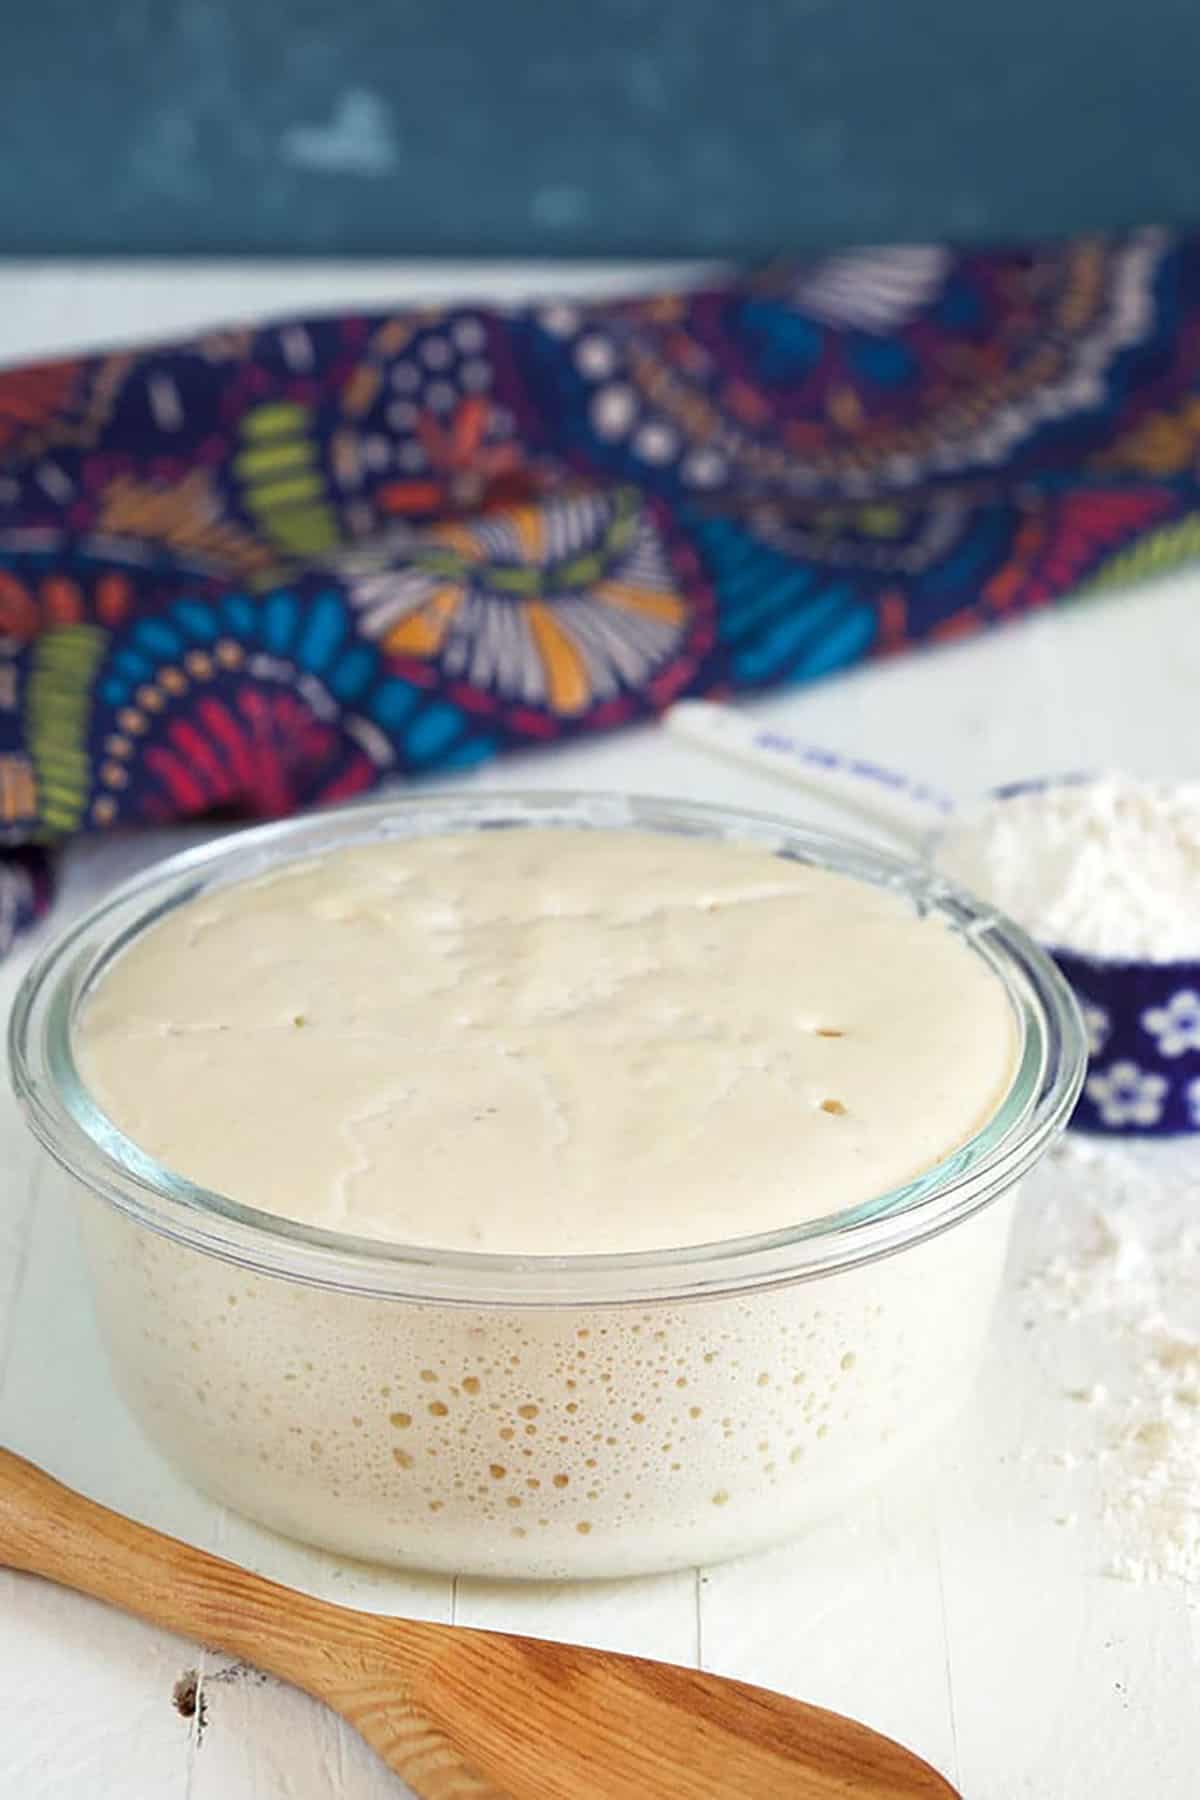
- Ready check: I look for a starter that reliably doubles after feeding, looks bubbly and airy and smells pleasantly tangy. For my starter, doubling in about 4 hours is the goal.
- Don’t rush it: If Day 7 arrives and your starter isn’t there yet, keep feeding it. The starter decides when it’s ready—not the calendar.
How to Make Sourdough Starter
Day 1: Mix
- Combine the whole wheat flour and all-purpose flour in a clean jar.
- Add the lukewarm water and stir until no dry flour remains.
- The mixture should look thick and paste-like.
- Cover loosely and place in a warm spot for 24 hours.
Day 2: Check for Activity
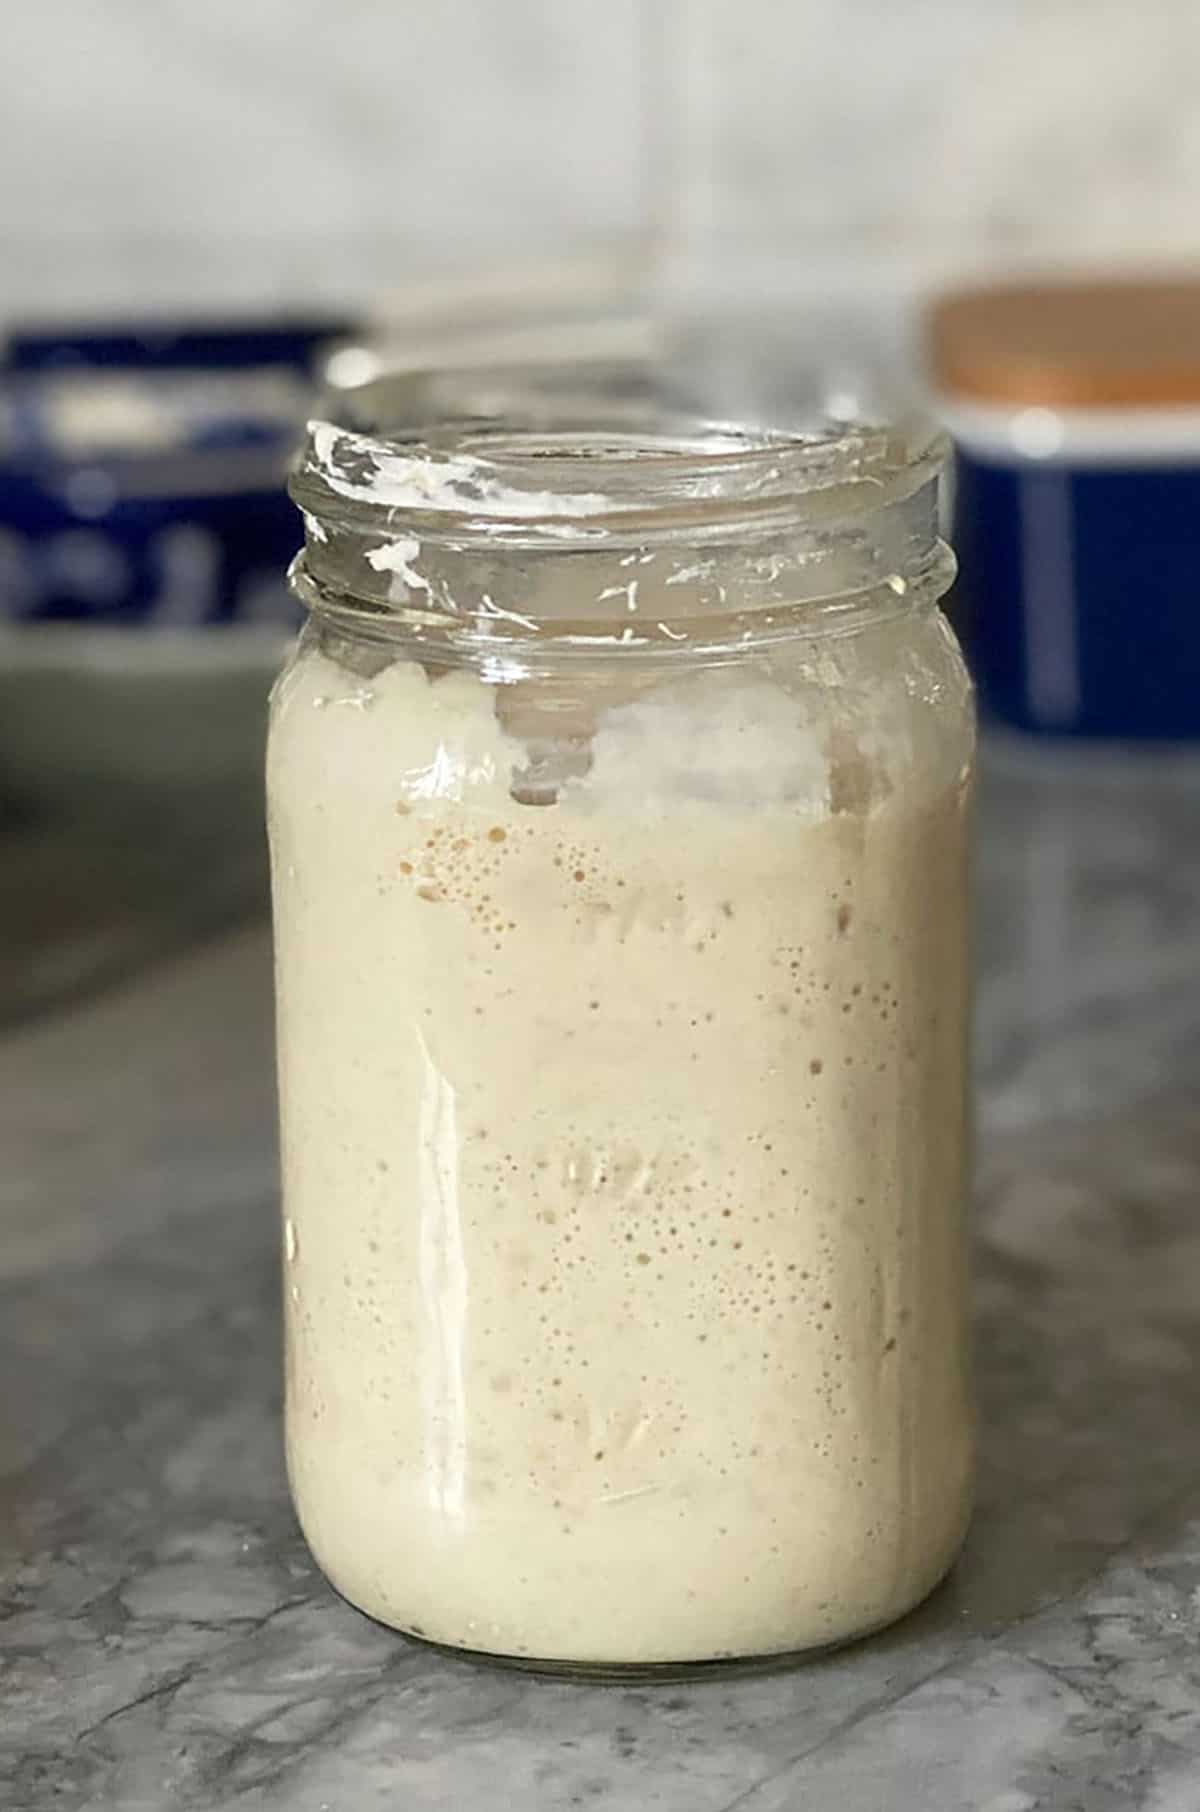
- Look for small bubbles or signs that the starter has expanded.
- No bubbles yet? That’s okay. Stir it, cover again and give it another 12–24 hours.
- A rubber band around the jar makes it easy to see whether the starter has risen.
What If My Starter Doubles on Day 2?
Don’t bake with it just yet! A brand-new starter can have a big burst of activity during the first few days and then suddenly seem to go quiet. This is sometimes called a false rise.
It’s completely normal. Keep following the feeding schedule and wait until your starter rises predictably after feedings before using it to make bread.
Day 3: Start Feeding
- Discard half of the starter.
- Add fresh all-purpose flour and water.
- Stir until completely combined and scrape down the sides of the jar.
- Cover loosely and return it to its warm spot for 24 hours.
Days 4–7 and Beyond
- Continue discarding half and feeding the starter once every 24 hours.
- As it becomes stronger, you should notice more bubbles and a more predictable rise after feeding.
- Don’t worry if your starter seems very active early and then suddenly slows down. This can happen with a new starter—just keep feeding it.
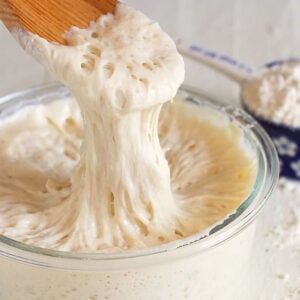
- Continue until the starter reliably doubles after feeding, looks airy and bubbly and smells pleasantly tangy.
Don’t stop just because you reached Day 7. If your starter still isn’t rising predictably, keep feeding it daily until it is.
What is Sourdough Starter?
Before you could buy a commercial active dry yeast in a jar or packet at the store, there was wild yeast. Wild yeast can be found just about anywhere like in your flour or in the air. But it must be cultivated into a form that’s suitable for baking and to do that, you create a sourdough starter.
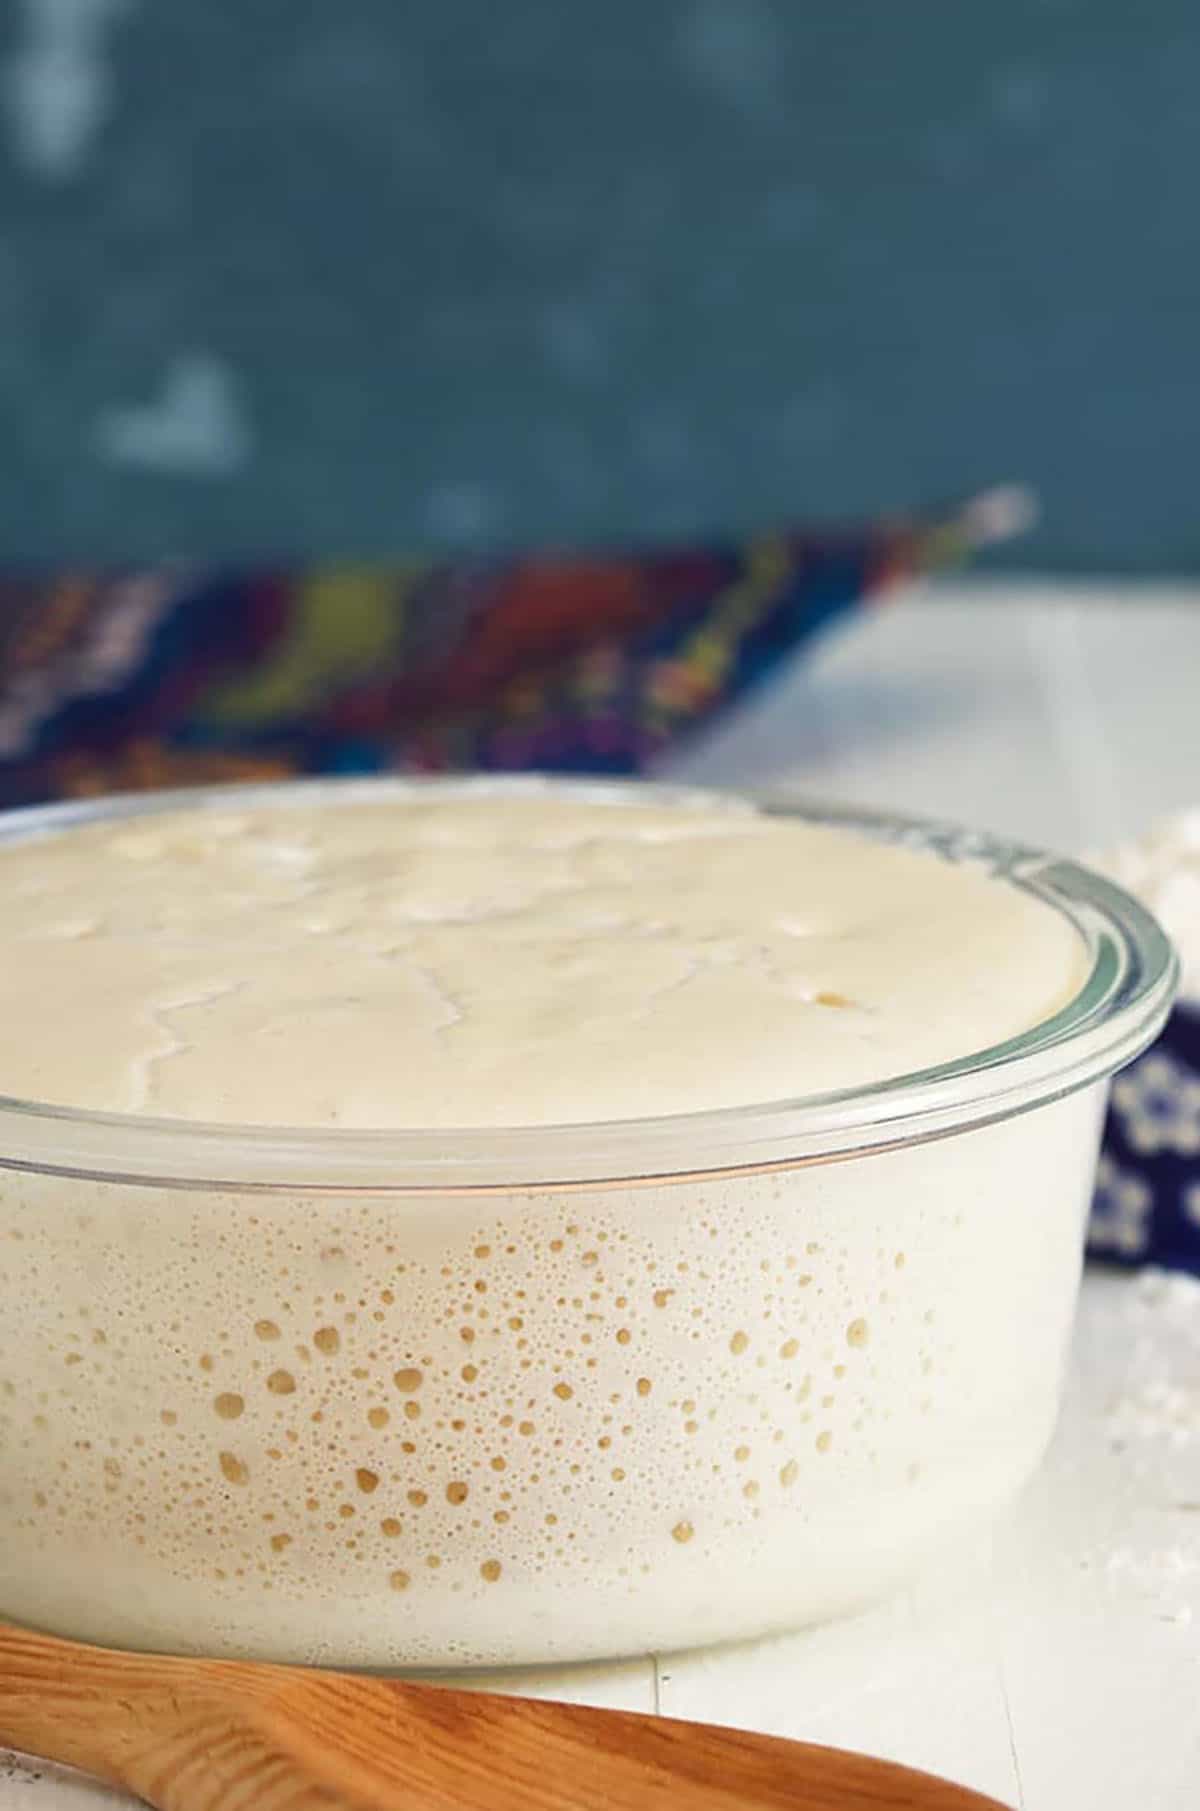
A sourdough starter is simply a combination of equal parts water and flour that’s been allowed to hang out for a few days on your kitchen counter or other warm place. After a day or so, bubbles will begin to form in the starter and that’s when you know the yeast is becoming active.
To keep things moving along, you feed your starter water and fresh flour for the next several days until the mixture becomes light, bubbly and puffy. Once it reaches that stage, it is now an active sourdough starter and it’s ready to be used in your favorite sourdough recipe.
Wild yeast is finicky when it comes to storage, it likes to be kept at cooler temperatures and in an acidic environment. It’s also is much more leisurely when it comes to rise….in that it takes much longer to proof breads.
How To Feed Your Starter
Now that the starter has created some movement and developed those happy bubbles, you have to keep it happy by feeding it.
- When you’re first building your starter, remove half before each feeding. I don’t save the discard from a brand-new starter for cooking. Once your starter is established and reliably active, you can begin refrigerating the discard and using it for pancakes, waffles, muffins, crackers, biscuits, pretzels and more.
- Once you’re removed half the starter, you can now feed it the remaining starter by adding 1/2 cup flour (at this point, I use all-purpose flour only) and 1/4 cup water. Stir the mixture to combine thoroughly and cover with a towel.
- Allow the starter to rest another 24 hours.
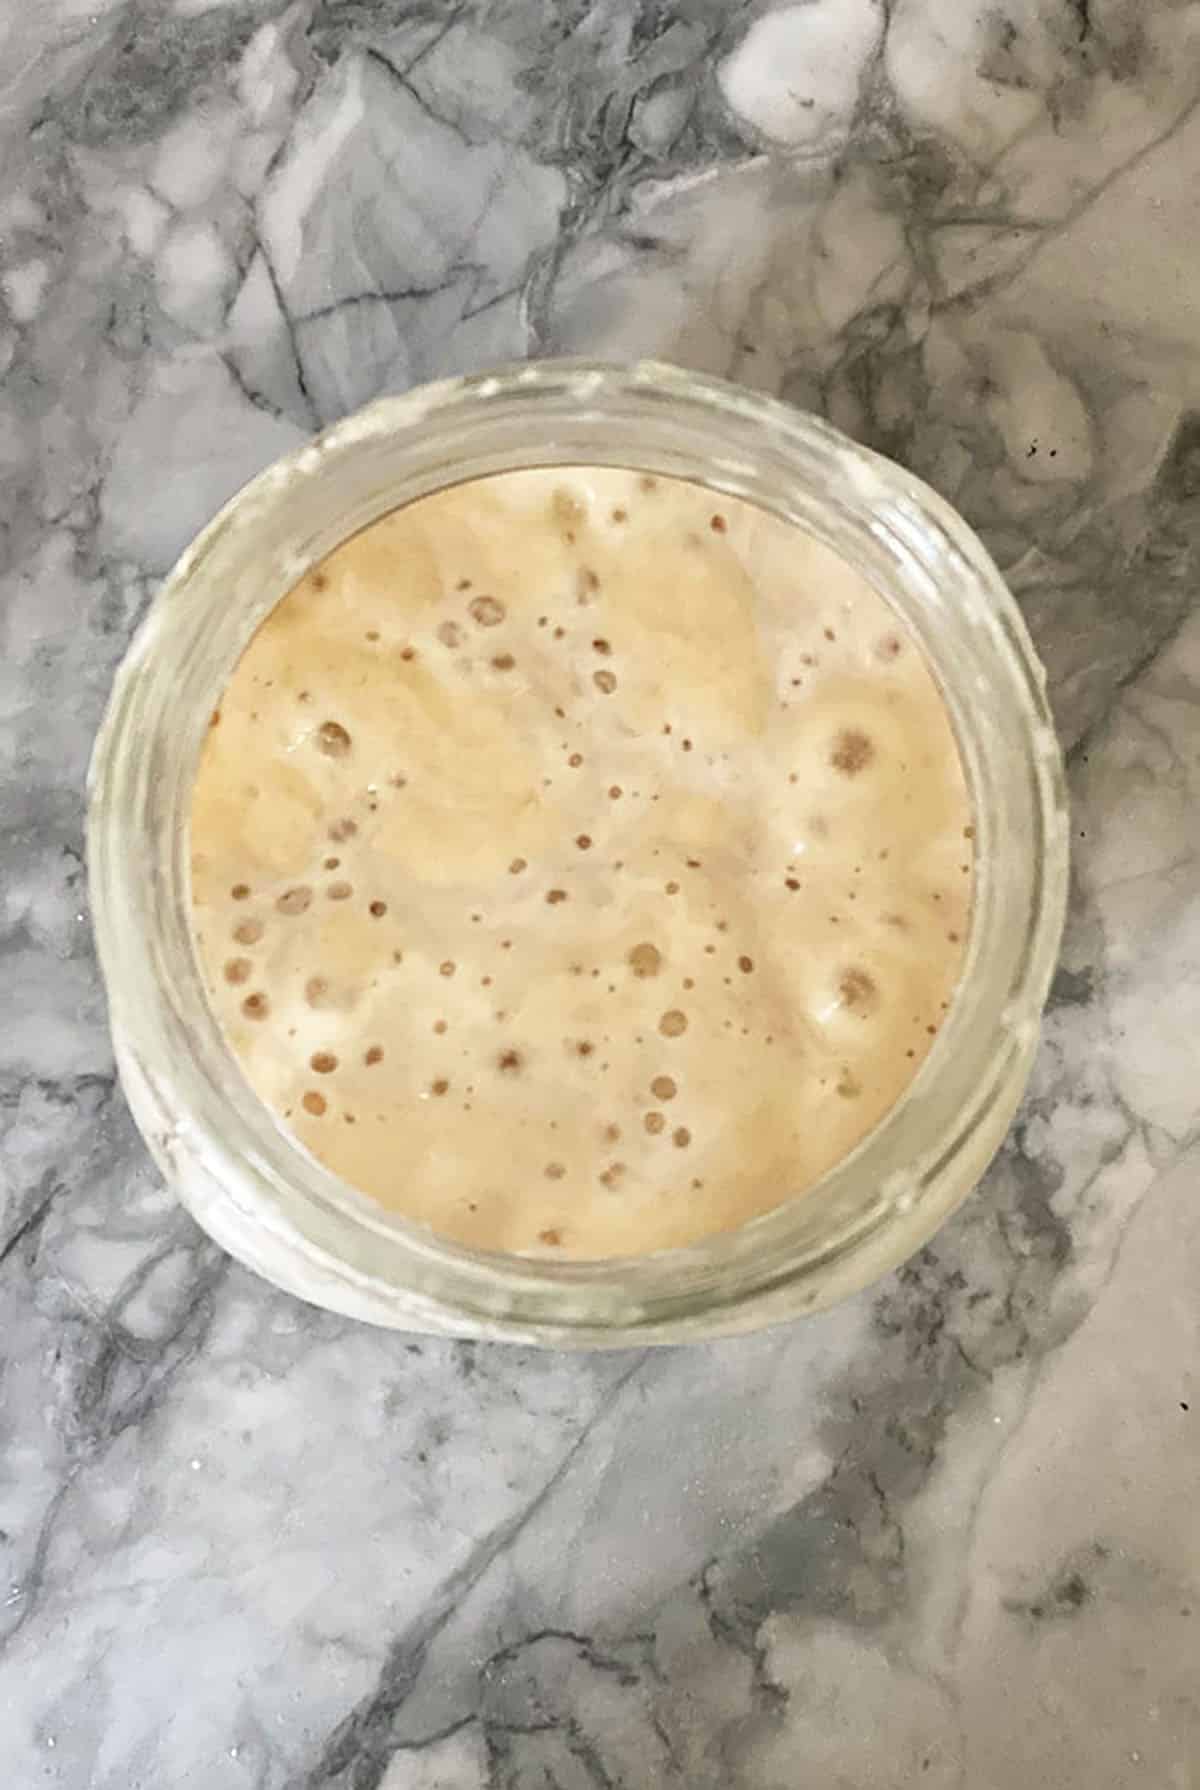
- Repeat this process of feeding your starter each day for 3-5 more days until the starter is super bubbly and billowy and light. At this point, it’s ready to use for your first loaf of bread!
How Do You Know When Sourdough Starter Is Ready?
Your starter is ready when it behaves consistently, not simply because you’ve reached a certain day.
Look for these signs:
- It reliably rises after each feeding.
- It approximately doubles in volume.
- It has bubbles throughout, not just a few on the surface.
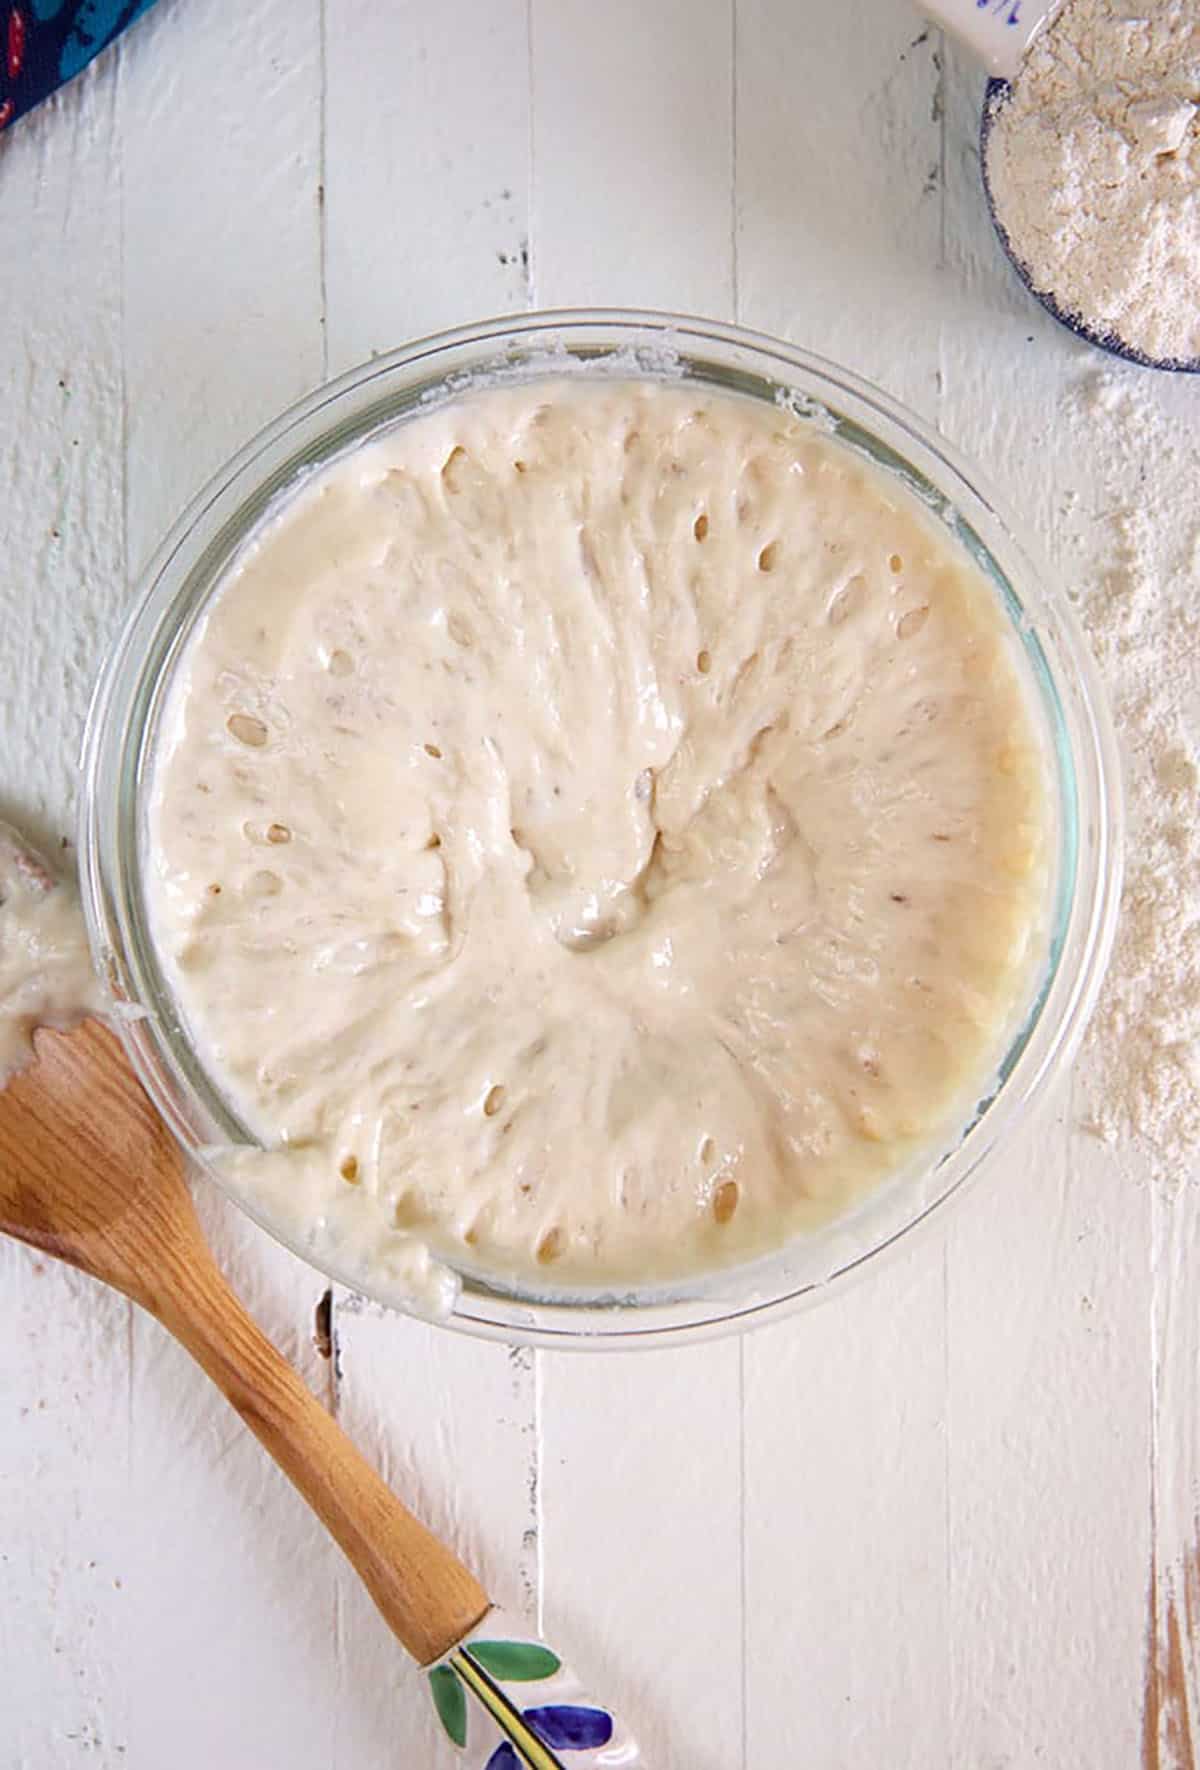
- The texture looks light, airy and slightly billowy.
- It smells pleasantly tangy rather than harsh or unpleasant.
- For my starter, I look for it to double in about 4 hours after feeding.
If you’re seeing a few bubbles but very little rise, keep feeding it. It is fermenting, but it may not be strong enough to raise a loaf of bread yet.
Small-Starter and Levain Scale-Up
Prefer less waste? Keep a tiny “mother” and build what you need only on bake day.
- Keep a small mother: Maintain 20–60 g starter in a small jar. Feed 1:1:1 (starter:water:flour by weight) once or twice daily at room temp, or keep in the fridge and feed weekly.
- Build a levain for baking: 8–12 hours before mixing dough (timing varies with temperature), mix for example:
10 grams starter + 40 grams water + 40 grams flour (scale as needed). - Use at peak: Levain is ready when doubled, domed, and bubbly; it should leave streaks on the jar and smell mildly sweet–tangy.
- Replenish the mother: After pulling starter for levain, feed the mother back to 20–60 g.
Why this path? It minimizes flour use between bakes and keeps your main culture small and consistent.
No-Discard Micro-Feed Method
A low-waste way to get started with tiny daily additions. This is an optional step if you don’t want a lot of discard to tend to.
Days 1–4 (store on the counter):
- Day 1: Mix 25 grams flour and 25 grams warm water (95°F/35°C).
- Days 2–4: Each day, stir in 25 grams flour with 25 grams water (no discard yet). Keep warm (around 70°F/21°C). Look for bubbles and a light, tangy scent.
Day 5+:
- When activity picks up, begin the standard feeding method: discard half, then feed 1:1 by weight (or ½ cup flour and ¼ cup water).
- Aim for feeds that let the culture peak and fall predictably; adjust to 1-2×/day based on temperature.
Pros: Minimal waste, easy startup.
Cons: Can run thicker and riper; once active, switch to regular discard and feeds for best strength and predictability.
This post may contain affiliate links which won’t change your price but will share some commission.
Which is the Best Flour To Use
You can use any flour for your sourdough starter that is made from a grain. So, rice flour, wheat flour, rye flour, spelt flour, barley flour, sprouted flour and bread flour will all work well. You can make gluten free starter by using a gluten free flour like rice flour.
I haven’t tested it with all of the listed flours like rice flour so you may need to do a bit of research before going down that path. Unbleached flour is highly recommended.
For best results, I like to start with 25–50% whole wheat or rye flour on Day 1–2, then switch to unbleached all-purpose flour.
How to Store and Maintain Sourdough Starter
On the Counter
If you’re baking frequently, you can keep your starter at room temperature. Continue feeding it regularly so it stays active and doesn’t run out of food.
In the Refrigerator
For occasional baking, the refrigerator is the easiest option. I keep my starter refrigerated and choose one day each week for feeding so I don’t forget.
When you’re ready to bake, remove it from the refrigerator, feed it and let it become bubbly and active again before using it.
If your starter has been neglected for a while, don’t panic. Give it a few regular feedings at room temperature and watch for the normal bubbly rise to return.
Freezing Sourdough Starter
You can also freeze starter for longer storage. Feed it first, freeze it tightly wrapped or in a freezer-safe container, then thaw it at room temperature and give it several regular feedings to wake it back up before baking.
Ways to Use Your Sourdough Starter
Once your starter is strong and active, you’re ready for the fun part, baking with it!
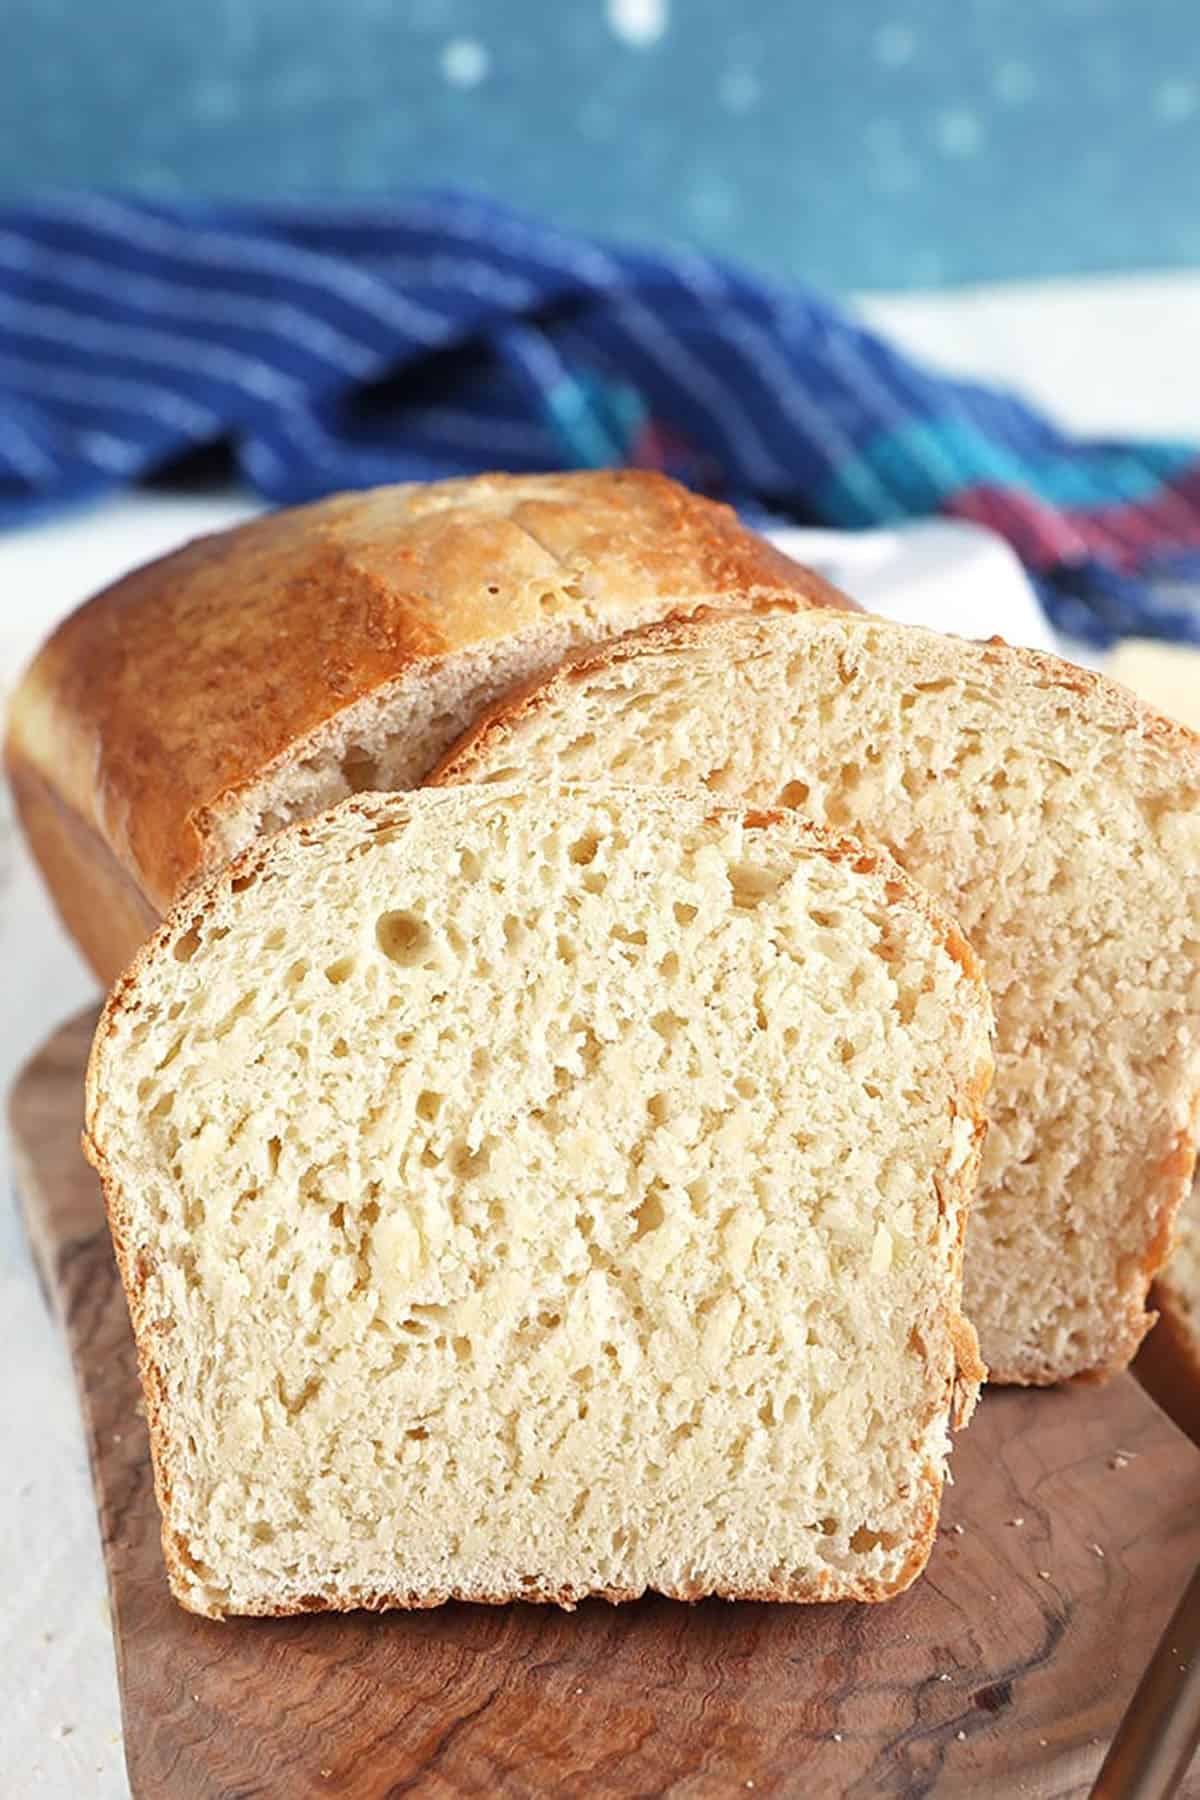
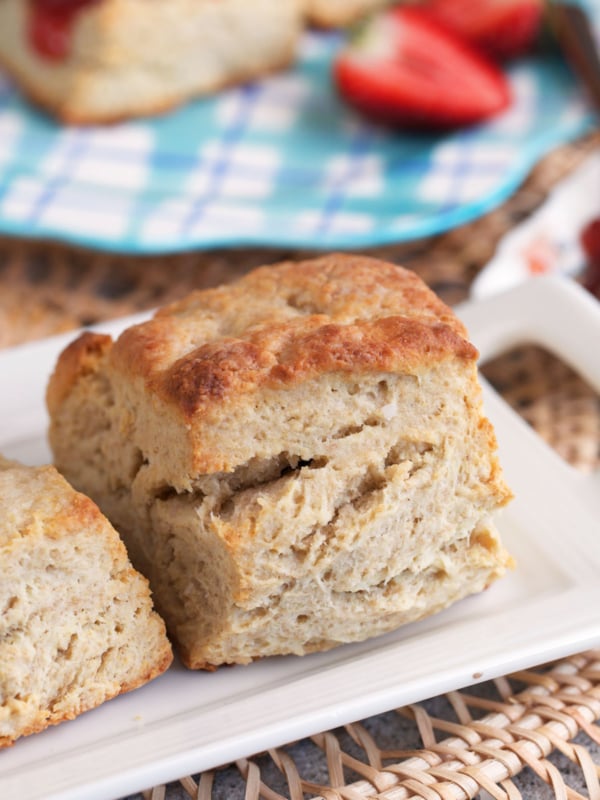
Use active starter for your favorite Sourdough Bread, or put your established starter and discard to work in Sourdough Biscuits, Sourdough Scones, Everything Sourdough Crackers and Baked Sourdough Pretzels.
If you don’t want to wait for your starter to grow and you have traditional yeast on hand, you may want to try this easy Brioche Bread recipe or our favorite White Bread. Both have been on repeat for the past several weeks.
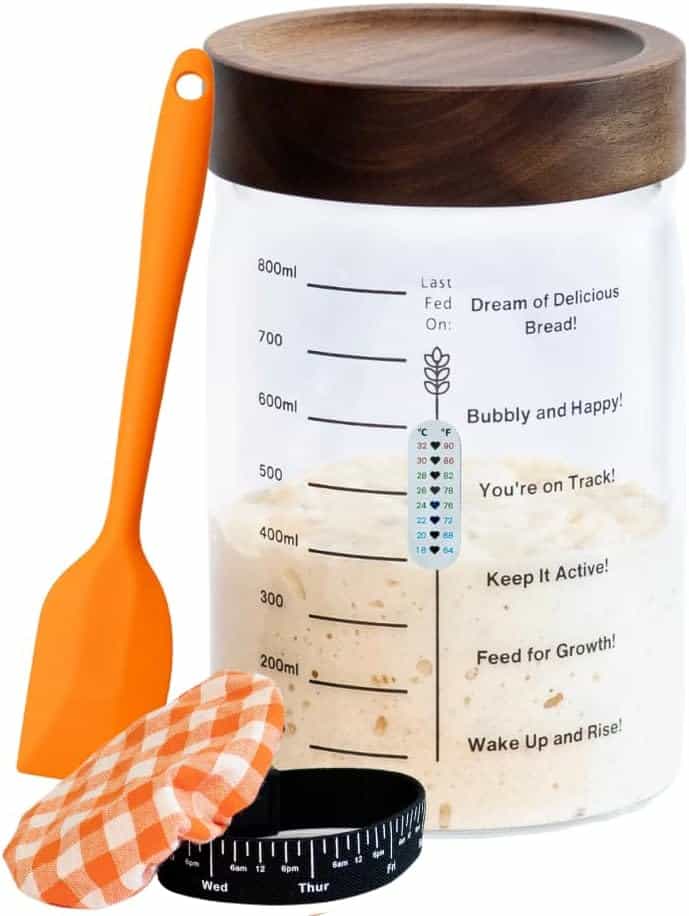
This Sourdough Starter Kit has everything you need to make and maintain your starter recipe. I love the rubber band that’s included to help keep track of your starter’s growth.
Troubleshooting Quick Hits
- Very slow progress? Switch to 50% whole-rye (with 50% AP Flour) for 1-2 feeds to boost fermentation, then return to your usual flour.
- Not rising? Move to a warmer spot (approx. temperature 70°F/21°C) and feed 2 times daily until activity improves.
- Vinegary smell? It’s over-hungry, stabilize with regular feeds at consistent times.
- Grey hooch on top? Harmless alcohol that’s accumulated on your starter, stir it in (or pour off) and feed as usual.
Sourdough Discard Recipes
While you feed your starter, you’ll have a bit of discard to tend with. You can toss it or you can save it in a container in the refrigerator to use in recipes. However, don’t use discard from a new starter. Be sure your sourdough starter is at least 7 days old before reserving the discard for other recipes.
You could also use this starter as a substitute for yeast in these easy Brioche Buns to give them a tangy flavor that’s so not common in a buttery brioche.
DON’T MISS A RECIPE! Be sure to follow us over on Instagram (where I shared the behind the scenes how-to on making this easy starter recipe) and on Facebook!
Sourdough Starter Recipe
Equipment
- 4-cup wide-mouth jar
- spoon or spatula
- rubber band
- kitchen scale, recommended
Ingredients
Day 1
- 1/4 cup about 30 g whole wheat flour
- 1/4 cup about 30 g unbleached all-purpose flour
- 1/4 cup 60 g water
For Each Feeding
- 1/2 cup about 60 g unbleached all-purpose flour
- 1/4 cup 60 g water
Instructions
Day 1
- In a wide mouth 4 cup jar or bowl, whisk together 1/4 cup wheat flour with 1/4 cup All Purpose flour until thoroughly combined.
- Using a fork, stir in the water until no dry flour is remaining. The mixture will resemble a thick dough or paste that's a little on the dry side.
- Cover loosely with the lid or plastic wrap and leave in a warm spot in the kitchen (ideally over 70˚F) for 24-48 hours.
Day 2
- Check your starter for activity, sometimes you'll see tiny bubbles and maybe a little activity. Sometimes you won't. If you see nothing, give it a stir…cover loosely and allow it to sit for another 24 hours.
Day 3
- By this time, you should see lots of bubbles and expansion of your starter. To gauge how much your starter is growing in volume, you can place a rubber band around the jar at the top of your starter to see if it doubles in size. I prefer to just eyeball it. Discard half your starter (saving the discard in a separate container for later.)
- Add 1/2 cup all-purpose flour and 1/4 cup lukewarm water to the remaining starter. Stir to combine until no dry flour is visible. Cover loosely and allow to rest at room temperature in a warm location for 24 hours.
Day 4-7
- At this point, you should see your starter doubling in volume with lots of bubbles each day. Continue feeding your starter each day by discarding half the starter then feeding with 1/2 cup flour and 1/4 cup water.
- Cover loosely and allow to rest at room temperature in a warm location for 24 hours. Beginning around Day 7, check your starter for readiness. Continue daily feedings until it reliably doubles after feeding and looks bubbly and airy.
- To test if your starter is ready to use, feed the starter and time how long it takes to double in size. When your starter doubles in less than 4 hours, it's ready. Alternatively, you can do the float test. Simply fill a glass with water and place a bit of starter in the water. If it floats, it's ready to use. (I'm not a fan of the float test….just saying.)
Notes
- Timing varies: Seven days is a guideline. If your starter isn’t reliably rising yet, keep feeding it daily.
- False rise: A sudden rise on Day 2 or 3 followed by very little activity can be normal. Keep feeding.
- Temperature: Keep the starter in a consistently warm area. Cooler kitchens will take longer.
- Measuring: 1/2 cup flour and 1/4 cup water are approximately equal amounts by weight.
- Ready to bake: I look for the starter to double after feeding, become bubbly and airy and smell pleasantly tangy.
- Refrigerator storage: Once established, refrigerate and feed about weekly if you’re not baking regularly.
- Discard: Wait until the starter is established before saving discard for recipes.
- Safety: Discard the entire starter if you see fuzzy mold or pink/orange discoloration.
Nutrition
Nutrition information is automatically calculated, so should only be used as an approximation.
Sourdough Starter FAQs
How long does it take to make sourdough starter?
Plan on at least a week, but don’t panic if yours needs longer. Temperature, flour and your kitchen environment all affect fermentation. Continue feeding until the starter is reliably rising after every feeding rather than relying only on the calendar.
Why did my sourdough starter rise on Day 2 and then stop?
This early burst of activity can be a false rise. It’s common with a developing starter and doesn’t mean it’s ready to bake, or that you’ve ruined it. Keep feeding it on schedule and wait for a predictable rise and fall.
Why isn’t my sourdough starter bubbling or rising?
Give it time and check the temperature first. A cool kitchen can slow fermentation dramatically. Keep feeding consistently and move the jar to a warmer spot. A feeding or two with some whole wheat or rye flour can also help a sluggish starter.
Why is my sourdough starter runny?
A runny starter can be hungry or the flour-to-water ratio may be off. Using a kitchen scale helps because flour and water should be equal by weight, not by volume. Feed it normally and watch for the texture to thicken again.
What is the gray liquid on top of my sourdough starter?
That’s commonly called hooch and usually means your starter is hungry. You can stir it in or pour it off, then give the starter a fresh feeding.
When should I throw away sourdough starter?
If you see pink or orange discoloration or fuzzy mold, discard the starter and begin again.
Do I have to discard half every time I feed my starter?
While you’re establishing the starter, discarding keeps the quantity manageable and ensures the remaining yeast and bacteria get enough fresh flour and water. Once the starter is mature, you can save usable discard in the refrigerator for other recipes.
Can I make sourdough starter ahead of time?
Absolutely, that’s the point! Once established, your starter can be maintained long-term. Keep it in the refrigerator if you don’t bake frequently and feed it regularly to keep it healthy.
Can I freeze sourdough starter?
Yes. Your method already includes freezing instructions. Thaw it at room temperature, then give it several feedings until it is bubbly and rising normally before baking with it.
Can I double this sourdough starter recipe?
You can, but there’s usually no reason to maintain a large starter. A small starter is easier and less expensive to feed, and you can build up the amount you need before baking.
Can I use all-purpose flour instead of whole wheat flour?
Yes, but your method uses some whole-grain flour at the beginning to help fermentation get established. Once the starter is active, unbleached all-purpose flour works well for regular feedings.
Does my sourdough starter need to pass the float test?
You can use the float test as one clue, but I prefer watching how the starter behaves after feeding. A starter that reliably doubles, looks bubbly and airy and smells pleasantly tangy is much more reliable to me.












Out of curiousity, do you only store the sour dough starter in the fridge AFTER seven days? Or?
So far my sour dough starter is doing good, on day 3 and it had doubled in size. Thanks for the amazing recipe!
I only store it in the refrigerator when I want it to stop growing. It makes it dormant for a bit but once you warm it to room temperature it will start to grow again. So, if you need a break, pop it in the refrigerator until your ready to use it again.
Is it normal to have mold on the sides of the bowl during these 7 days. I changed bowls today day 6.
Hmmm, I never had mold form on the sides of the bowl but changing bowls would be a good idea for sure.
My starter smells poignant is this normal? It doesn’t smell bad just “sour”
It should definitely smell sour.
Can I use 00 flour?
I haven’t tried it with 00 flour but I think it would work well.
Hi there, what do you do with the discarded started?
I save it in the refrigerator and use it for discard recipes like crackers, pancakes and pretzels.
At day 10 my starter is like an extra thick pancake batter but with bubbles. It doubles in size in 5 or 6 hours but the next day falls back considerably. Should I continue on 24 hour feeding basis or try making bread now even though the starter looks nothing like yours, no stretch or elasticity. Also little bit sticky. Thanks.
It should be stick, it if is doubling in size you can definitely use it for bread or discard half and feed.
How many loaves will this make??
Well, this is for just a starter that is intended to be kept for all your sourdough baking needs. But if you were to just use the first batch of starter after the 7 day mark you could easily have enough for two loaves.
Once you’ve separated the starter what are some things you can do with the “discard”? Can you keep feeding it too to have multiple jars of starter?
You can keep feeding it, you can use it for some of the sourdough recipes on my site (the crackers are a big hit) or share it with your friends!
In your discussion, you speak of using 1/4 cup all purpose flour. But un the recipe, you call for 5 lbs. of all purpose flour. This looks like an error.
It’s not an error but it’s the amount you’ll need to have on hand to feed your starter. If I only say 1/4 cup of flour then you won’t have extra to feed it each day.
Question- I’ve heard that depending on different regions, the sourdough will take on slightly different tastes…such as San Francisco, because of the salt in the air.
If I boil salt water on the stove a couple of times during the process, could it take on the San Francisco sourdough taste?
Hi Diane, I can’t answer the question about boiling water to change the flavor. But it is true that sourdough will take on a different flavor depending on where it’s being grown.
Do you have to do anything different at high altitude?
Hi Gail! That’s a great question and I’m happy to tell you that your sourdough starter does not need any altering at a higher altitude. That will be a concern when you’re ready to bake. Just let me know if you have further questions. Thank you!