
This post may contain affiliate links. Please read our disclosure policy.
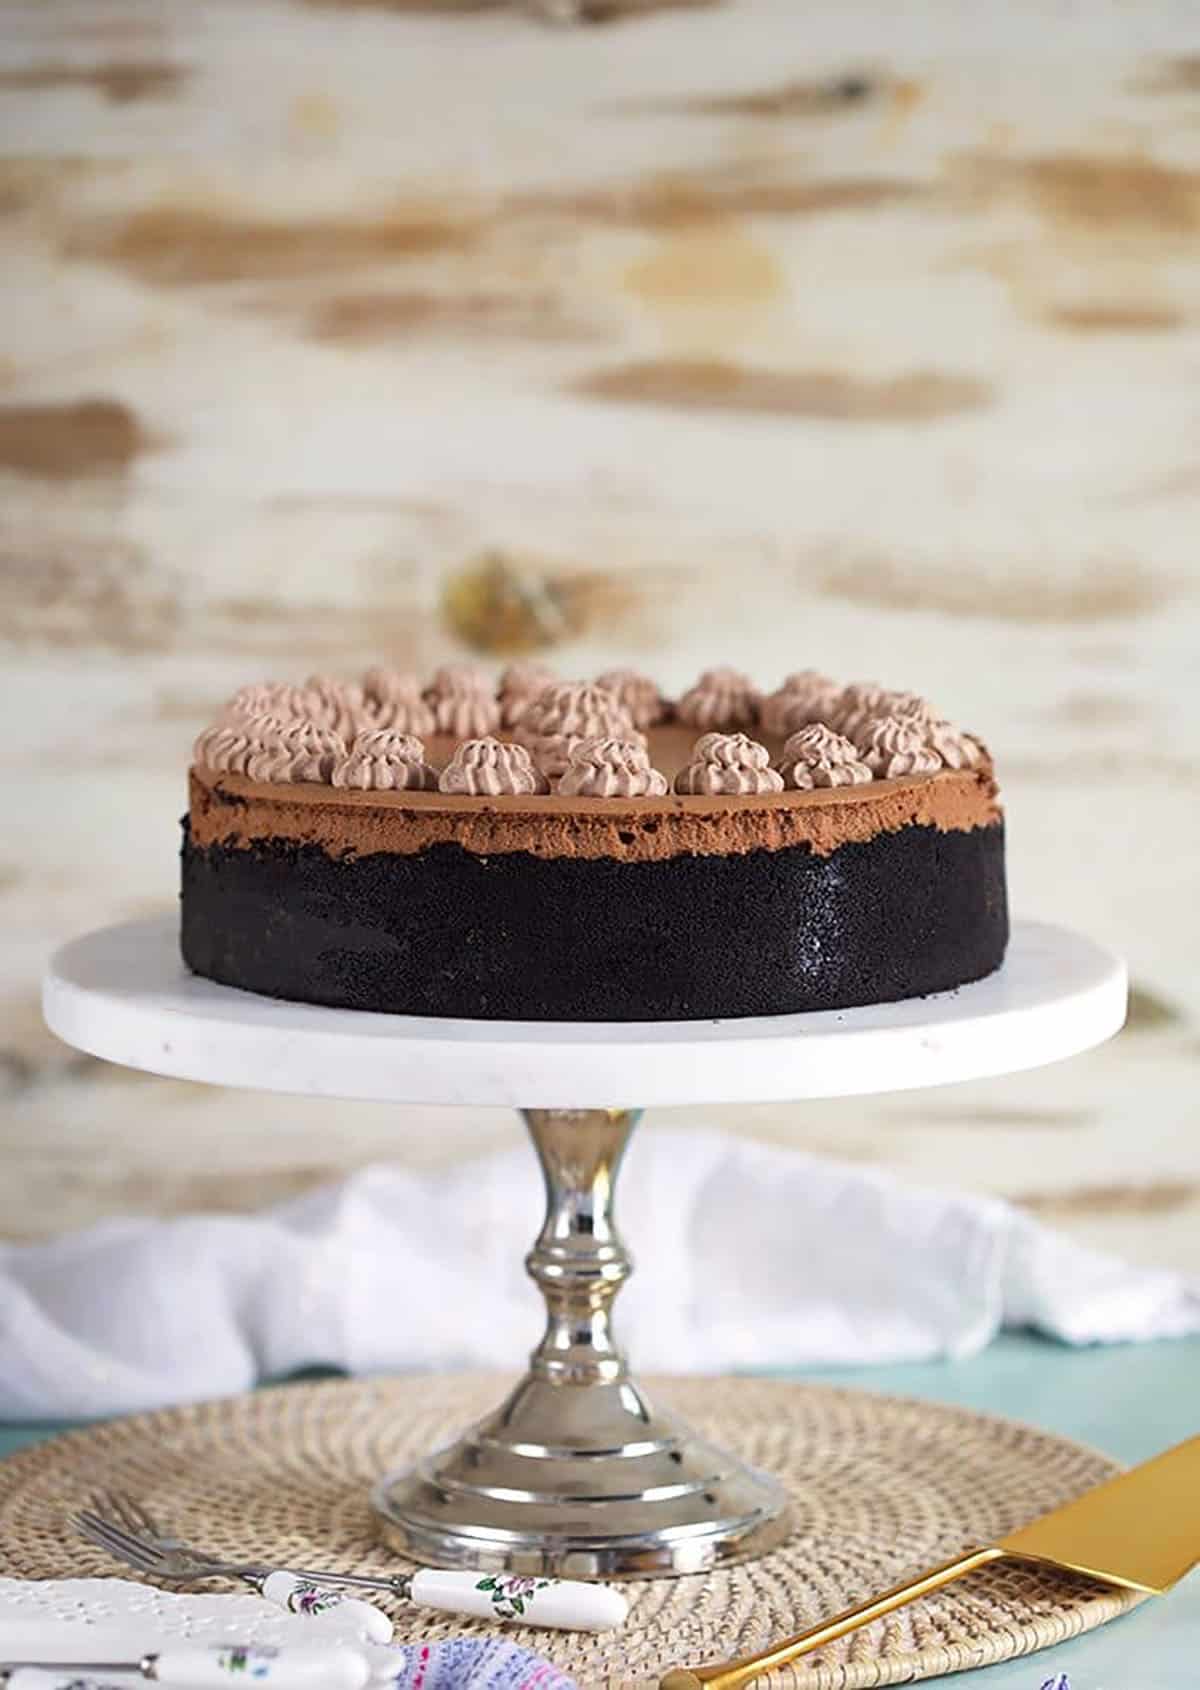
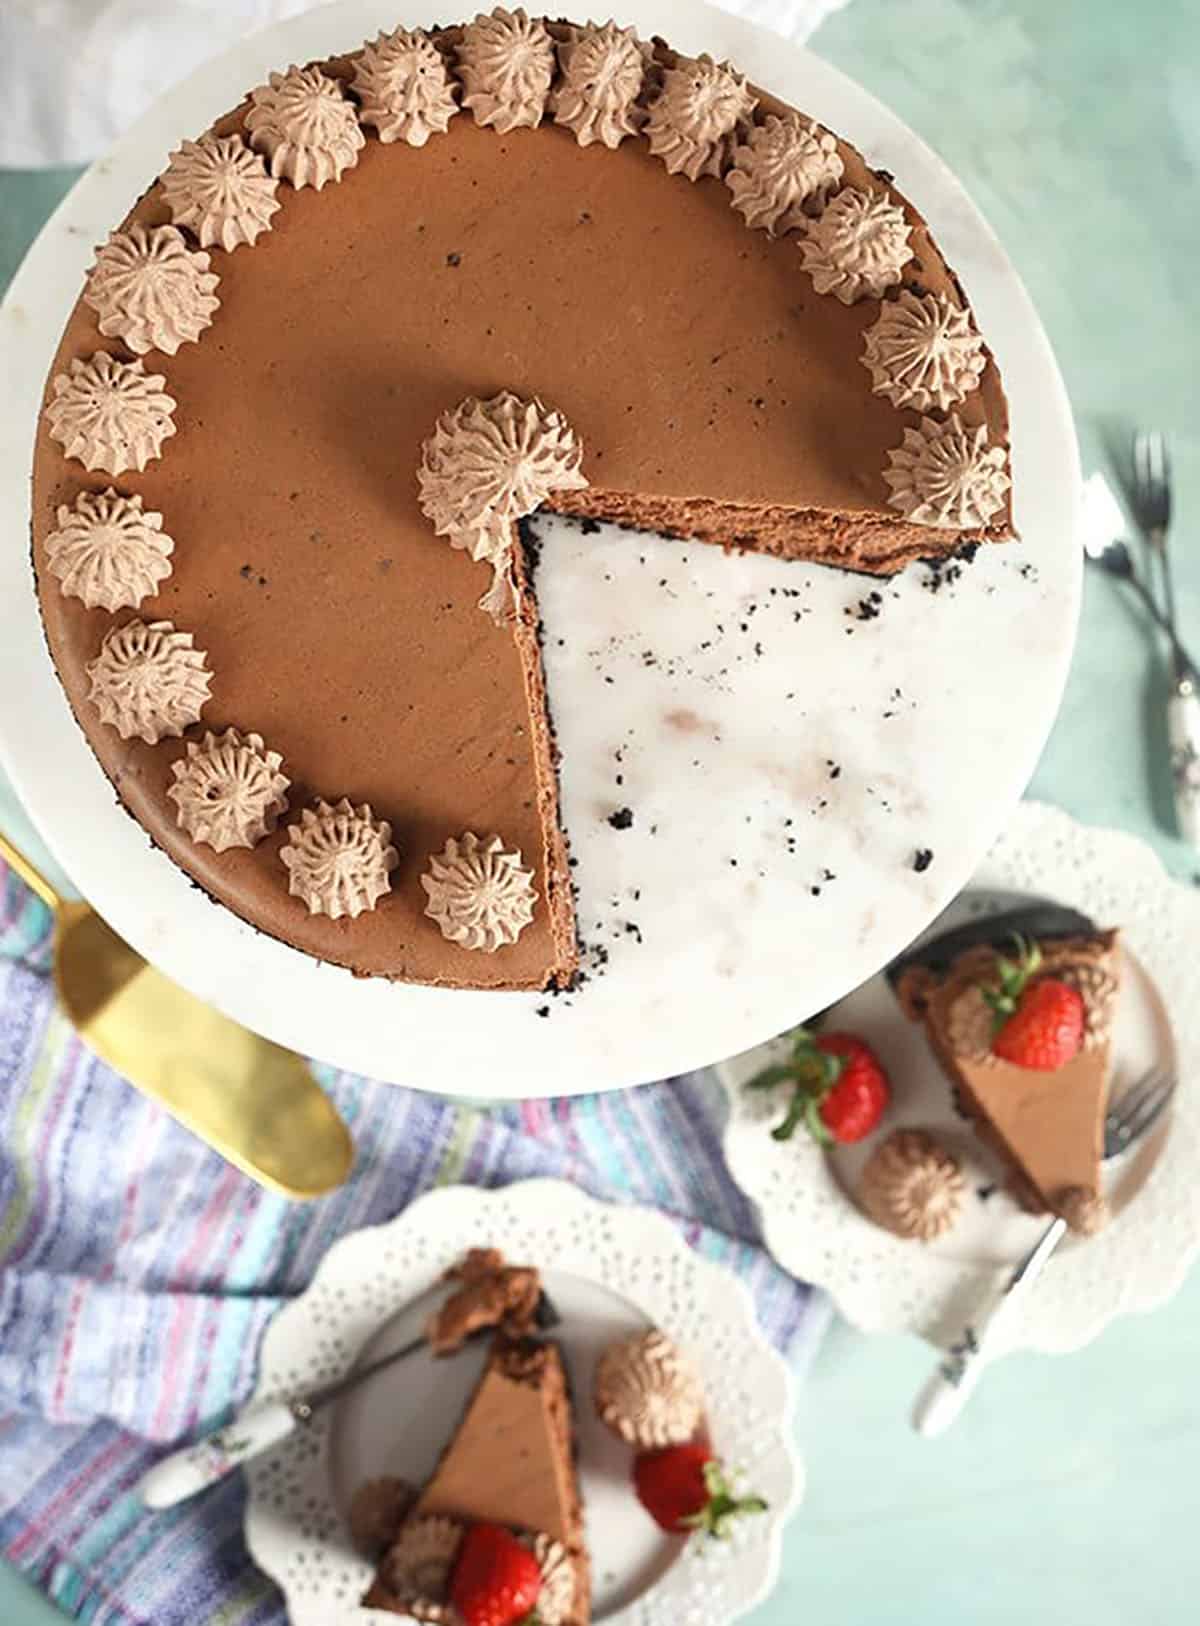
This homemade Chocolate Cheesecake is rich, creamy, and loaded with chocolate flavor! Made with real melted chocolate, a crunchy chocolate cookie crust, and a silky, almost mousse-like filling, it’s surprisingly easy to make from scratch. This Chocolate Cheesecake recipe is the perfect make-ahead dessert for holidays, dinner parties, or whenever a serious chocolate craving hits.
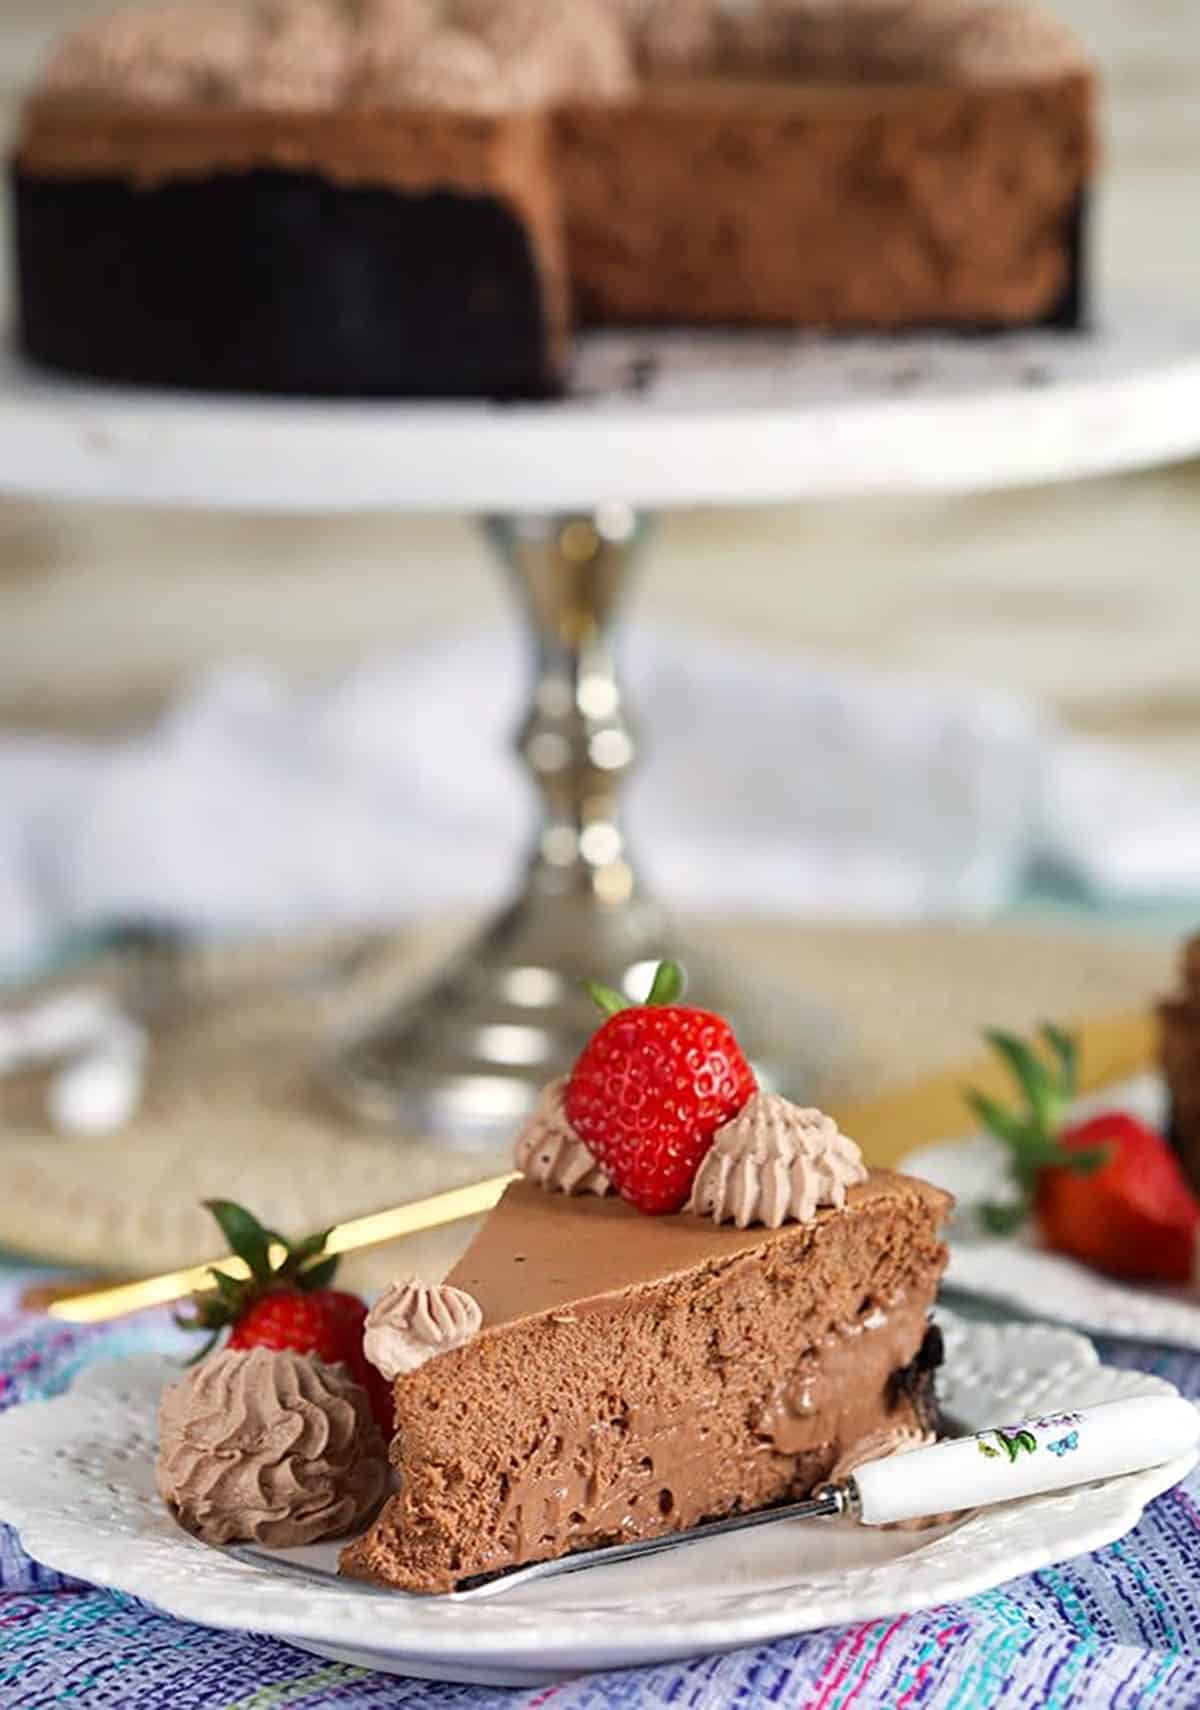
Table of Contents
- Kellie’s Note Chocolate Lover’s Dream
- Why You’ll Love My Chocolate Cheesecake
- Ingredients for Chocolate Cheesecake
- How to Make Chocolate Cheesecake
- Why Use a Water Bath For chocolate cheesecake
- Kellie’s Tips for Perfect Chocolate Cheesecake
- Chocolate Cheesecake Variations
- How to Store and Freeze Chocolate Cheesecake
- What to Serve with Chocolate Cheesecake
- More Easy Cheesecake Recipes
- Chocolate Cheesecake Recipe
Kellie’s Note
Chocolate Lover’s Dream

I’ve been a chocolate lover for as long as I can remember, but the funny thing is, I didn’t always love cheesecake. The first cheesecake I ever tried was one my mom made when I was a kid. I thought the idea of cake made with cheese sounded a little suspicious, but one bite of her chocolate cheesecake changed everything.
Fast-forward a few years (okay, quite a few), and I became completely obsessed with the Godiva Chocolate Cheesecake and Chocolate Mousse Cheesecake at The Cheesecake Factory.
When I developed my own Chocolate Cheesecake recipe, I wanted the best of both worlds: that rich, deep chocolate flavor with a lighter, silky texture that practically melts in your mouth.
After making more cheesecakes than I care to admit, this is the version I keep baking. It’s rich without being overly dense, easy enough to make at home, and always a hit when I’m entertaining.

Why You’ll Love My Chocolate Cheesecake
- Rich chocolate flavor. Real melted semisweet chocolate gives this cheesecake a deep, decadent flavor without being overly bitter.
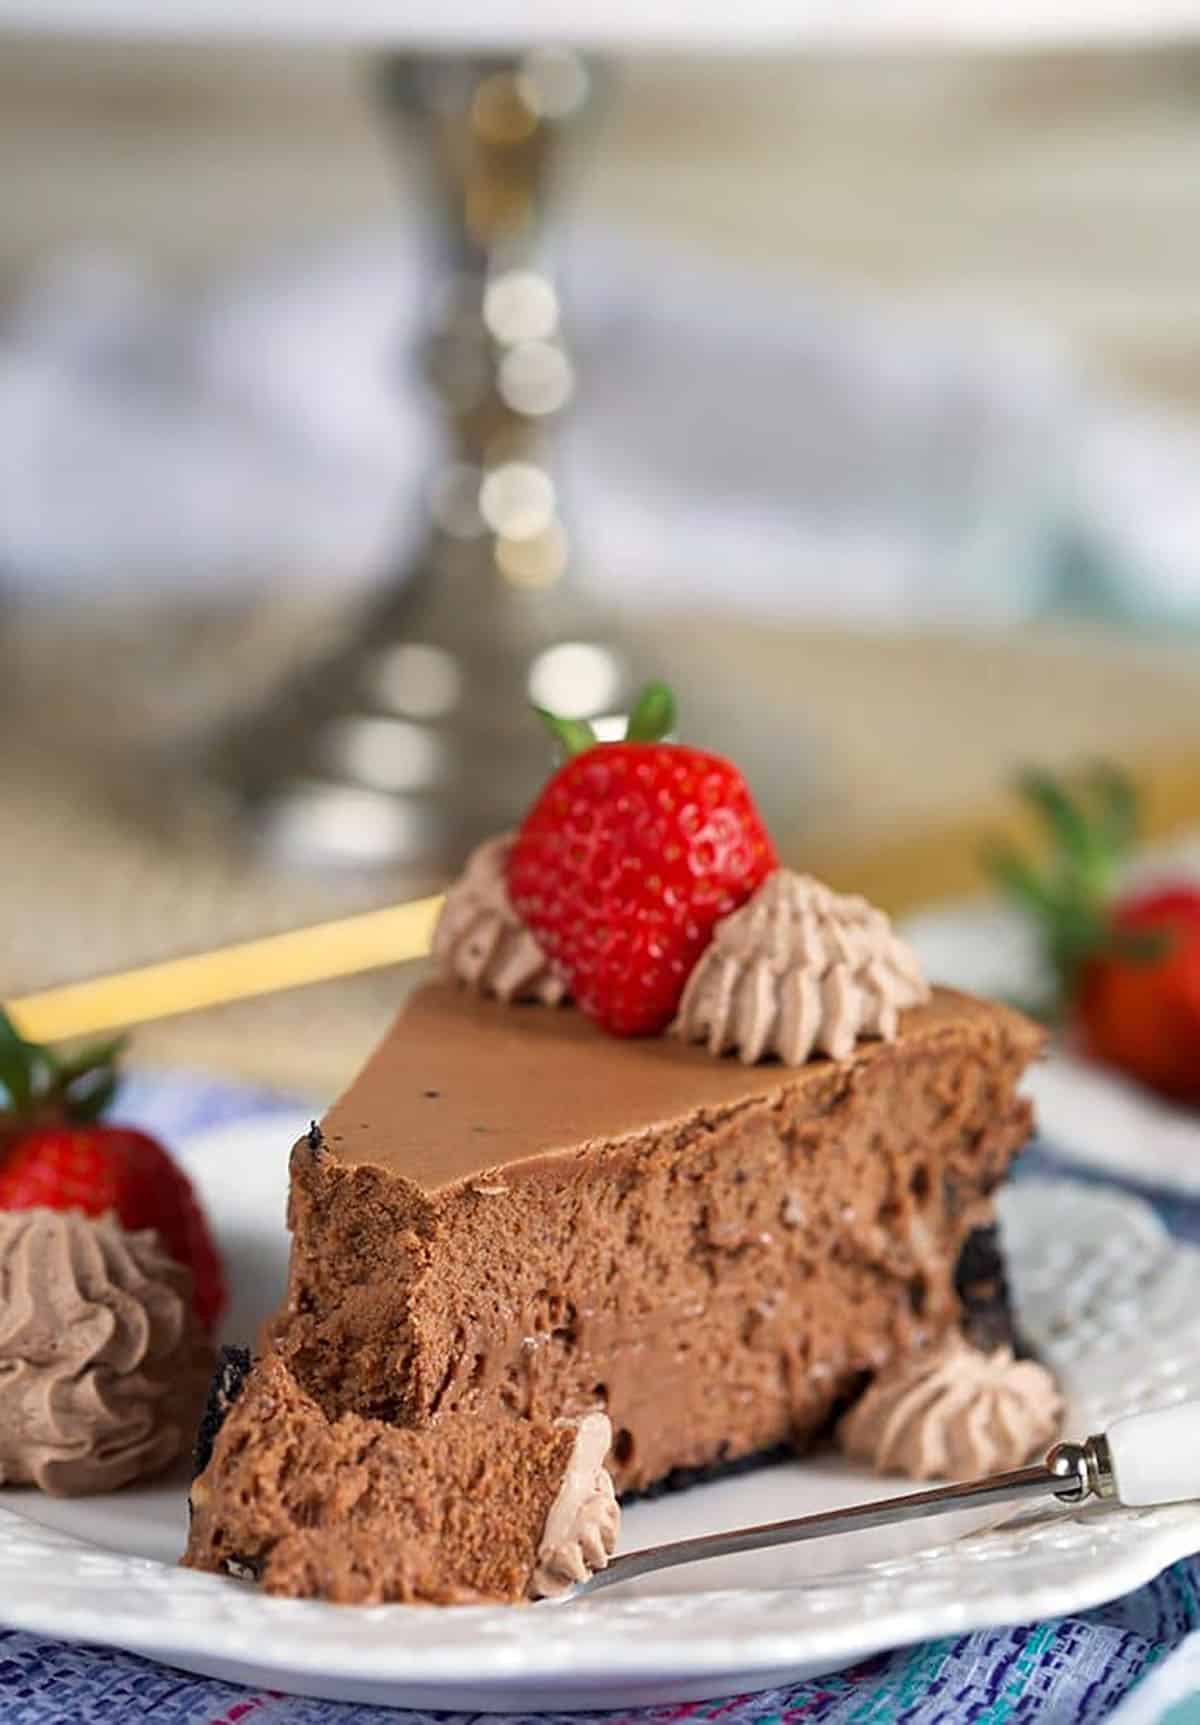
- Silky, creamy filling. The texture is smooth and almost mousse-like, with just enough richness to satisfy even the biggest chocolate lover.
- Chocolate cookie crust. A buttery chocolate cookie crust adds the perfect little crunch.
- Perfect for making ahead. Chocolate cheesecake needs time to chill, so it’s the ideal dessert to make the day before a party.
- Freezer-friendly. Make it ahead and freeze it for your next holiday or special occasion. Future you will be very happy.
Ingredients for Chocolate Cheesecake
Using the right ingredients makes a big difference in the flavor and texture. Here’s what you’ll need. The exact measurements are in the recipe card below.
For the Chocolate Cookie Crust
- Chocolate wafer cookies. These make the crunchy chocolate crust. If you can’t find them, chocolate sandwich cookies are a great alternative, although you’ll want to adjust the butter to account for the cream filling.
- Butter. Melted butter holds the cookie crumbs together. I usually use unsalted butter.
- Kosher salt. Just a little helps balance the sweetness.
For the Chocolate Cheesecake Filling
- Cream cheese. Use full-fat, brick-style cream cheese and let it soften to room temperature. Reduced-fat or whipped cream cheese can change the texture and how the cheesecake sets. Avoid the spreadable cheese in tubs because it won’t give you the same rich texture.
- Granulated sugar. Sweetens the filling without overpowering the chocolate.
- Semisweet chocolate chips. The secret to that rich chocolate flavor. You can also use good-quality semisweet baking chocolate, although the texture may vary slightly.
- Heavy cream. Helps create a smooth, silky chocolate mixture that blends into the cheesecake filling.
- Eggs. Give the cheesecake its structure and creamy, custard-like texture. Room-temperature eggs mix more evenly.
- Vanilla extract. Adds a little warmth and rounds out the chocolate flavor.
- Espresso powder. My not-so-secret weapon for chocolate desserts! It deepens the chocolate flavor without making the cheesecake taste like coffee. You can leave it out if you prefer, although the chocolate flavor may be a little less pronounced.
- Kosher salt. A little salt helps bring all those chocolate flavors together.
How to Make Chocolate Cheesecake
Making homemade Chocolate Cheesecake is easier than you might think! The hardest part is waiting for it to chill before you can sneak a slice.
- Make the crust. Preheat your oven to 350°F. Combine the chocolate cookie crumbs, melted butter, and salt, then press firmly into a 9-inch springform pan. Bake for about 10 minutes and cool completely.
- Melt the chocolate. Reduce the oven temperature to 325°F. Gently melt the semisweet chocolate chips with the heavy cream, stirring until smooth. Cool until the mixture is no longer hot but is still pourable.
- Make the filling. Beat the softened cream cheese until smooth. Add the sugar and vanilla, then mix in the eggs one at a time, using low speed and mixing just until combined.
- Add the chocolate. Slowly blend in the melted chocolate, espresso powder, and salt until the filling is smooth and evenly combined.
- Prepare the water bath. Wrap the outside of the springform pan securely with heavy-duty foil. Pour the filling into the crust and place the pan inside a larger roasting pan. Carefully add hot water around the cheesecake pan.
- Bake. Bake for approximately 60–65 minutes, until the edges are set and the center still has a slight wobble. The filling will continue to firm up as it cools.
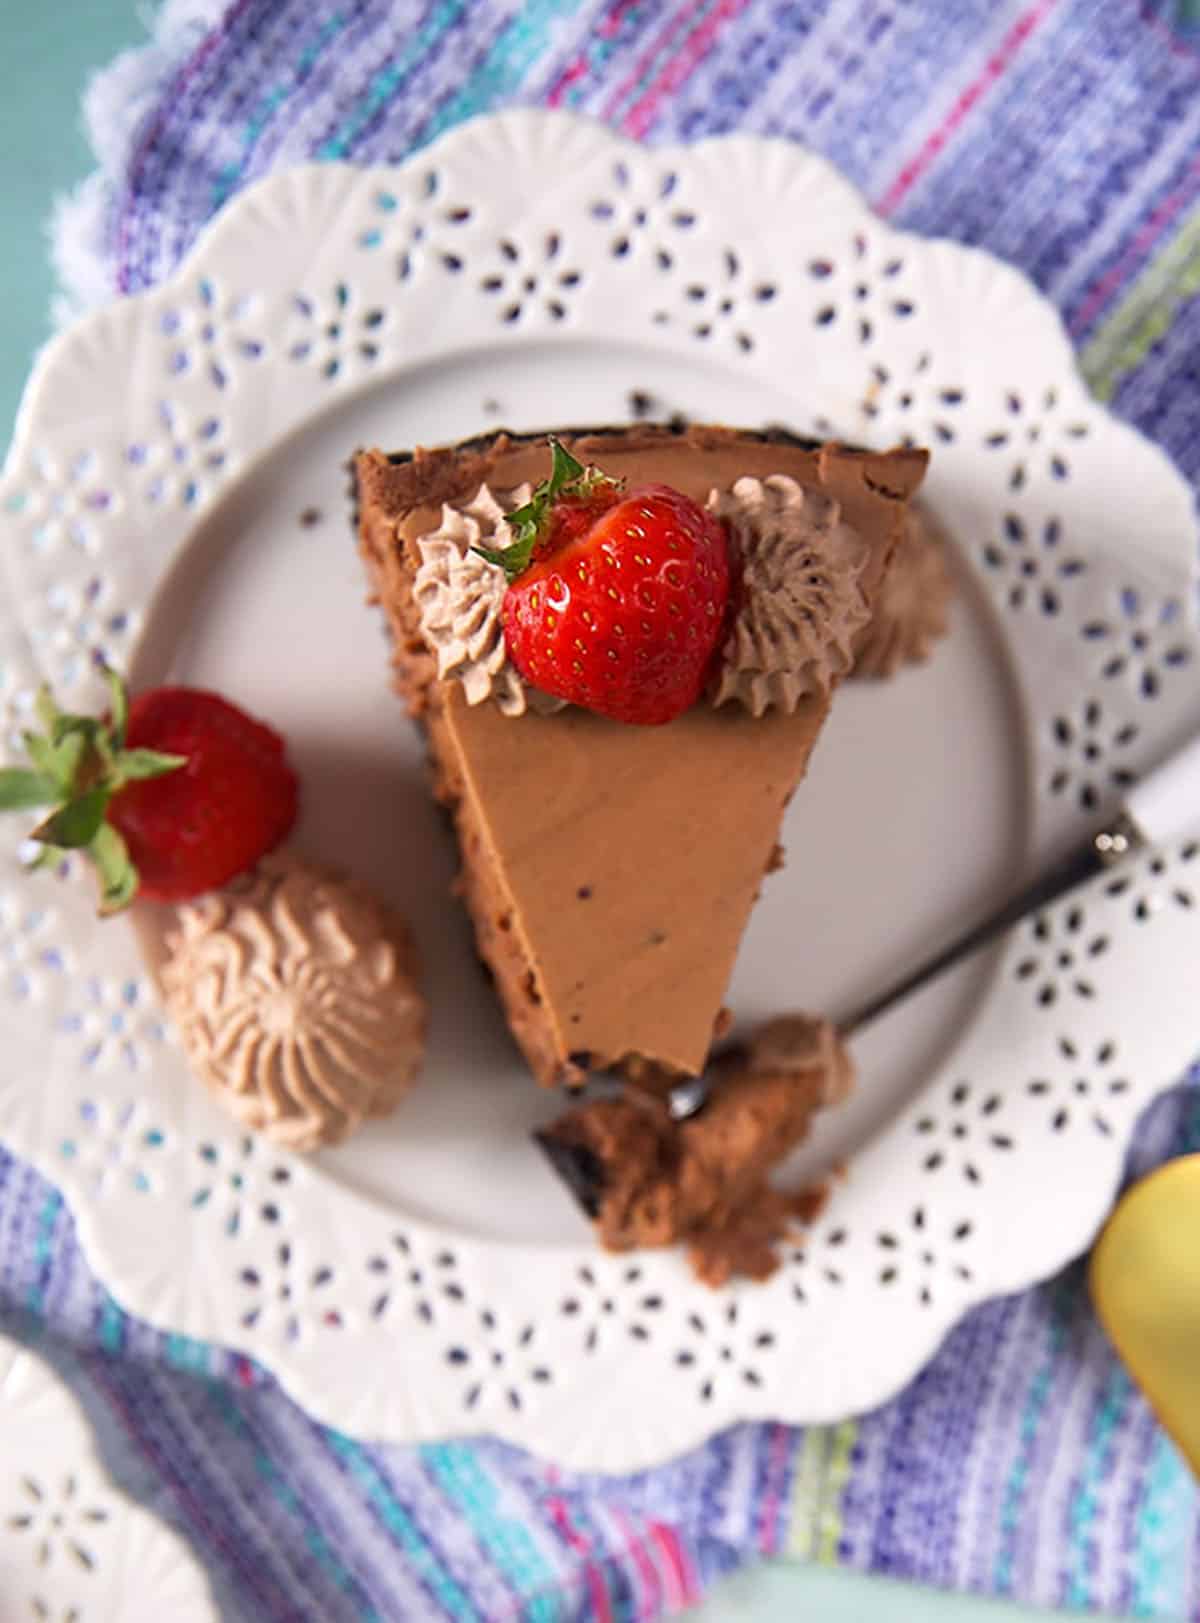
- Cool and chill. Let the cheesecake cool before refrigerating for at least 8 hours or overnight. Serve chilled with strawberries, whipped cream, or your favorite topping.
Don’t rush the chilling time! That overnight rest is what gives chocolate cheesecake its beautifully creamy, sliceable texture.
Why Use a Water Bath For chocolate cheesecake
I know a water bath sounds like one more thing to worry about, but trust me, it’s worth the extra step.
A water bath, also called a bain-marie, surrounds the cheesecake with gentle, even heat while it bakes. This helps keep the filling creamy and reduces the chances of cracking or drying out.
Here’s how to make one:
- Wrap the pan. Wrap the outside bottom and sides of your springform pan with several layers of heavy-duty aluminum foil to help keep water out.
- Use a larger pan. Place the cheesecake inside a deep roasting pan that’s large enough to hold it comfortably.
- Add hot water. Carefully pour hot water into the roasting pan around the cheesecake. Aim for about halfway up the outside of the springform pan.
- Bake gently. Transfer the pan carefully to the oven and bake according to the recipe.
- Avoid overbaking. The outer edges should be set while the center still has a slight wobble.
My tip: If you’re worried about water getting through the foil, place the springform pan inside a slightly larger solid cake pan before setting it in the water bath, provided the pans fit safely and allow enough water circulation.
Kellie’s Tips for Perfect Chocolate Cheesecake
A few simple tricks make all the difference between a good cheesecake and one that has everyone asking for the recipe.
- Start with room-temperature ingredients. Softened cream cheese and room-temperature eggs blend more easily, giving you a smooth filling without lumps.
- Don’t overmix the eggs. Once the eggs go in, keep the mixer on low and mix just until combined. Too much air in the batter can cause the cheesecake to puff up and crack.
- Cool the chocolate slightly. You want it melted and smooth, but not piping hot. Chocolate that’s too hot or too cold can affect the texture of the filling.
- Use a water bath. It helps the cheesecake bake gently and evenly, so the filling stays creamy.
- Look for the jiggle. The outer edges should be set, but the center should still wobble slightly when you gently move the pan.
- Cool gradually. Sudden temperature changes can contribute to cracking. Let the cheesecake cool before transferring it to the refrigerator.
- Chill overnight. I promise the wait is worth it! The cheesecake needs plenty of time to firm up before slicing.
- Use a warm knife. Run a sharp knife under hot water, wipe it dry, and clean it between slices for beautiful, bakery-worthy pieces.
Chocolate Cheesecake Variations
This Chocolate Cheesecake is pretty perfect all on its own, but sometimes a little extra chocolate is exactly what the day calls for.
- Chocolate Ganache Cheesecake: Pour a layer of cooled, pourable chocolate ganache over the completely chilled cheesecake for an extra-decadent finish.
- Chocolate Raspberry Cheesecake: Top each slice with fresh raspberries or raspberry sauce. The tart berries balance the rich chocolate beautifully.
- Triple Chocolate Cheesecake: Finish with chocolate ganache and a handful of chocolate curls or shavings.
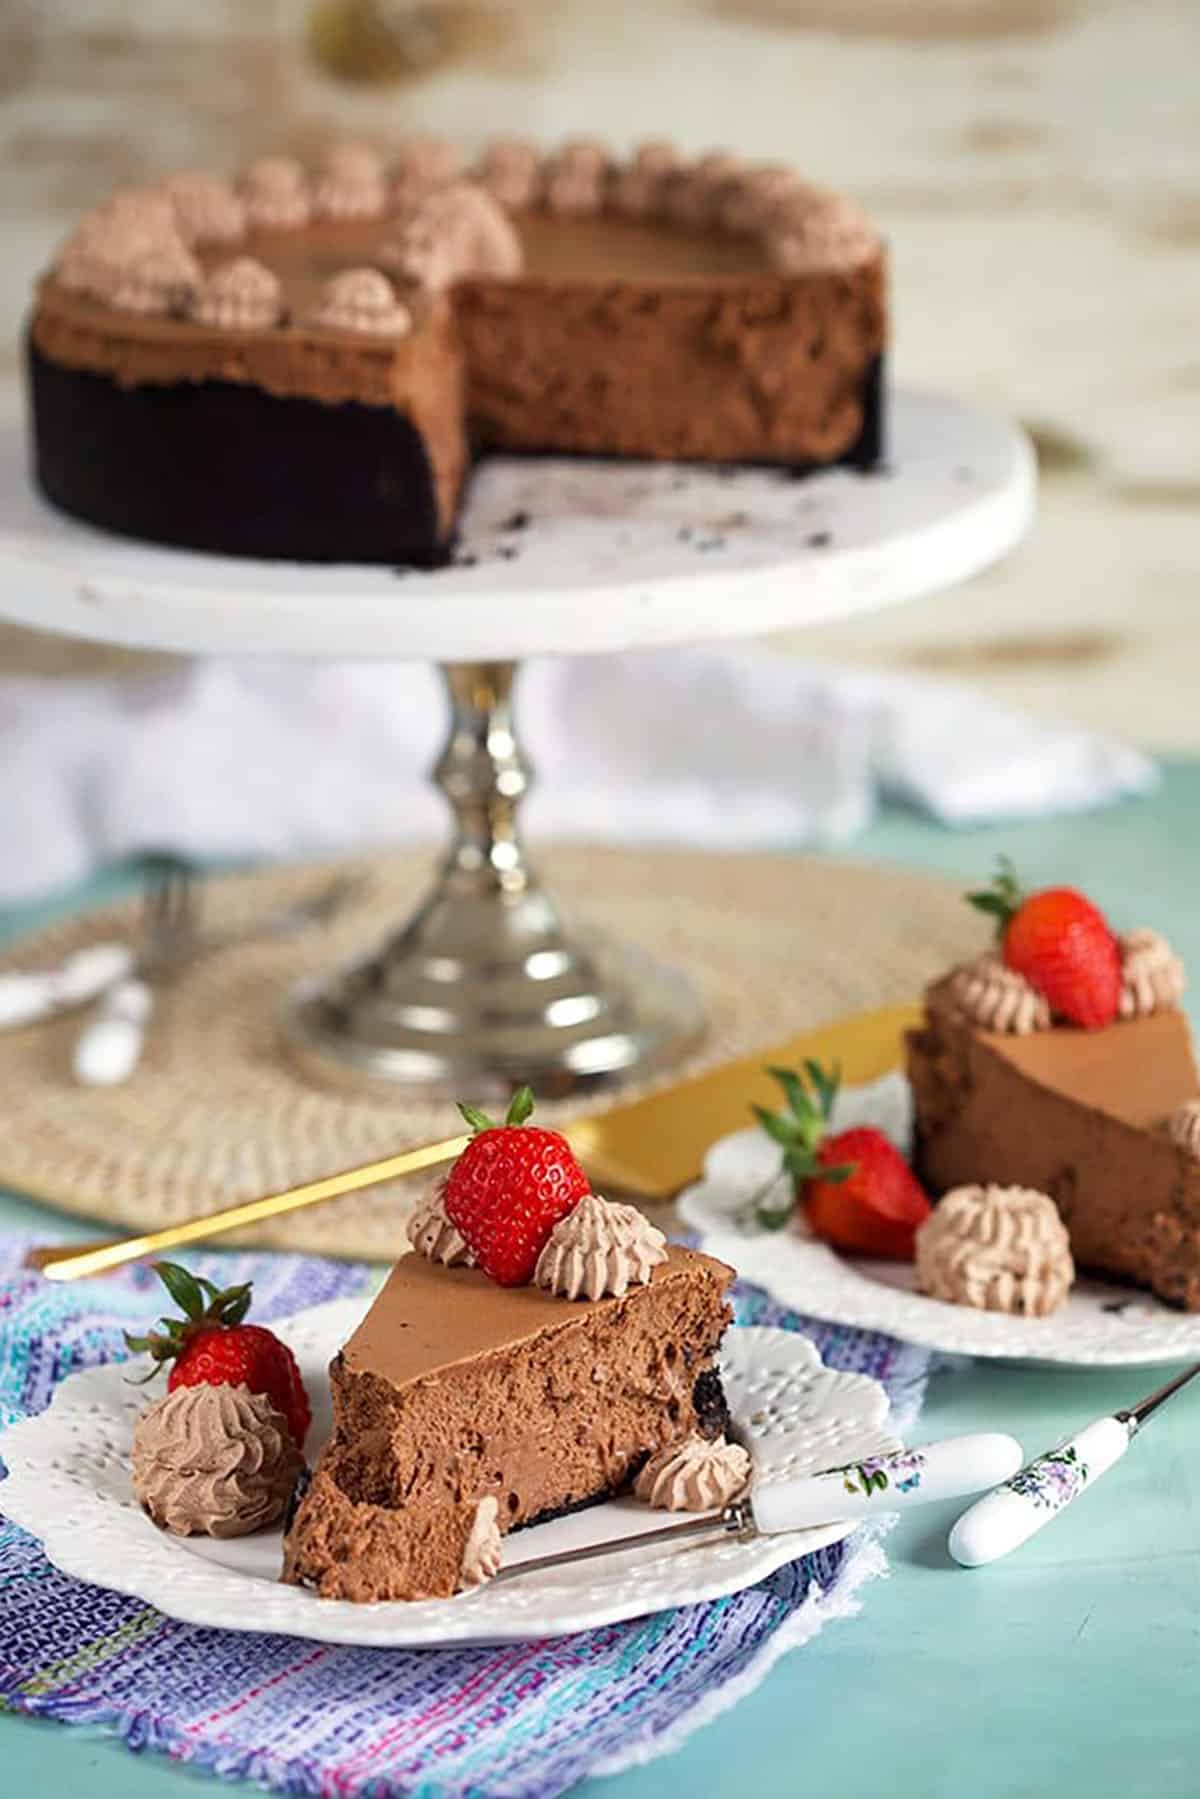
- Chocolate Strawberry Cheesecake: Add fresh strawberries and a little whipped cream for a Valentine’s Day-worthy dessert.
- Extra Dark Chocolate Cheesecake: Use a darker baking chocolate for a more intense, less sweet flavor. This changes the original flavor balance, so consider it a variation rather than a tested replacement.
How to Store and Freeze Chocolate Cheesecake
One of my favorite things about homemade Chocolate Cheesecake is that it’s practically made for preparing ahead of time. No last-minute dessert panic!
- Make ahead: Bake the cheesecake a day or two before serving. The overnight chill gives it plenty of time to set.
- Refrigerator: Store the cheesecake covered in the refrigerator for up to 5 days. Keep it in an airtight container or cover the springform pan securely so it doesn’t absorb refrigerator odors.
- Freezer: Once completely chilled, wrap the whole cheesecake or individual slices tightly in plastic wrap and then aluminum foil. Freeze for up to 2 months for the best quality.
- Thawing: Transfer the frozen cheesecake to the refrigerator and let it thaw overnight. Keep it refrigerated until you’re ready to serve.
- Reheating: No reheating necessary! Chocolate Cheesecake is best served chilled.
A little make-ahead tip: If you’re freezing the cheesecake for a special occasion, wait until after thawing to add fresh fruit or whipped cream. They’ll look and taste much better.
What to Serve with Chocolate Cheesecake
This rich Chocolate Cheesecake doesn’t really need anything extra, but I love dressing it up when company comes over.
- Fresh strawberries or raspberries: A little tartness balances the rich chocolate filling. or try Macerated Strawberries.
- Homemade whipped cream: Light, fluffy, and always a good idea.
- Chocolate ganache: Because there’s really no such thing as too much chocolate.
- Raspberry sauce: Makes each slice look like it came straight from a fancy restaurant.
- Chocolate shavings: An easy finishing touch that makes the whole dessert look extra special.
It’s one of my favorite make-ahead desserts for Christmas, Valentine’s Day, birthdays, and dinner parties.
More Easy Cheesecake Recipes
If you love this homemade Chocolate Cheesecake recipe, I have a feeling you’re going to love these favorites, too!
- New York-Style Cheesecake: The classic, creamy cheesecake that never goes out of style.
- No-Bake Cheesecake: Perfect when you’re craving cheesecake but don’t feel like turning on the oven.
- Gingerbread Cheesecake: A favorite for holiday entertaining.
- Mini Carrot Cheesecakes: All the cheesecake goodness in an adorable individual serving.
- Pumpkin Cheesecake: Rich, creamy, and perfect for fall celebrations.
And if you’re looking for more desserts to serve at your next party, pair this cheesecake with a few of your favorite chocolate treats!
If you make this Chocolate Cheesecake recipe, I’d love to hear how it turned out! Leave a star rating and comment below, and let me know if you served it plain or dressed it up with a little extra chocolate. I have a feeling I know which one you’re going to pick!
Want even MORE easy family recipes? Be sure to follow us over on Instagram!
Chocolate Cheesecake Recipe
Equipment
- 1 9-inch springform pan
- 1 hand mixer
- spatula
- measuring cup
- measuring spoons
- saucepan
- large roasting pan
- heavy duty foil
Ingredients
FOR THE CRUST:
- 2 cups chocolate wafer cookie crumbs approximately 9 ounces whole cookies
- 5 tablespoons butter melted
- 1/8 teaspoon kosher salt
FOR THE FILLING:
- 4 8- ounce blocks cream cheese room temperature
- 1 cup granulated sugar
- 1 teaspoon vanilla extract
- 1 teaspoon espresso powder
- 2 cups semi-sweet chocolate chips
- 1/4 cup heavy cream
- 4 large eggs
- 1/8 teaspoon kosher salt
Instructions
- Preheat the oven to 350°F.
- In a large bowl, combine the chocolate wafer cookie crumbs, melted butter, and salt. Stir until the crumbs are evenly moistened and begin to clump together.
- Press the mixture firmly into the bottom and halfway up the sides of a 9-inch springform pan.
- Bake for approximately 10 minutes, until the crust is set. Transfer to a wire rack and cool completely.
- Reduce the oven temperature to 325°F. Wrap the outside bottom and sides of the springform pan securely with several layers of heavy-duty aluminum foil.
- Combine the semisweet chocolate chips and heavy cream in a saucepan over medium-low heat. Stir until melted and smooth. Remove from the heat and cool until no longer hot but still pourable.
- In a large mixing bowl, beat the softened cream cheese with an electric mixer until smooth, approximately 2–3 minutes.
- Add the granulated sugar and vanilla extract. Mix until combined, scraping down the sides of the bowl as needed.
- Reduce the mixer speed to low. Add the eggs one at a time, mixing just until each egg is incorporated. Avoid overmixing.
- Slowly add the melted chocolate mixture, espresso powder, and salt. Mix on low speed just until smooth and evenly combined.
- Pour the filling into the cooled chocolate cookie crust. Smooth the top with a spatula.
- Place the springform pan inside a large, deep roasting pan. Carefully transfer to the oven and add hot water to the roasting pan until it reaches approximately halfway up the outside of the springform pan.
- Bake at 325°F for 60–65 minutes, until the edges are set and the center still has a slight wobble.
- Carefully remove the cheesecake from the water bath and transfer to a wire rack. Allow to cool gradually to room temperature, then cover and refrigerate for at least 8 hours or overnight.
- Remove the springform ring, slice with a warm, clean knife, and serve chilled with fresh strawberries or your favorite topping.
Notes
- Cream Cheese: Use softened, full-fat brick-style cream cheese for the smoothest filling.
- Chocolate: Let the melted chocolate cool slightly before adding it to the filling.
- Water Bath: Wrap the springform pan securely to help prevent leaks. Use caution when transferring the pan filled with hot water.
- Doneness: The cheesecake should have set edges and a slightly wobbly center.
- Chilling: Refrigerate for at least 8 hours before serving.
- Storage: Store covered in the refrigerator for up to 5 days.
- Freezing: Wrap the fully chilled cheesecake tightly and freeze for up to 2 months. Thaw overnight in the refrigerator.
- Crust Substitution: Chocolate sandwich cookies can be used, but the butter quantity may need adjustment because of the cookie filling.
Nutrition
Nutrition information is automatically calculated, so should only be used as an approximation.











This was an easy recipe to follow and the result was rich, smooth and delicious. I will make this recipe again.
So happy you liked it! Thank you so much for your comment.
do you line your springform pan, bottom and sides with parchment paper or grease with butter prior to baking to prevent sticking?
I do not but my springform pan is nonstick. It shouldn’t stick and if you find the ring is sticking, you can run a knife around the edge to loosen it up.
This cake was so easy and the flavor was amazing! Rich and delicious!
Thank you! I’m so glad you loved it!
This is my husband’s favorite dessert! I can’t wait to surprise him with this on Valentine’s Day…thanks!
He will LOVE it!
This looks incredible! I think I might make one and freeze it for a party we have next month! Thank you!
YES! I love being able to pull one from the freezer.
Chocolate and cheesecake go together so well this is seriously so good.
Thank you! It’s our fave!
This is the perfect cheesecake. And it was SO EASY 🙂
Thank you!!!