This post may contain affiliate links. Please read our disclosure policy.
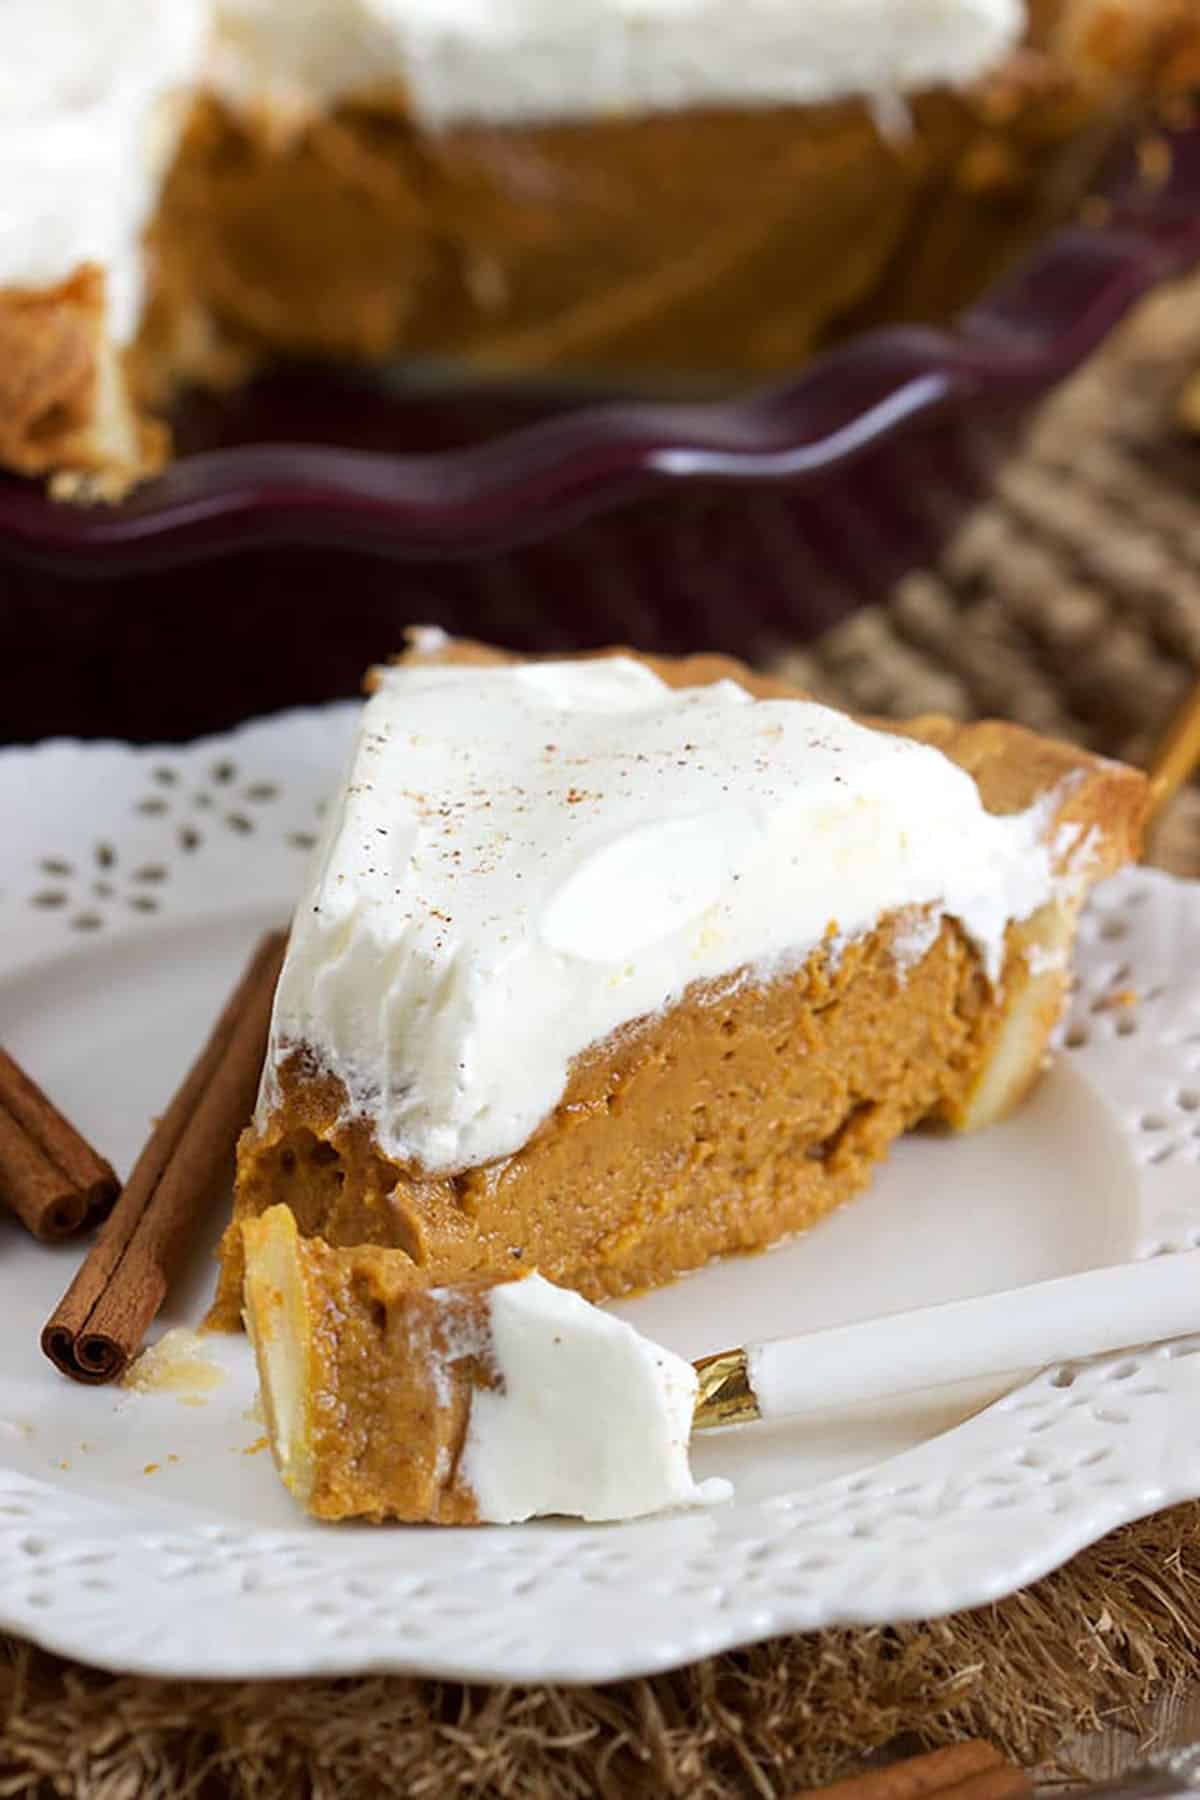
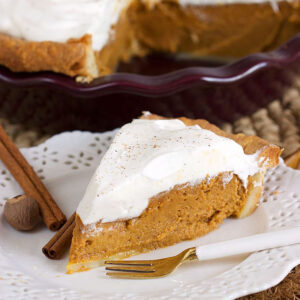
Pumpkin Pie – Who doesn’t love it? I hate to brag, but there really isn’t an easier way to make pumpkin pie from scratch than my deep dish recipe. It’s rich, creamy, and perfectly spiced. Just toss all a few all-natural ingredients into a blender and press the button. It’s that simple and crazy delicious.
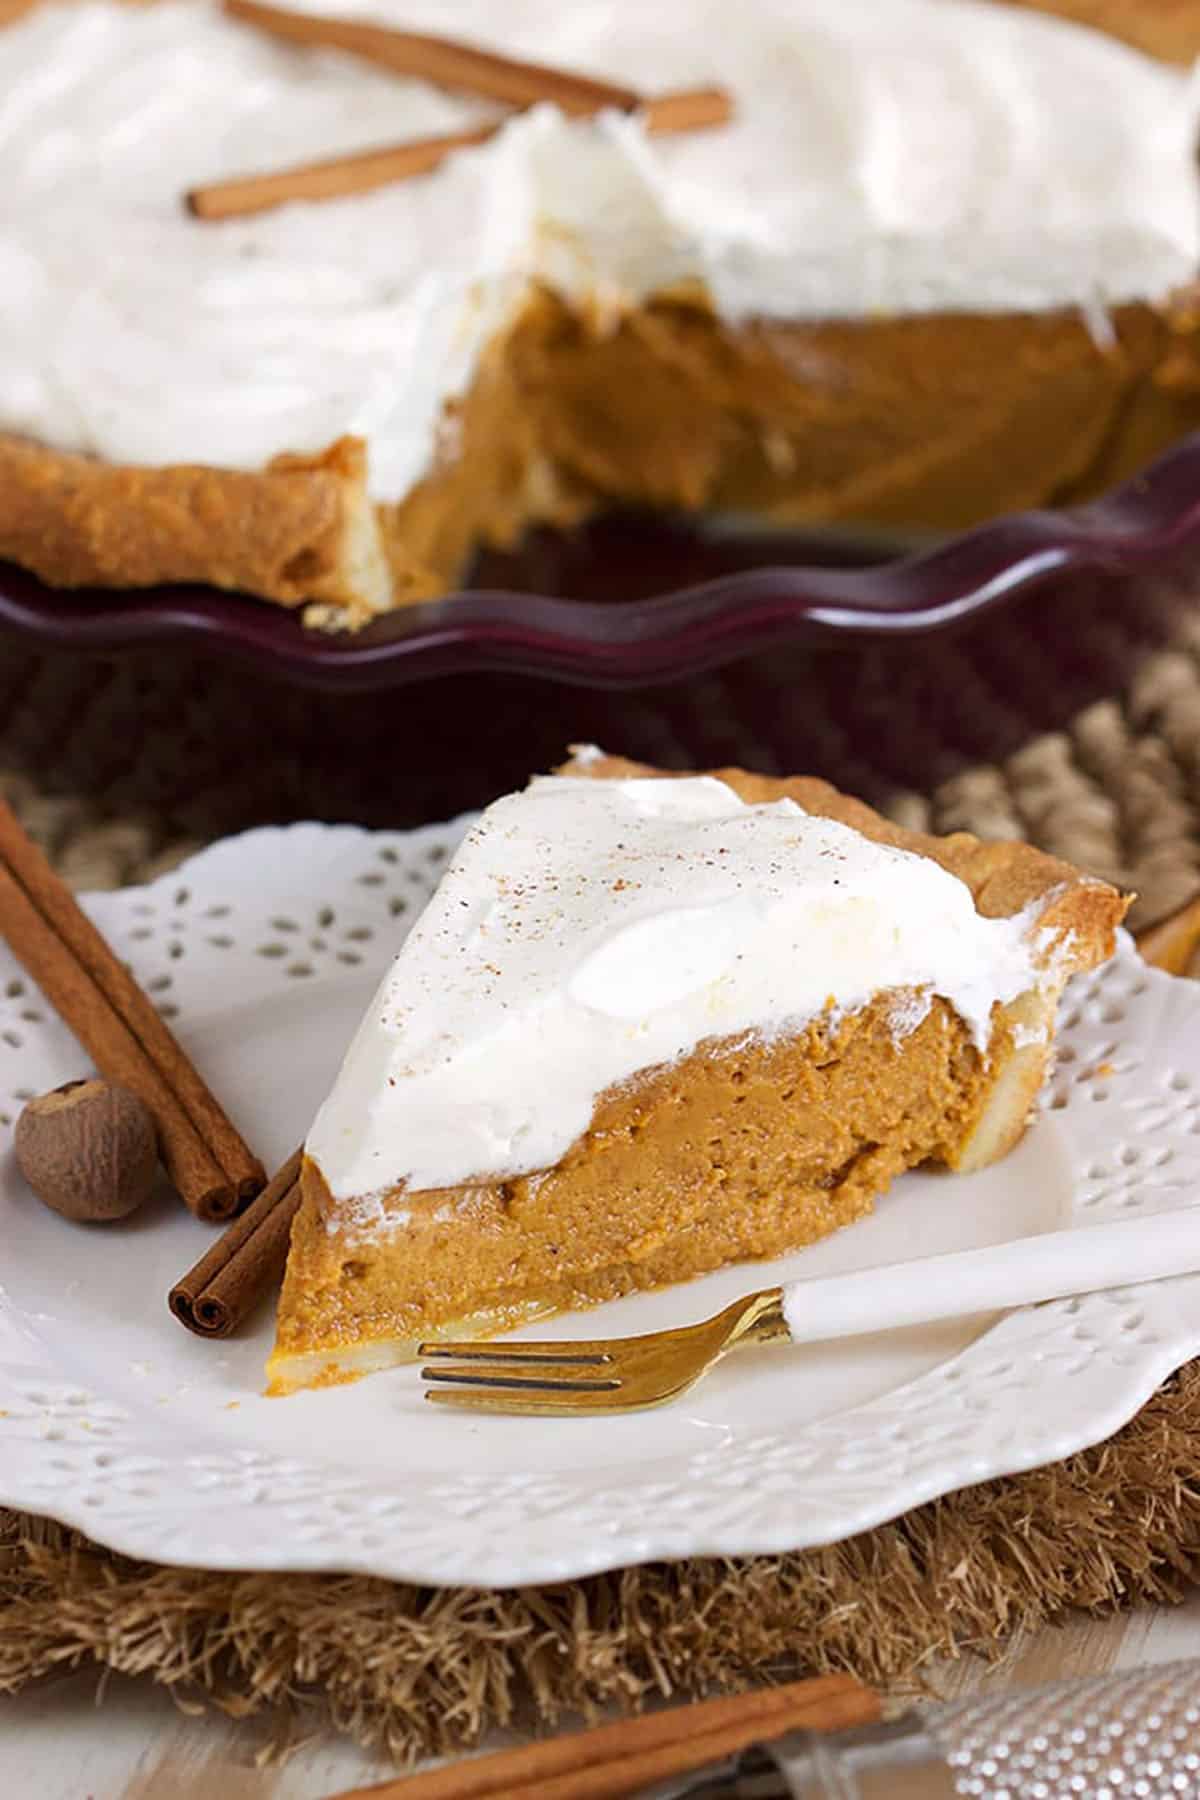
Table of Contents
Pumpkin Pie From Scratch
Fall weather brings pumpkin lattes, pumpkin muffins, and pumpkin bread. But the OG of all things pumpkin is that savory, smooth pie you love!
Unlike the store-bought stuff and most other recipes, my pumpkin pie is made from scratch with all-natural ingredients. It’s hard for me to emphasize enough how impactful fresh ingredients are on the flavor of your pie. There is no substitute!
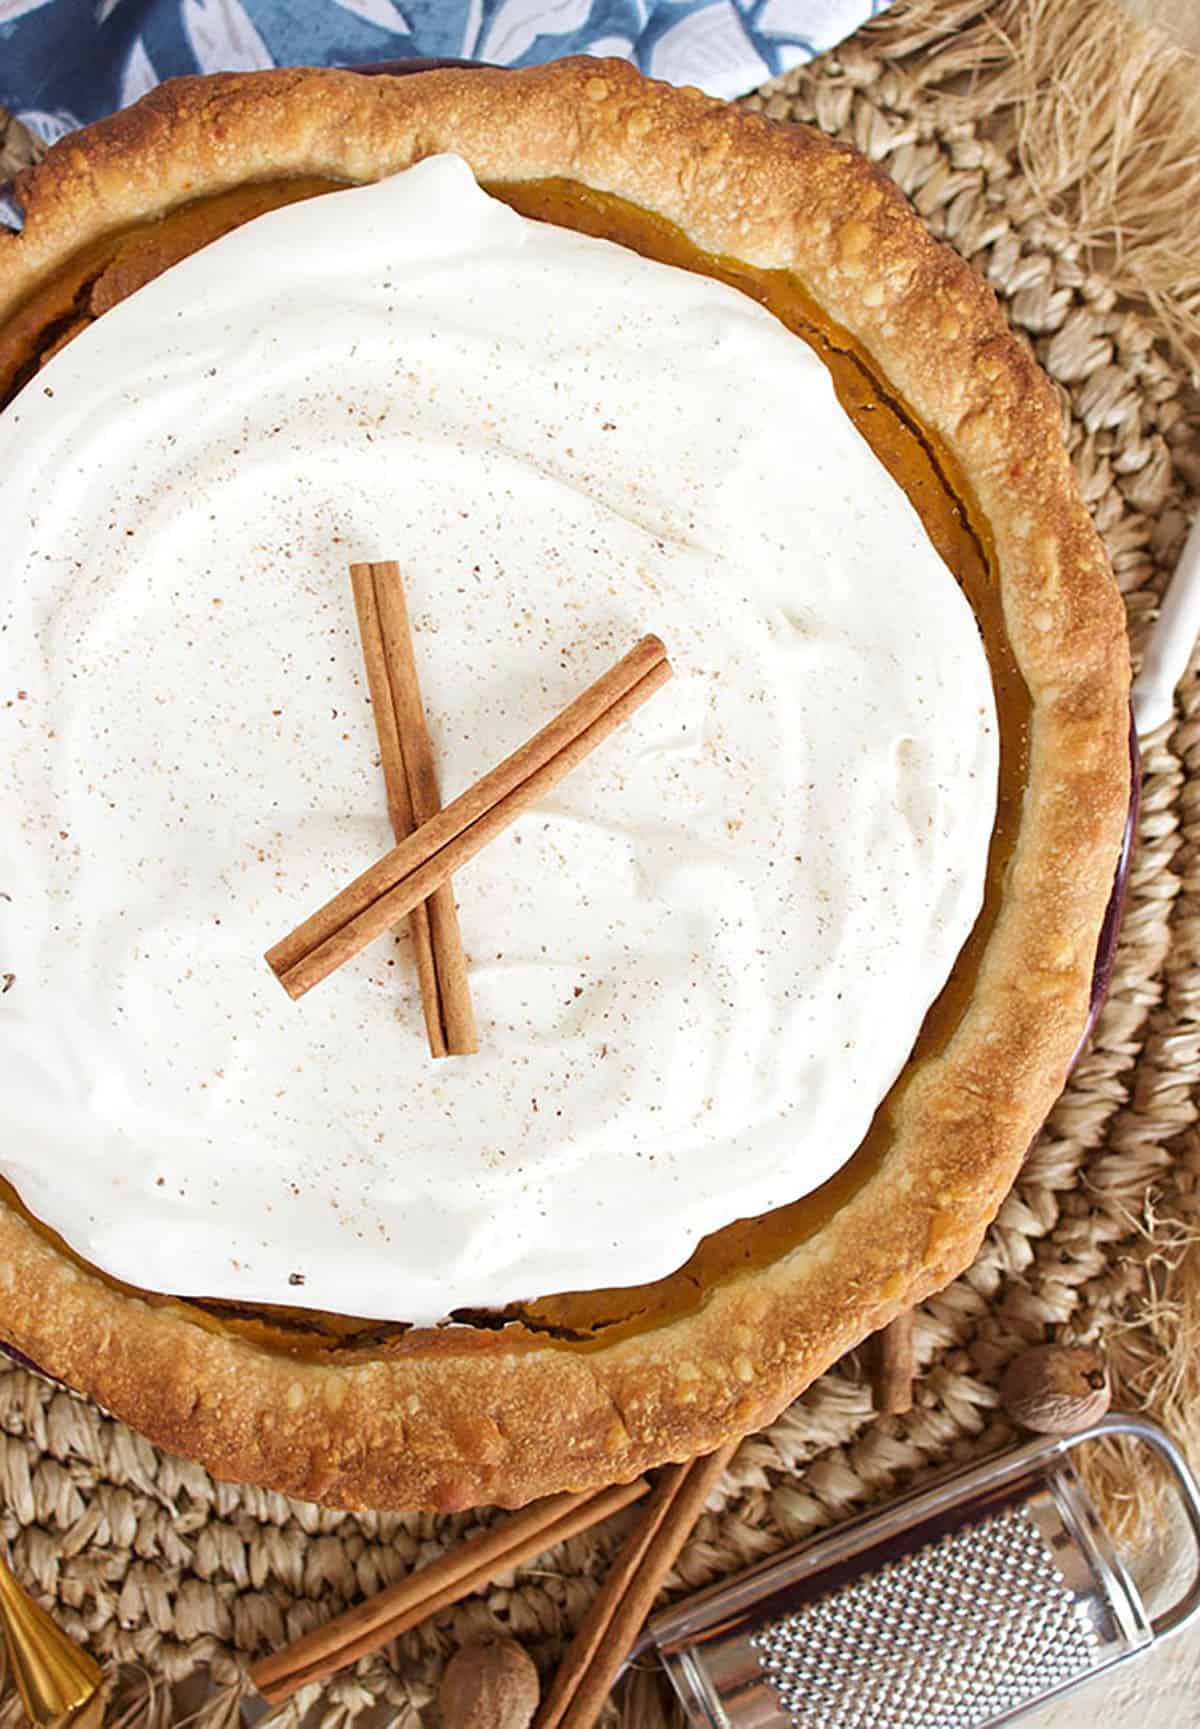
So toss out that canned milk, honey – we’re using real pumpkin, eggs, and dairy. This filling is bursting with flavor. Add a flaky crust and whipped topping you’ll give this family favorite the elegance it deserves.
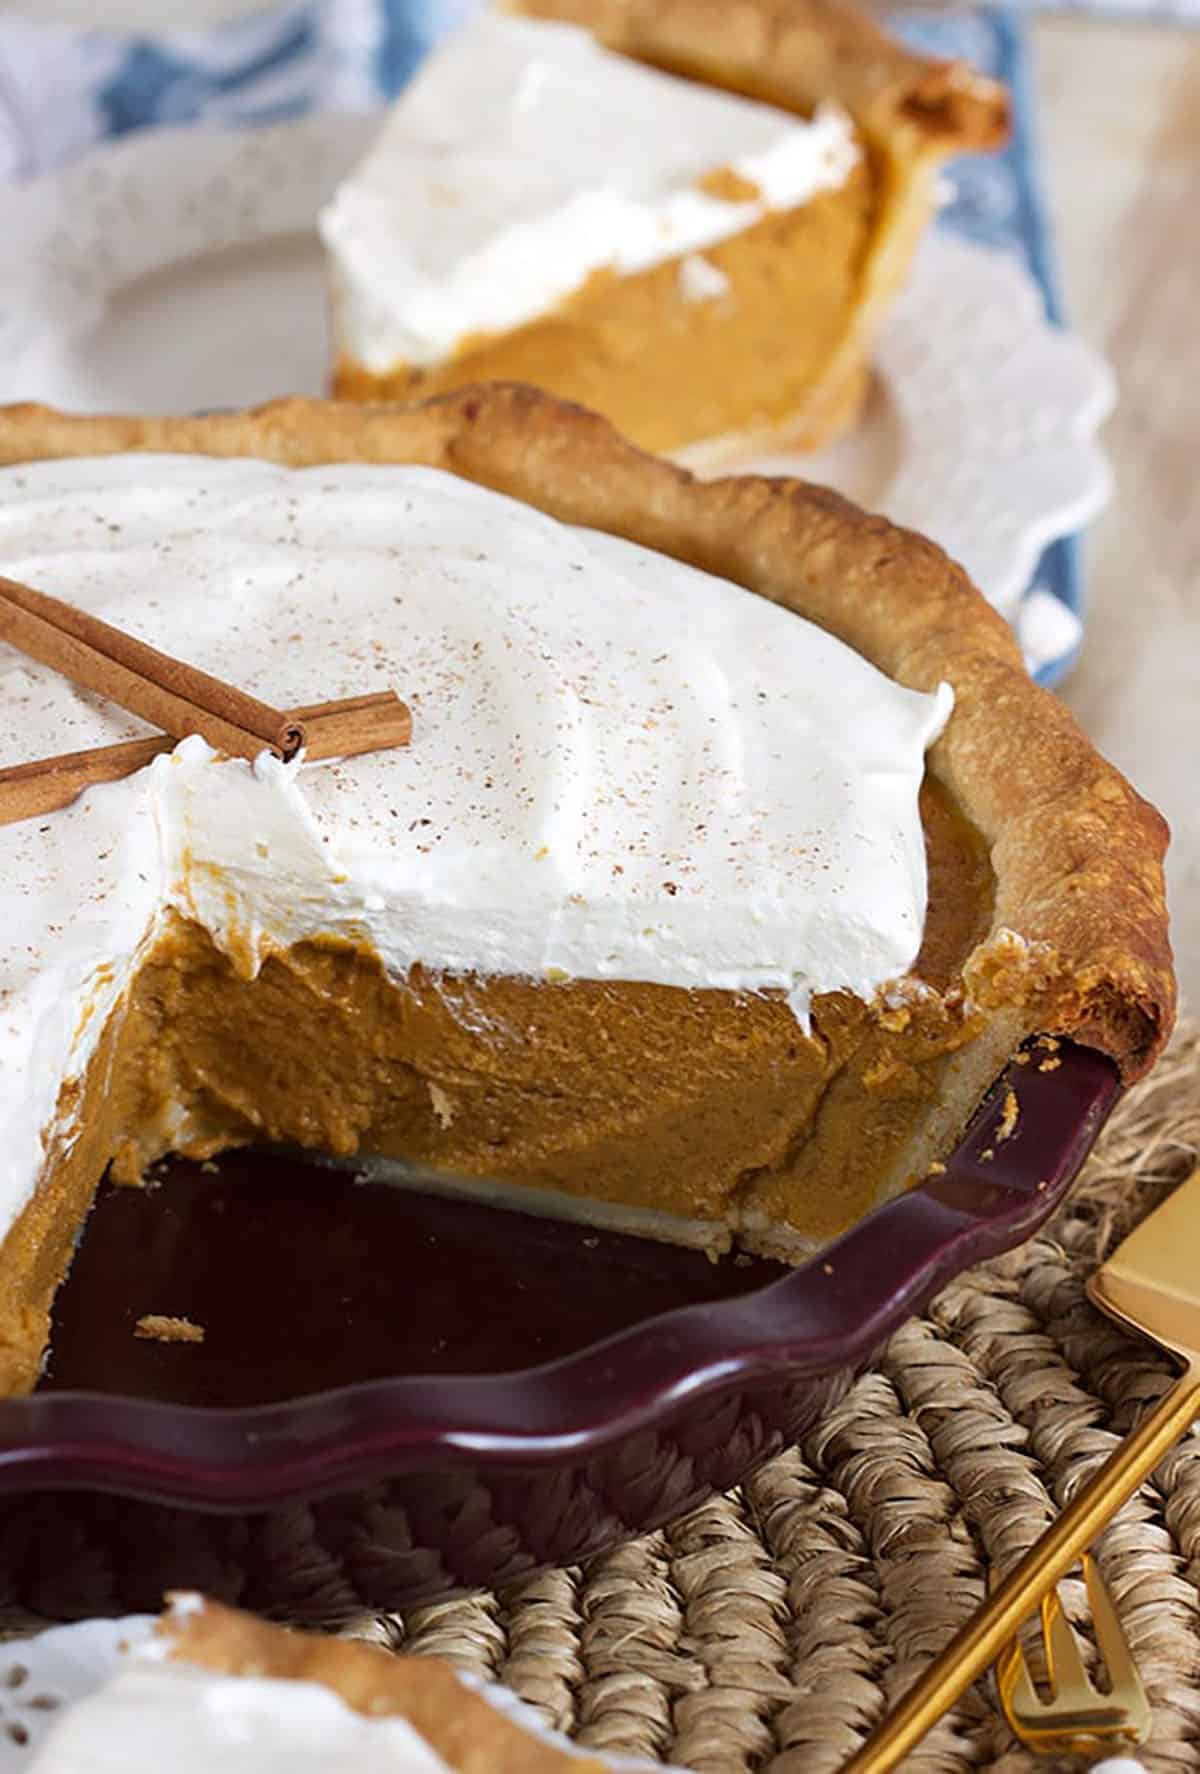
Worried about cracking? I’ve got that covered too. My cooling method is the secret sauce to keep your pie looking sleek and sophisticated. And if a tiny crack sneaks in, it’s the perfect excuse for extra whipped topping, right? Who’s gonna complain about that?
How To Make Pumpkin Pie
- Preheat. Preheat the oven to 425 degrees.
- Roll out dough. Roll out the dough with a floured rolling pin on a floured work surface. You can use a plastic drinking glass if you don’t have a pin – just flour it well so it won’t stick. Yes, you can use a refrigerated crust from the grocery store. With that said, I’d encourage you to try homemade pie crust. It’s easier than you think and a major improvement.
- Lift the crust into a pie plate. Use a 9-inch deep dish pie plate. Tuck it in, so it’s tightly pressed into the pie dish. Fold any overhang back into the dish to form a thick rim. Use a fork to crimp the edges or flute them with your fingers.
- Pour filling ingredients into the blender. Add in your sugar, pumpkin pie spice, kosher salt, eggs, pumpkin puree, and half and half.
- Blend until smooth. With the press of a button, you’ve made a pie. Amazing! It’s almost time to celebrate.
- Pour the filling mixture into the pie shell. Nice and easy. No spilling precious treasure.
- Transfer the pie to the oven and bake. Bake for 15 minutes (no peeking!). Then adjust the oven temperature to 350 F, and bake for another 45-50 minutes. You’ll know it’s done when a toothpick inserted into the center comes out clean.
- Pro Tip: Some ovens are finicky, or get hot spots. If it looks like your pie is browning too fast, add a tent of aluminum foil over the top.
- Turn off the oven and cool your pie in the oven. Cool in the oven for 15-20 minutes. This allows the pie to begin to cool slowly, reducing the cracking.
- Transfer to wire rack and cool completely. Cool on a rack for at least 2 hours.
- Top with whipped cream. Top and serve immediately – or refrigerate for up to 2 days and top just before serving. If you need a crash course on homemade whipping cream, it only takes (a literal) 2 minutes to come together.
Tips & Tricks
- A little jiggle is a good thing. When fully baked, the center of the pie should be just a bit jiggly. When a toothpick or a knife comes out clean, you’ll know this little beauty is ready to go. It will set as it cools.
- Use pumpkin puree. Reach for “pumpkin puree,” which is not to be confused with “pumpkin pie filling.” You’ll have an overspiced mess if you accidentally grab pumpkin pie filling, which already includes spices. Why not use fresh pumpkins? It’s possible, but most bakers find it’s a little grainy for pie and doesn’t play well with some of the other flavors.
- Cool before refrigerating. Make sure your pie is cooled fully before refrigerating, but don’t leave it out for more than 2 hours since it’s an egg-rich pie. We don’t want to invite bacteria. It will last 3-4 days in the fridge.
Can I freeze my pumpkin pie ahead of time?
Yes, you can freeze your pumpkin pie ahead of time. This can be a lifesaver if you’re doing meal prep for a crowd. Just bake and cool it completely Then wrap in several layers of plastic wrap and a layer of foil. You can freeze this pie for up to one month. To defrost, remove the foil and leave it overnight in the fridge with the plastic wrapping on.
Still Needing a Pumpkin Fix?
Try these other delicious recipes with your favorite fall flavor.
More Easy Pie Recipes
For more easy desserts, follow us on Instagram and Facebook!
Deep Dish Pumpkin Pie Recipe
Equipment
- 1 pie plate
Ingredients
- 1 1/2 cups granulated sugar
- 2 1/2 teaspoons pumpkin pie spice
- 1 teaspoon kosher salt
- 4 large eggs
- 2 15 ounce cans pumpkin puree
- 2 cups half and half
- 1 recipe for the very best pie crust
- 2 cups whipped cream, optional
Instructions
- Preheat oven to 425 degrees.
- Roll out dough and line a 9-inch deep dish pie plate. Crimp the edges and set aside.
- Add the sugar, pumpkin pie spice, kosher salt, eggs, pumpkin puree and half and half to the pitcher of a blender. Blend until smooth.
- Pour the filling mixture into the pie shell.
- Transfer the pie to the oven and bake for 15 minutes. Do not open the oven door. Turn the heat to 350 degrees and continue to bake for 45-50 minutes or until a toothpick inserted into the center comes out clean.
- Turn off the oven and allow the pie to cool in the oven for 15-20 minutes. Transfer to a wire rack and cool completely.
- Top with whipped cream, if desired. Serve immediately or refrigerate for up to 2 days.
Notes
Nutrition
Nutrition information is automatically calculated, so should only be used as an approximation.


I’m not sure what happened to my comment that I posted earlier today but I’ll reiterate my point: This recipe makes two (2) standard store bought Deep Dish pies. It would be very helpful if that fact was listed clearly in the description of the dish. I decided to freeze the remaining portion for future use but I didn’t appreciate the hassle.
Unbeknownst to me, I followed the recipe and discovered that the measurements of the ingredients are far too much for one (1) deep dish pie. I decided to freeze the remaining pie filling for a later date but I am a bit annoyed. The recipe should have been described as enough for two (2) standard store bought deep dish pie crusts. The previous comments on this site are accurate. This is a prime example of the importance of reading the comments from others who have already made the dish! I’ll remember next time!!
This recipe makes two 9 inch deep dish pies. You should say that in your instructions
I’ll have to test it to be sure but we usually only get 1 really large pie out of it. Thank you for bringing this to our attention.
Thanx for the heads up. I’ll half the recipe. Only want one! Happy thanksgiving
You’re welcome!
Could not fit all of the ingredients into the blender. I used a mixing wand and a bowl. I filled the deep dish crust to the brim and still had a lot left over. What did I do wrong? What can I do with the leftover filling?
You can bake it in a baking dish without the crust for a crustless pie….it’s a good option for those that want a gluten free dessert, too. Your pie dish may have been less deep than the one I used.
The Deep Dish Pumpkin pie is the best pumpkin pie ever!!!!! The only addition I made was to add two teaspoons of cinnamon along with the pumpkin pie spice. I also made whipped cream from heavy whipping cream to top it off. I also used a Pillsbury pie crust I rolled out and placed in my pie plate. I will be saving and sharing this recipe with many.
This is definitely one of our favorites and we also use a ready made pie crust on occasion. So glad you enjoyed it, thank you for your comment!