This post may contain affiliate links. Please read our disclosure policy.
Learn how to make a cheese board and you’ll always have a crowd-pleasing appetizer spread for any party! It’s easy as can be, but it adds instant elegance to your get-togethers.
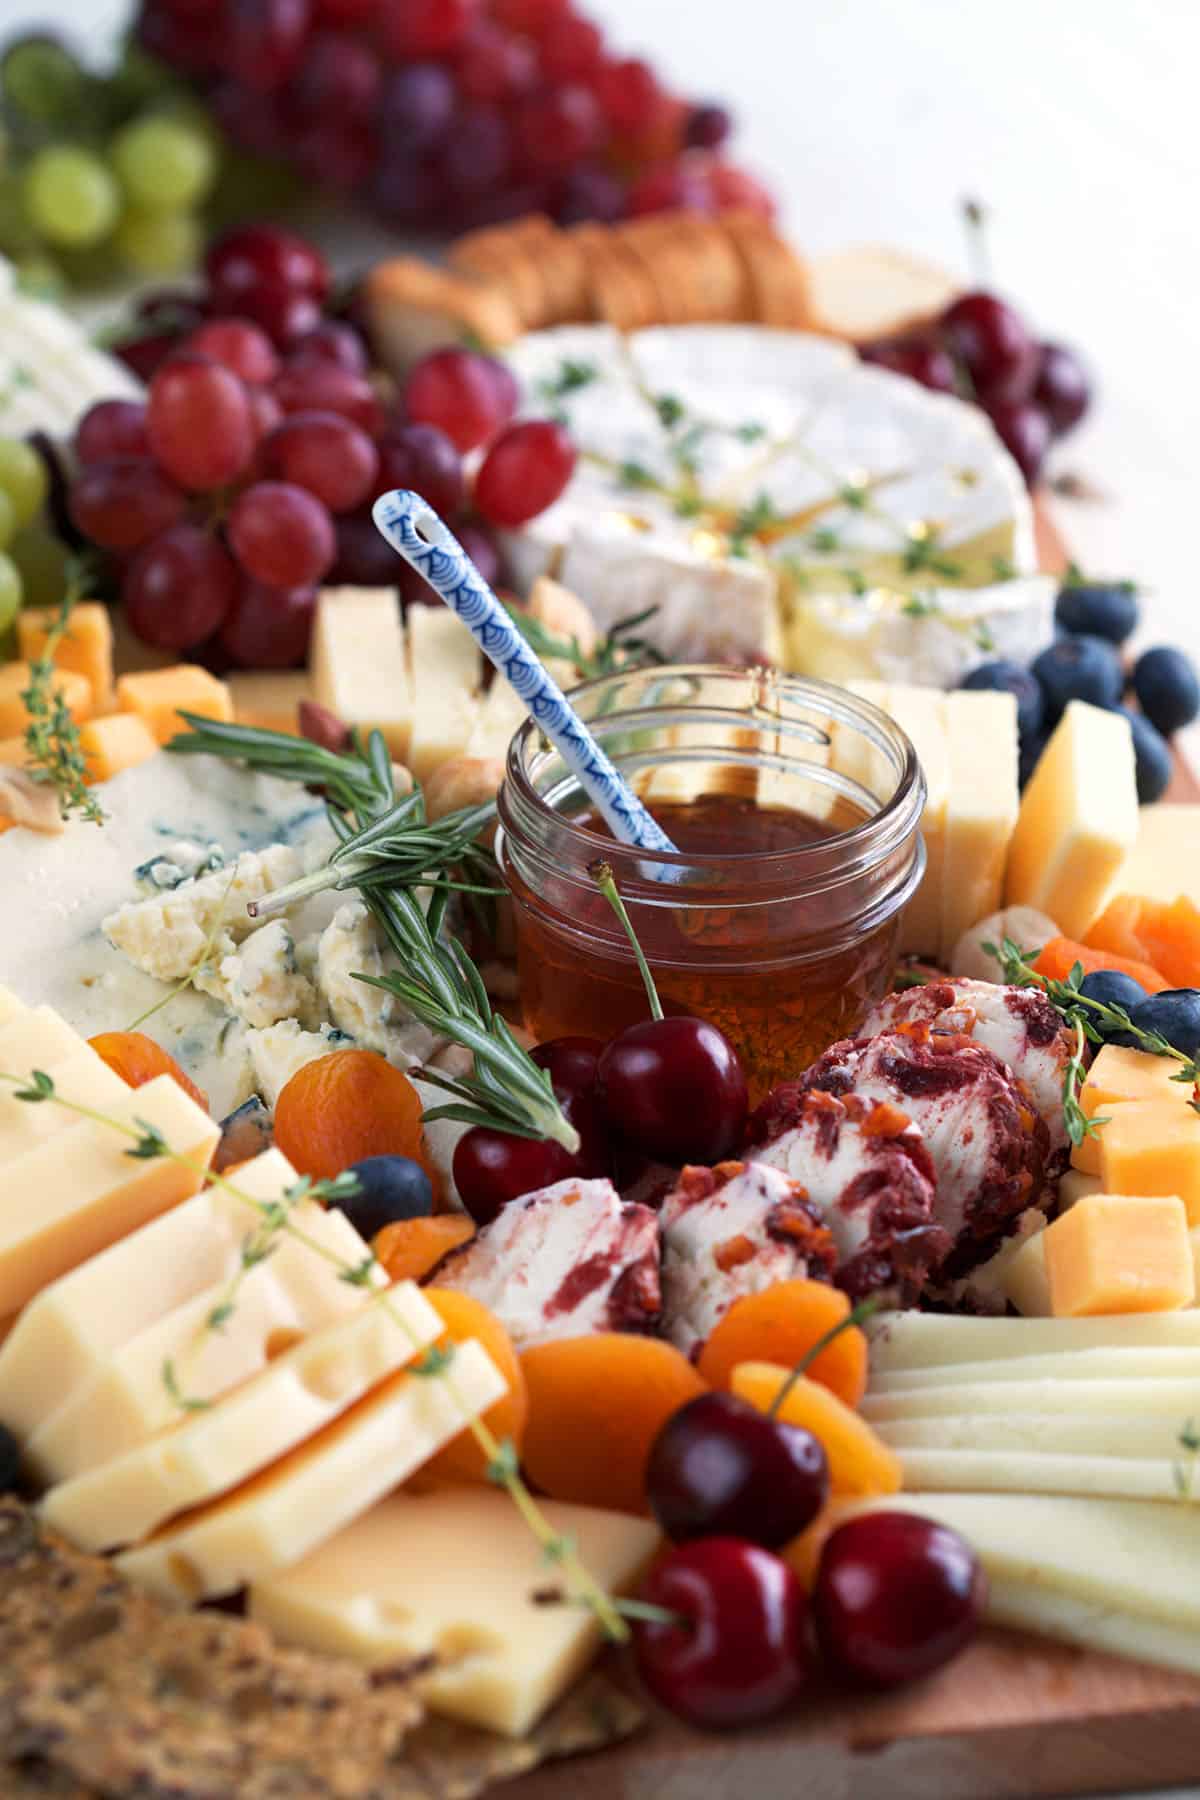
Creating the perfect cheese board doesn’t have to be difficult or expensive. You don’t even have to make a special trip to a cheese shop—most well-stocked grocery stores carry everything you need to build your display! We’ve been making grazing boards and charcuterie boards for decades and I’m sharing all my tips for the most budget-friendly cheese board ideas.
Here’s how to make a cheese board that will wow all your guests.
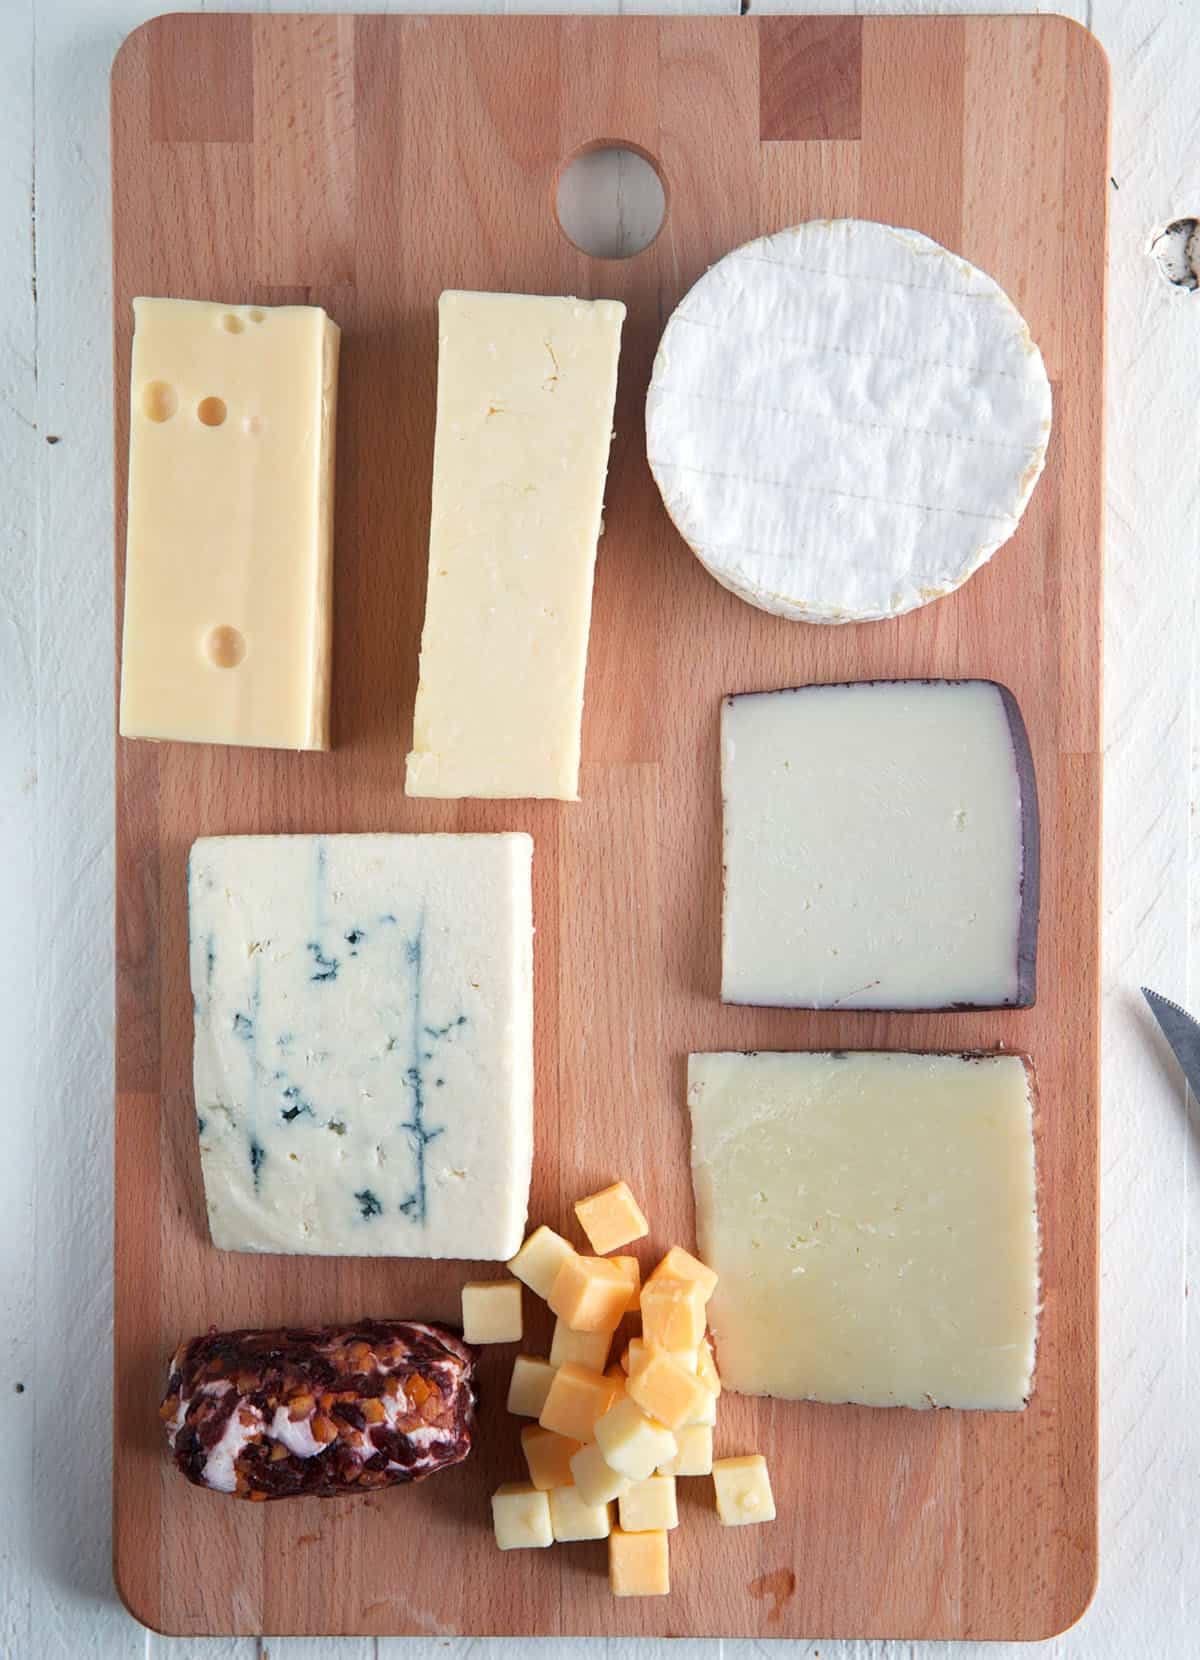
Use a Variety of Cheeses
Be sure to buy a variety of cheeses made from different milks (goat, cow, sheep) and with different textures. If you do go to that fancy cheese store, you can ask the cheesemonger (yes, that’s an actual job, and isn’t it glorious?) for help. Otherwise, here’s a simple primer:
- Soft Cheeses: Brie, Camembert, Chèvre
- Semi-Soft Cheeses: Havarti, Fontina, Butterkase, Taleggio, Cheddar (this is sometimes also classified as a hard cheese), Gouda, Gruyere
- Hard Cheeses: Parmigiano-Reggiano, Manchego, Pecorino-Romano, Grana Padano
- Blue Cheeses: Roquefort, Gorgonzola, Stilton, Danish Blue
- More Cheese Types: Also consider adding a smoked cheese, cheeses made with herbs, fruit, or spices, etc.
Be sure to buy different colors of cheese too. All white cheeses make for a ho-hum cheese board!
Don’t Overdo It
It’s easy to get carried away, but don’t buy too much cheese—four different types should be fine for a small group of people. If you’re hosting a large crowd, five cheeses would be perfect. You don’t want to end up with grilled cheese sandwiches for the next two weeks. (Although those sandwiches would be pretty epic, especially with the The Best Grilled Cheese Sandwich recipe.)
Add Other Flavor and Texture Elements
This is the fun part! The other ingredients you add to the cheese board make it more visually interesting, and also bring more flavors and textures to the table. Briny foods serve as palate cleaners, while sweet foods complement the cheese by balancing its savoriness. Crunchy nuts and crackers harmonize with the creamy cheese—you get the idea!
Here are some ideas for what to include:
- Fruits: Grapes, figs, dried apricots, pear and apple slices
- Briny Foods: Cornichons, pickled vegetables, olives
- Nuts: Almonds, cashews, candied walnuts and other nuts (try these Spicy Maple Cinnamon Roasted Almonds)
- Condiments: Honey, fig jam, cranberry chutney and mustards are fantastic layered with cheese and crackers
- Bread and Crackers: Baguettes, whole-grain crackers, and breadsticks
- Savory and Salty: Salami, some chopped speck, thin slices of prosciutto or a summer sausage
Prep the Cheese Properly
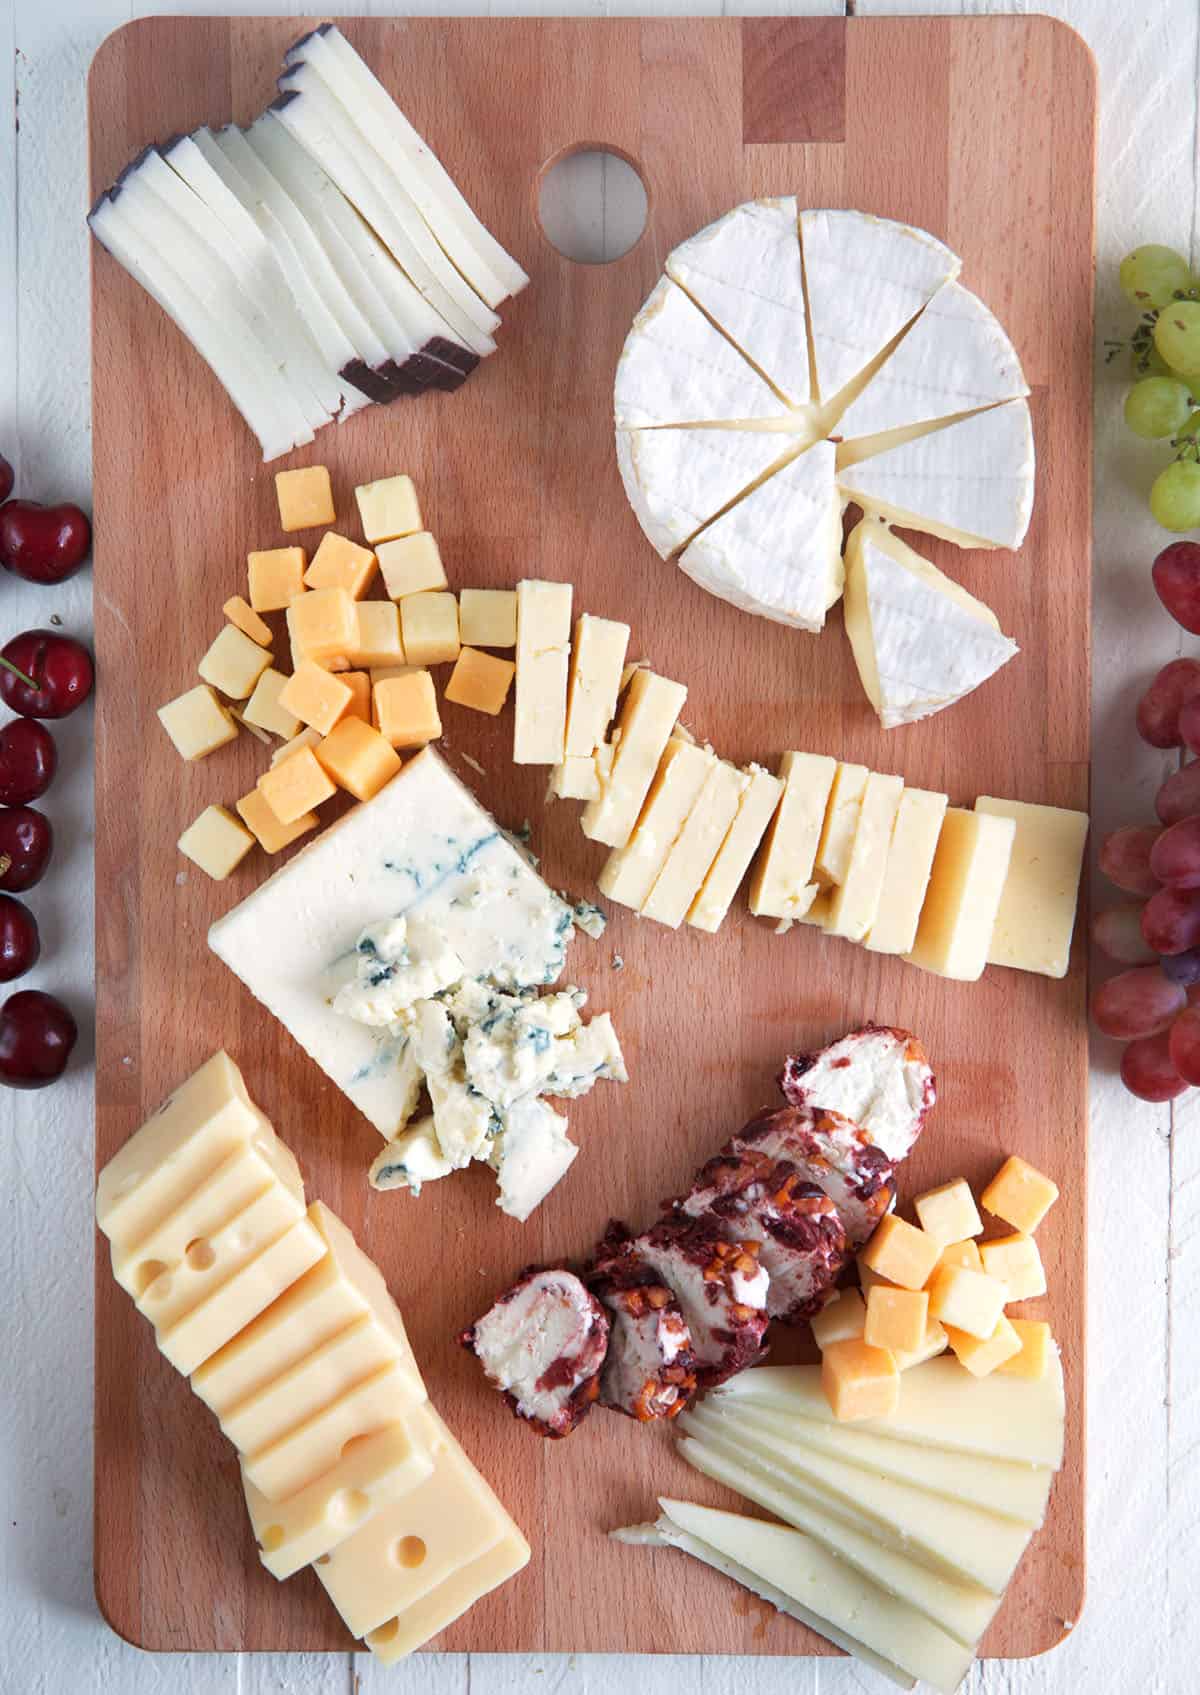
To cut or not to cut? My vote is to cut the cheese. While all those wedges look nice on a serving platter, it’s much easier for your guests if you cut the cheese in advance, and it also keeps your serving platter looking neater. (Speaking of which, cut the cheese on a separate cutting board, not on the board you plan to use for serving.)
You’ll also want to let the cheese come to room temperature for 30 minutes to an hour before you serve it. It will be creamier and the flavors are absolutely better when the cheese can warm up a bit.
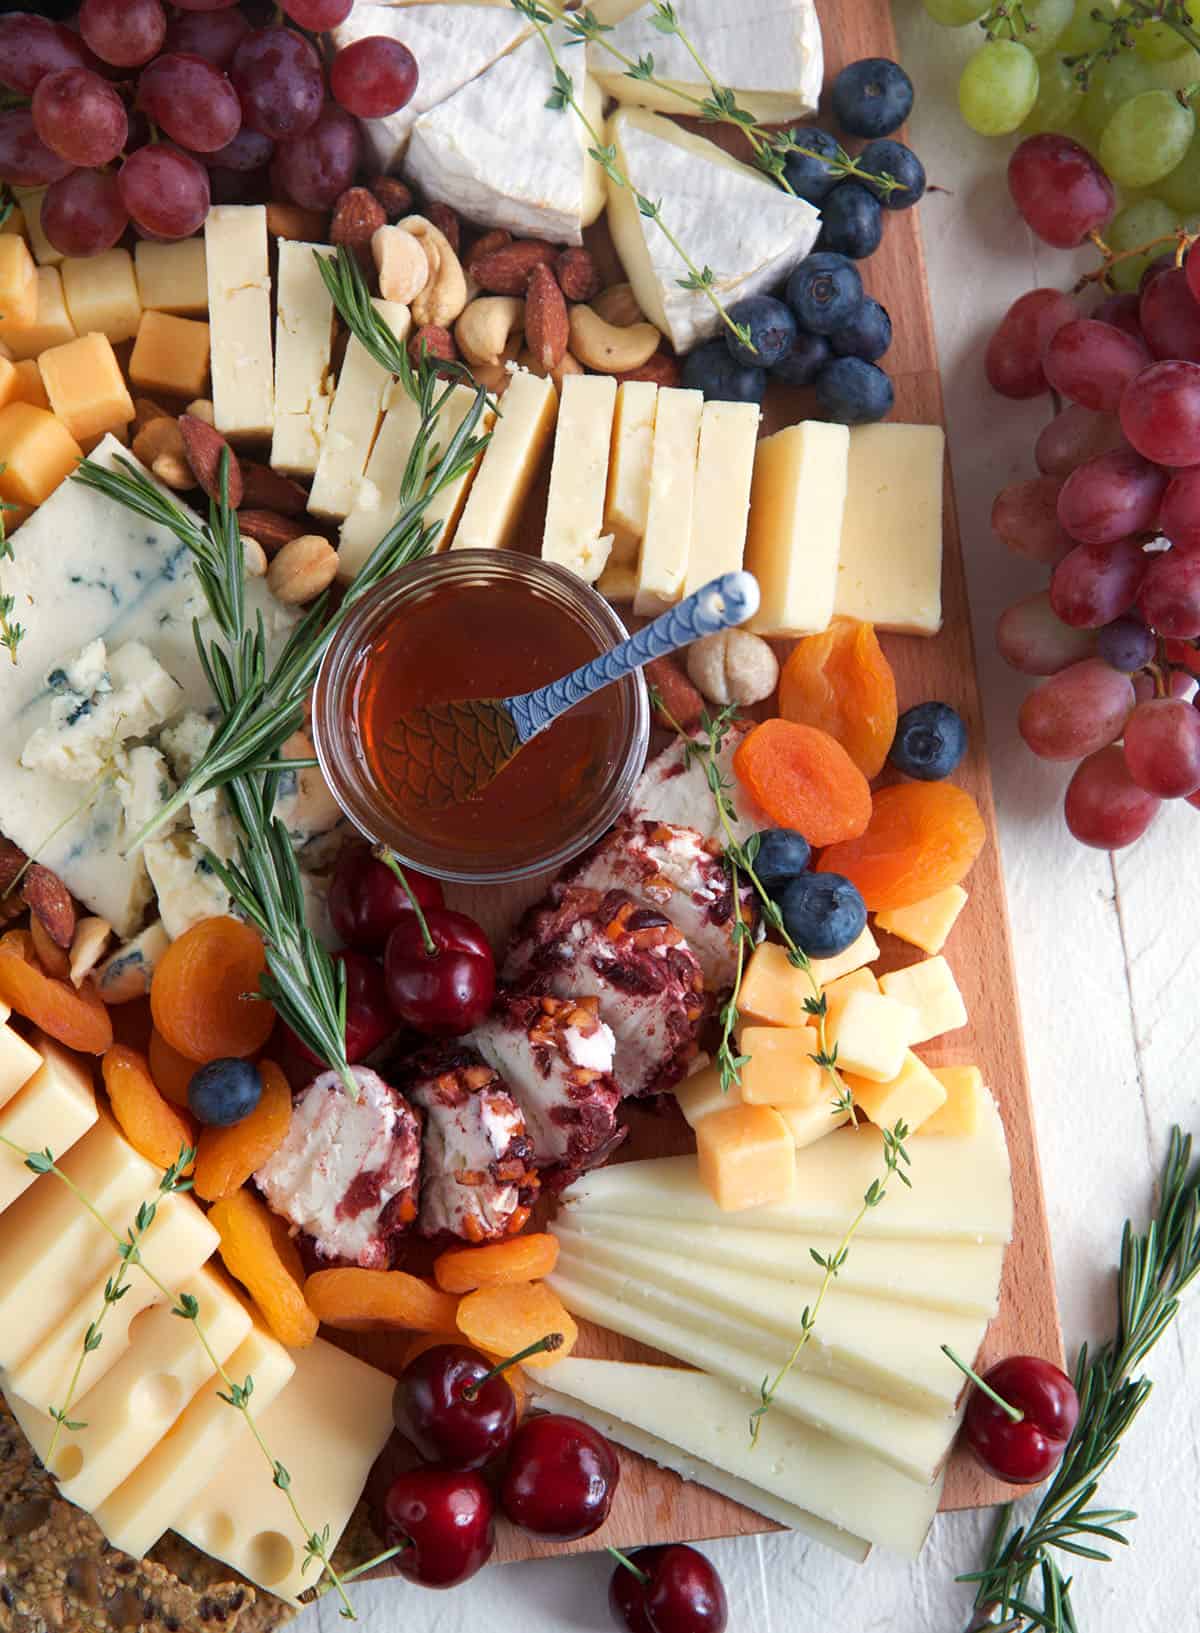
Have Everything You Need for Serving
First, the board. Don’t use the beaten up, discolored, stinking-of-onion cutting board you use for meal prep, you want something a little more high-end. Wood is the most common choice, but marble boards are fancy and keep cheese cool. Slate boards are fun because you can write the names of the cheeses on the board with chalk. You can even use a sheet pan!
Now that you’ve got the board, make sure you include a small knife or two in case someone wants to cut a smaller slice of cheese, a spreader for each jar of jam, mustard, etc., and a tiny fork for olives and pickles.
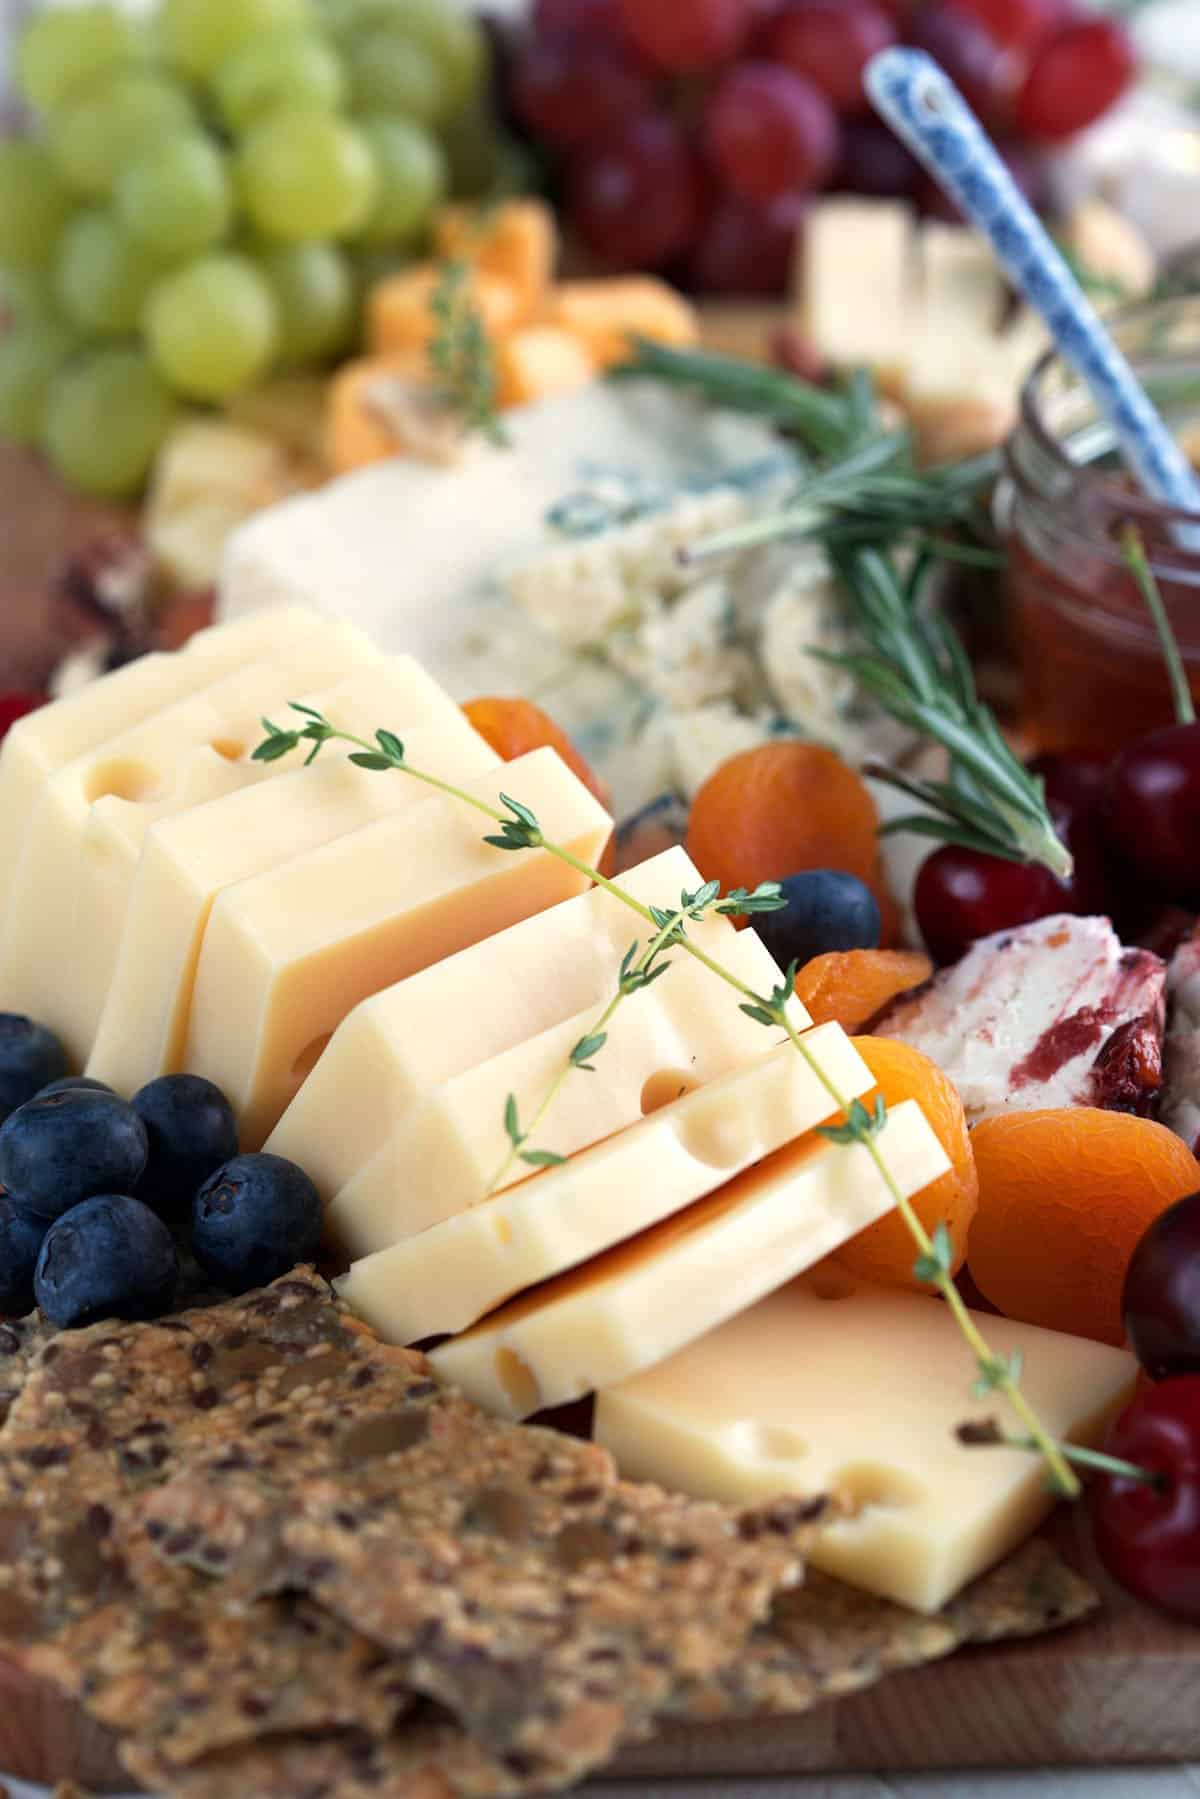
Put It Together
The wonderful thing about making a cheese board is that if it doesn’t look good, you can clear it off and start over again. You can also consult photos and copy what you see—that’s what the internet is for, friends.
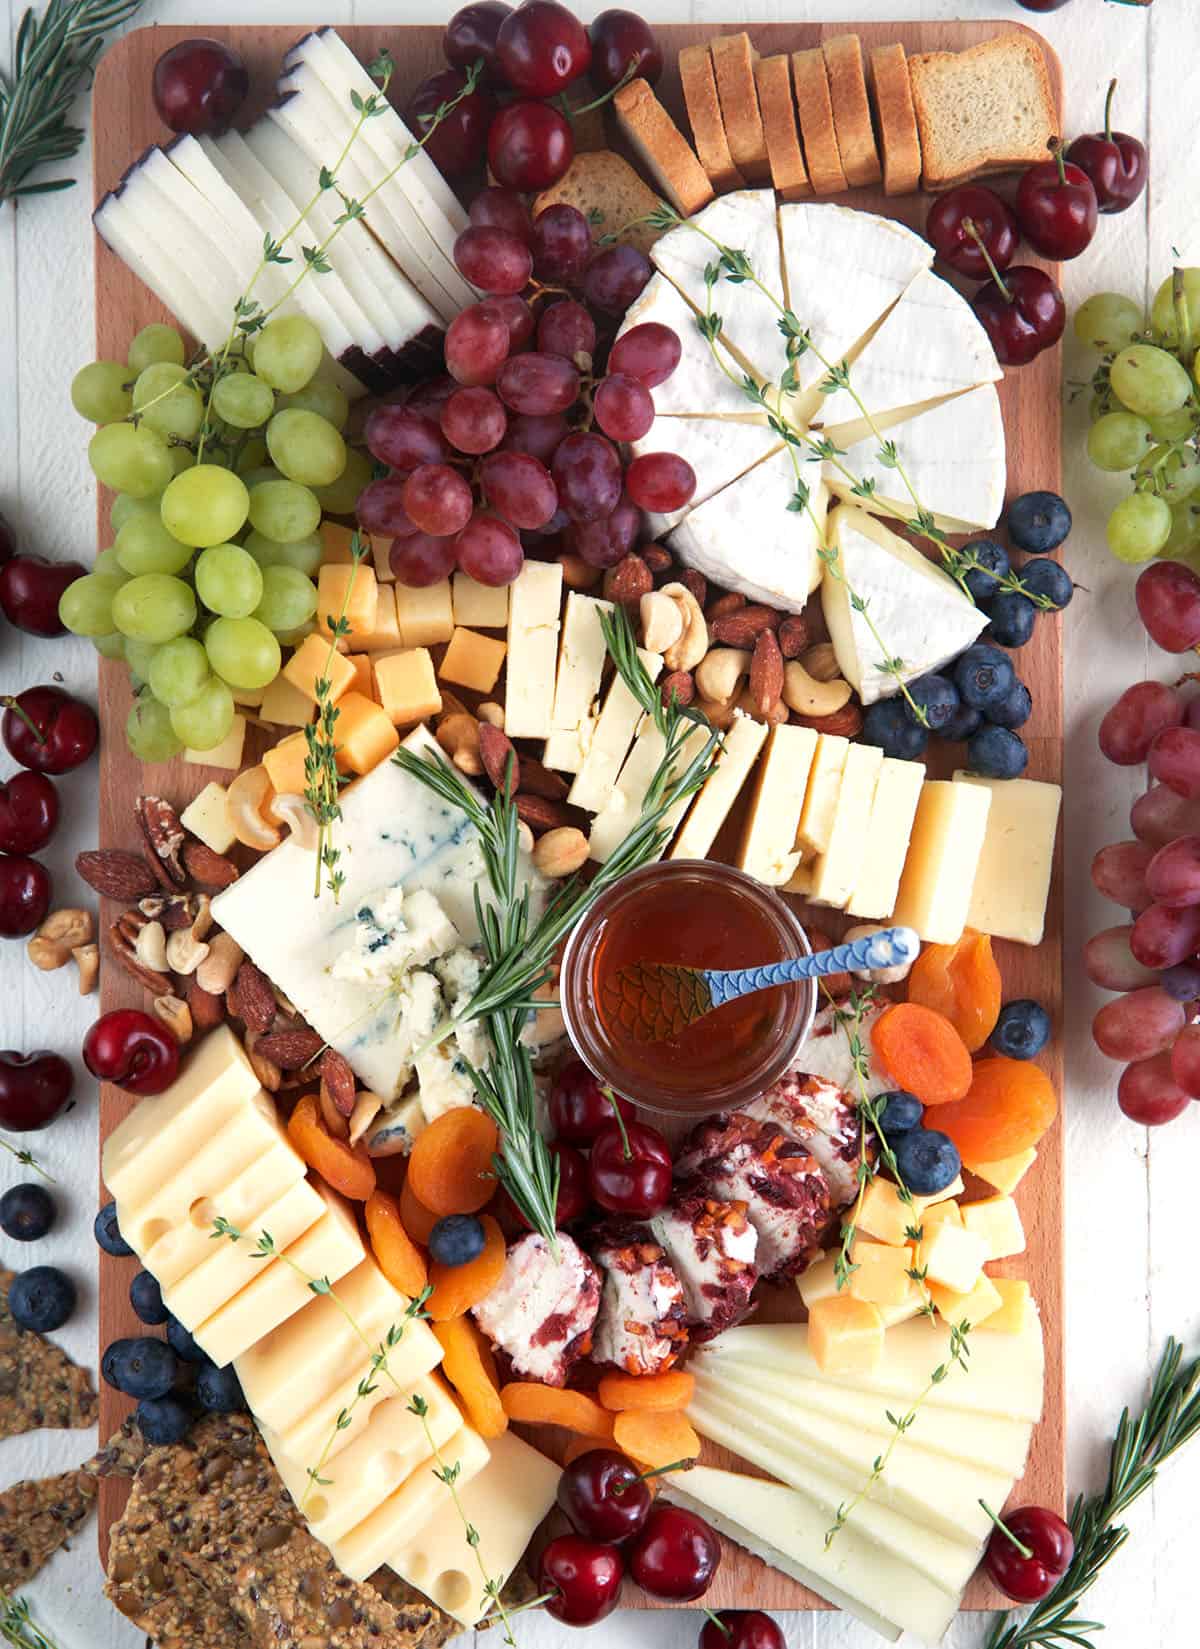
I like to start with anything that’s being served in a bowl or jar. Set those on the board in a way that looks aesthetically pleasing to you. Then, layer in the cheese and any larger items like crackers and bread around the bowls and jars. After this, fill in the gaps with small items like nuts and dried fruit.
Overall, you want to create a lush, abundant appearance, so cramming things together looks better than large empty spaces. Think about varying heights, textures, and colors.
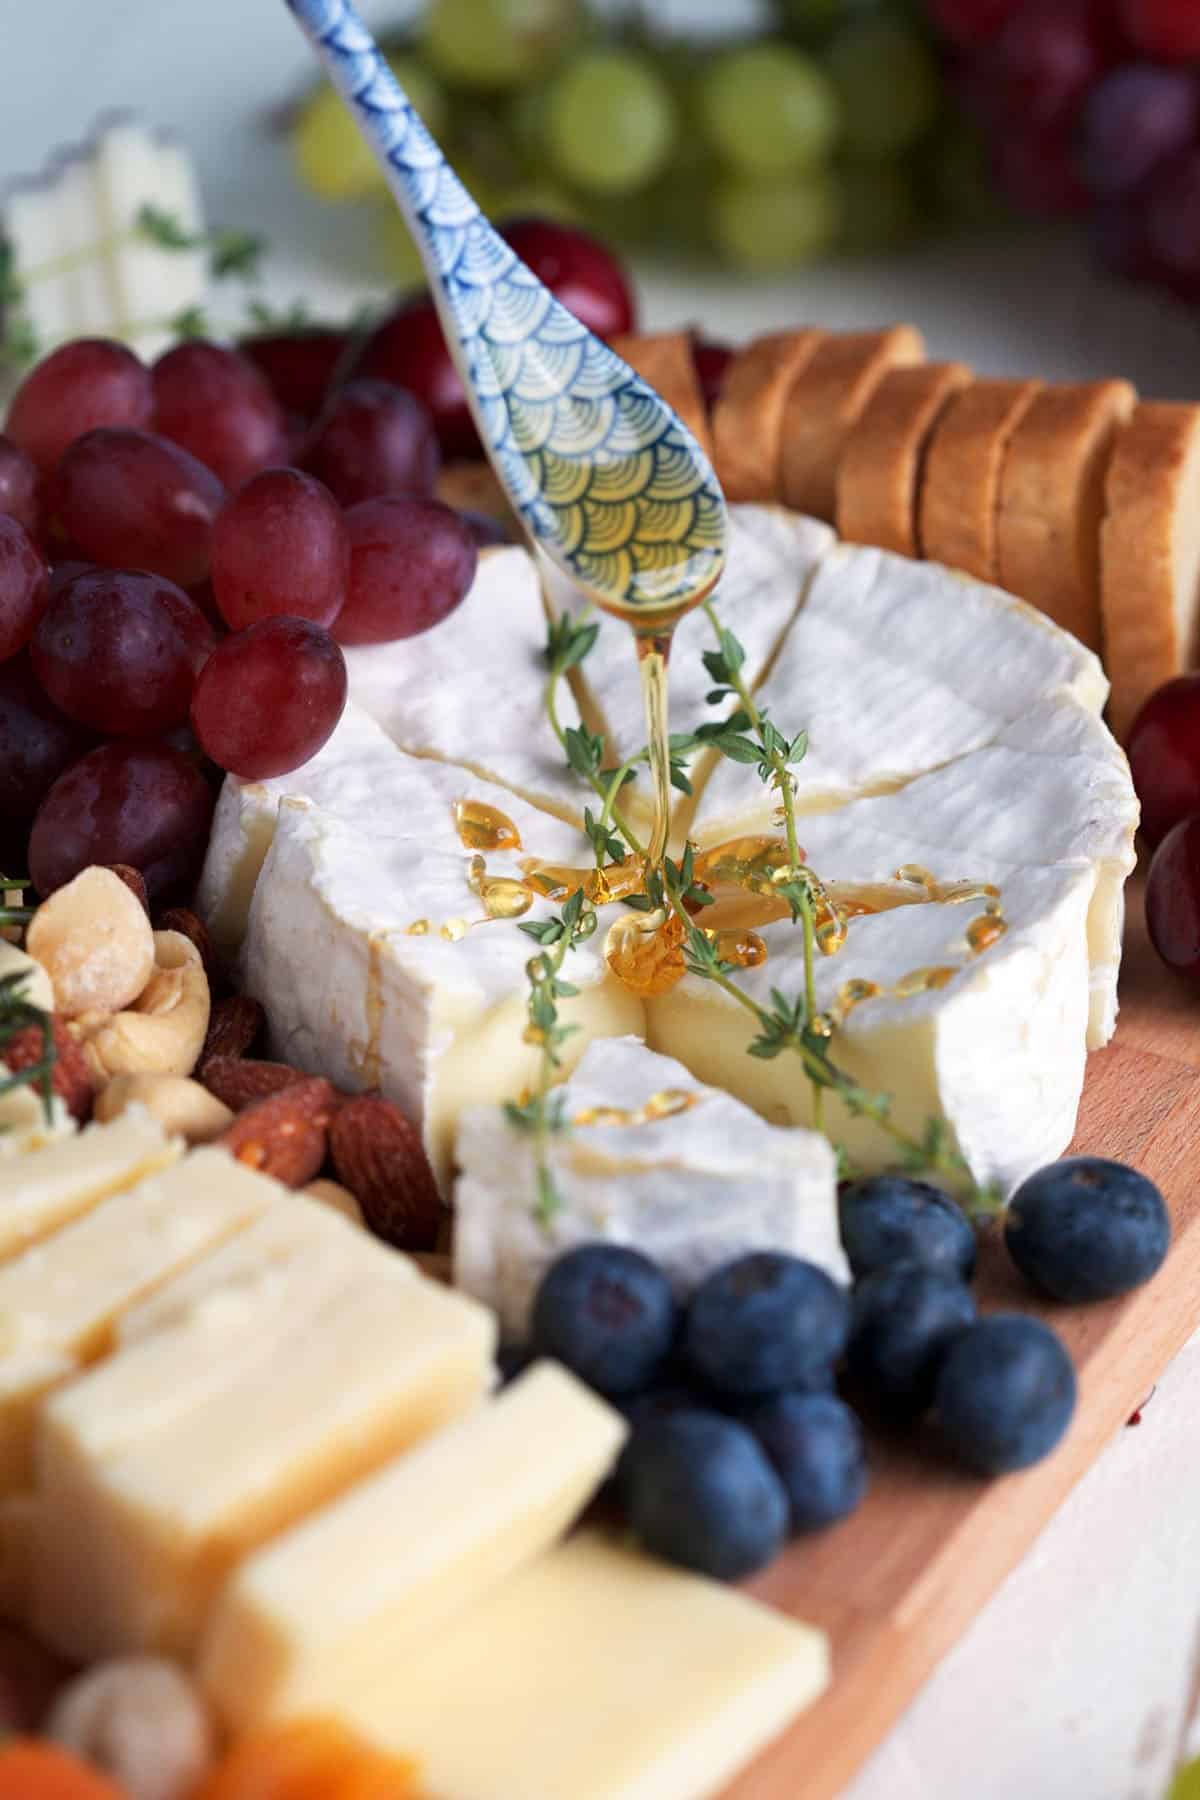
More Items to Include on a Cheese Board
- Slow Cooker Candied Nuts
- Everything Sourdough Crackers
- No Knead Sourdough Bread
- Easy Fig Jam
- Cranberry Chutney
- Puff Pastry Cheese Straws
- Easy Goat Cheese Balls
- Easy Tomato Jam
- Easy Parmesan Crisps
More Party Appetizer Ideas
- Blackberry Goat Cheese Crostini
- Boat Dip
- Pecan Brie and Brown Sugar Phyllo Bites
- The Best Hummus
- Easy Pineapple Salsa
- Italian Hoagie Dip
- Baked Brie with Fig Jam (Brie En Croute)
- Christmas Charcuterie Board
For more easy appetizers, follow us on Instagram and Facebook!
Simple Cheese Board Recipe
Equipment
- 1 chef's knife
- 1 board
Ingredients
- 1 lb Cheddar Cheese
- 4 oz Goat Cheese
- 1/2 lb Manchego
- 1/2 lb Butterkase
- 1 Persimmon, or oranges, sliced
- 1 lb Grapes
- 1/4 cup Almonds
- 1/2 cup Walnuts
- 1 cup Dried Apricots
- 1 cup Olives
- 1 Honeycomb, optional
- Assorted Crackers
Instructions
- Use a food safe board or line with parchment paper before arranging your charcuterie board.
- Arrange the cheeses on the board and slice hard cheeses for easier serving.
- Wash and pat dry fruit. Cut into bite sized pieces, if necessary. Place the fruit in the spaces remaining on the board.
- Sprinkle the almonds and apricots around the board or place in small bowls on your board. You can also fill with olives, nuts, honey and dips.
- Place the crackers around the board.
- Serve.



Being a bit of a cheese-a holic it love this post and your great advice about how to great a perfect tray. So hungry now!
Great tips! Aldi has a great variety of cheeses, especially around the holidays!
I love the various textures and combination of flavors!! YUM.
I love cheese boards – they’re one of my favorite hors de’ oeuvres!