This post may contain affiliate links. Please read our disclosure policy.
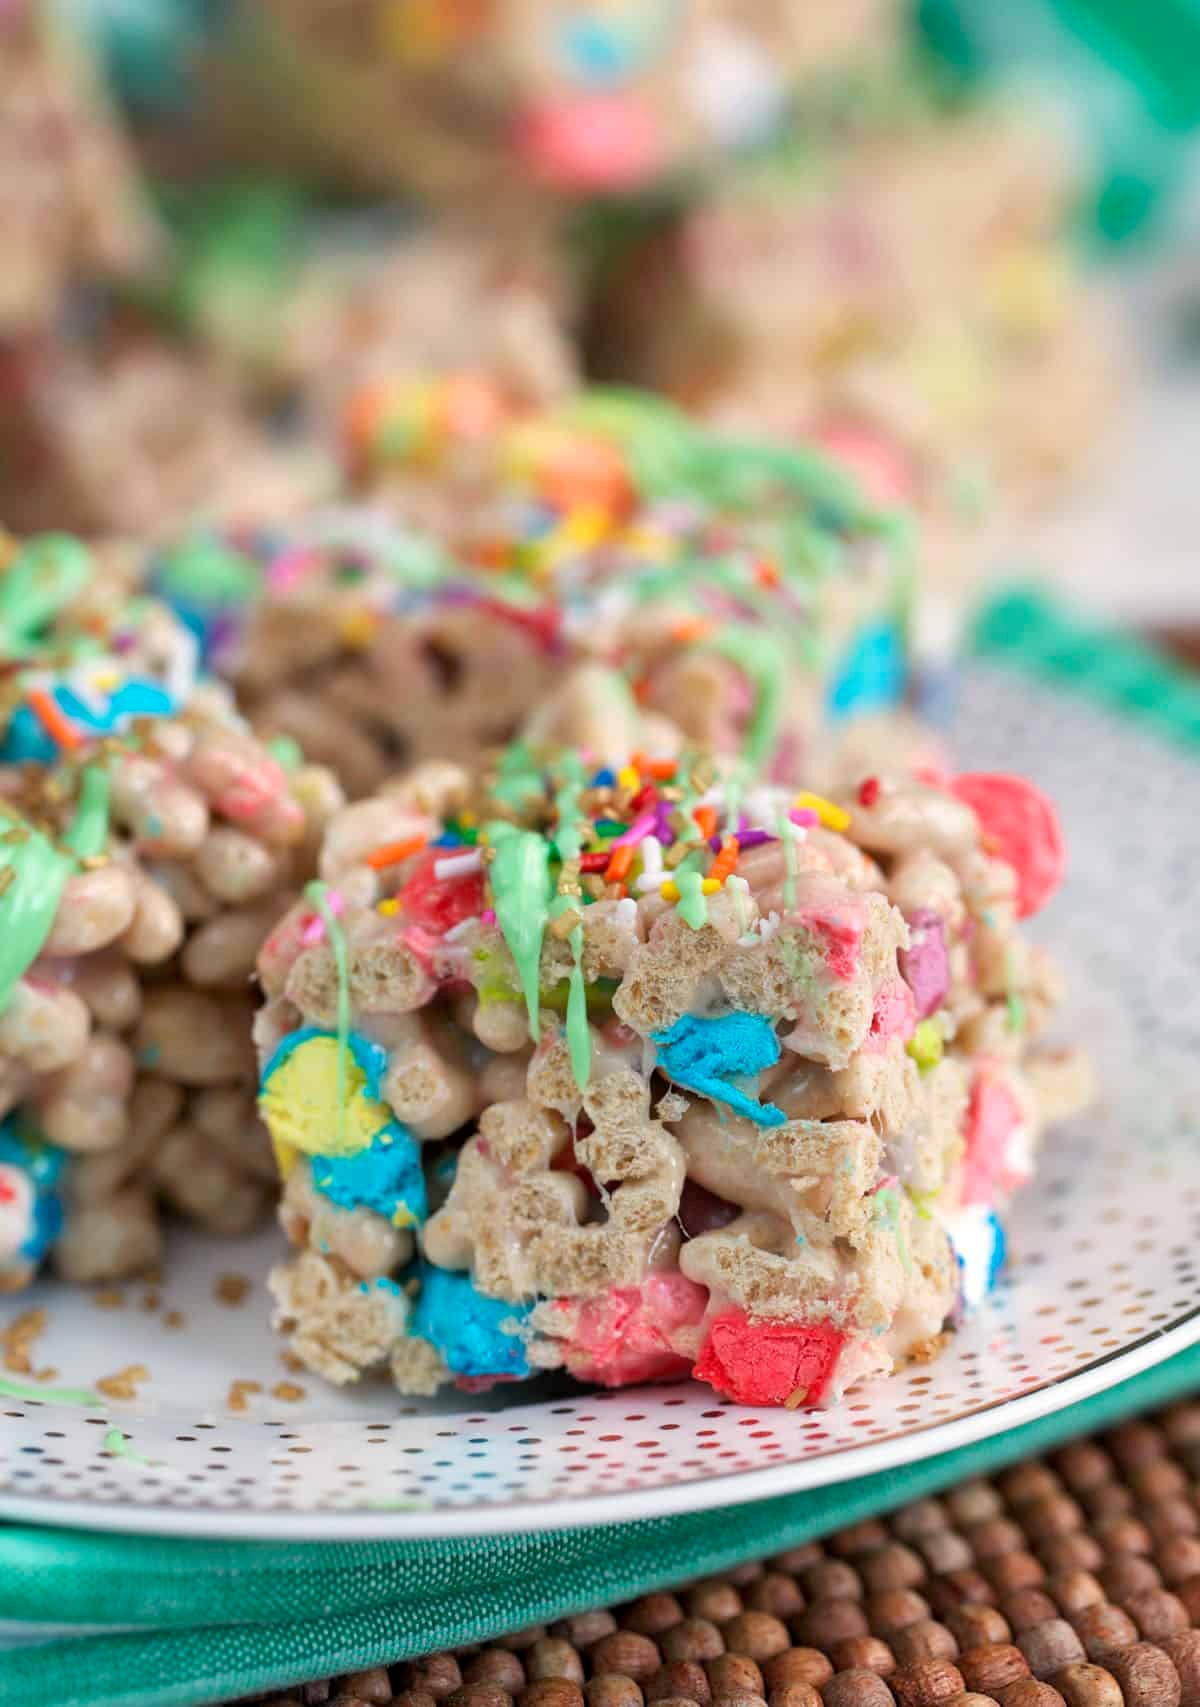
These Lucky Charms Bars are an easy no bake treat made with cereal, marshmallows, and butter for a soft, chewy dessert that’s perfect for St. Patrick’s Day. They’re colorful, kid-friendly, and come together in minutes with just a handful of ingredients. If you love classic cereal bars with a fun holiday twist, this Lucky Charms Marshmallow Squares recipe is the one to make.
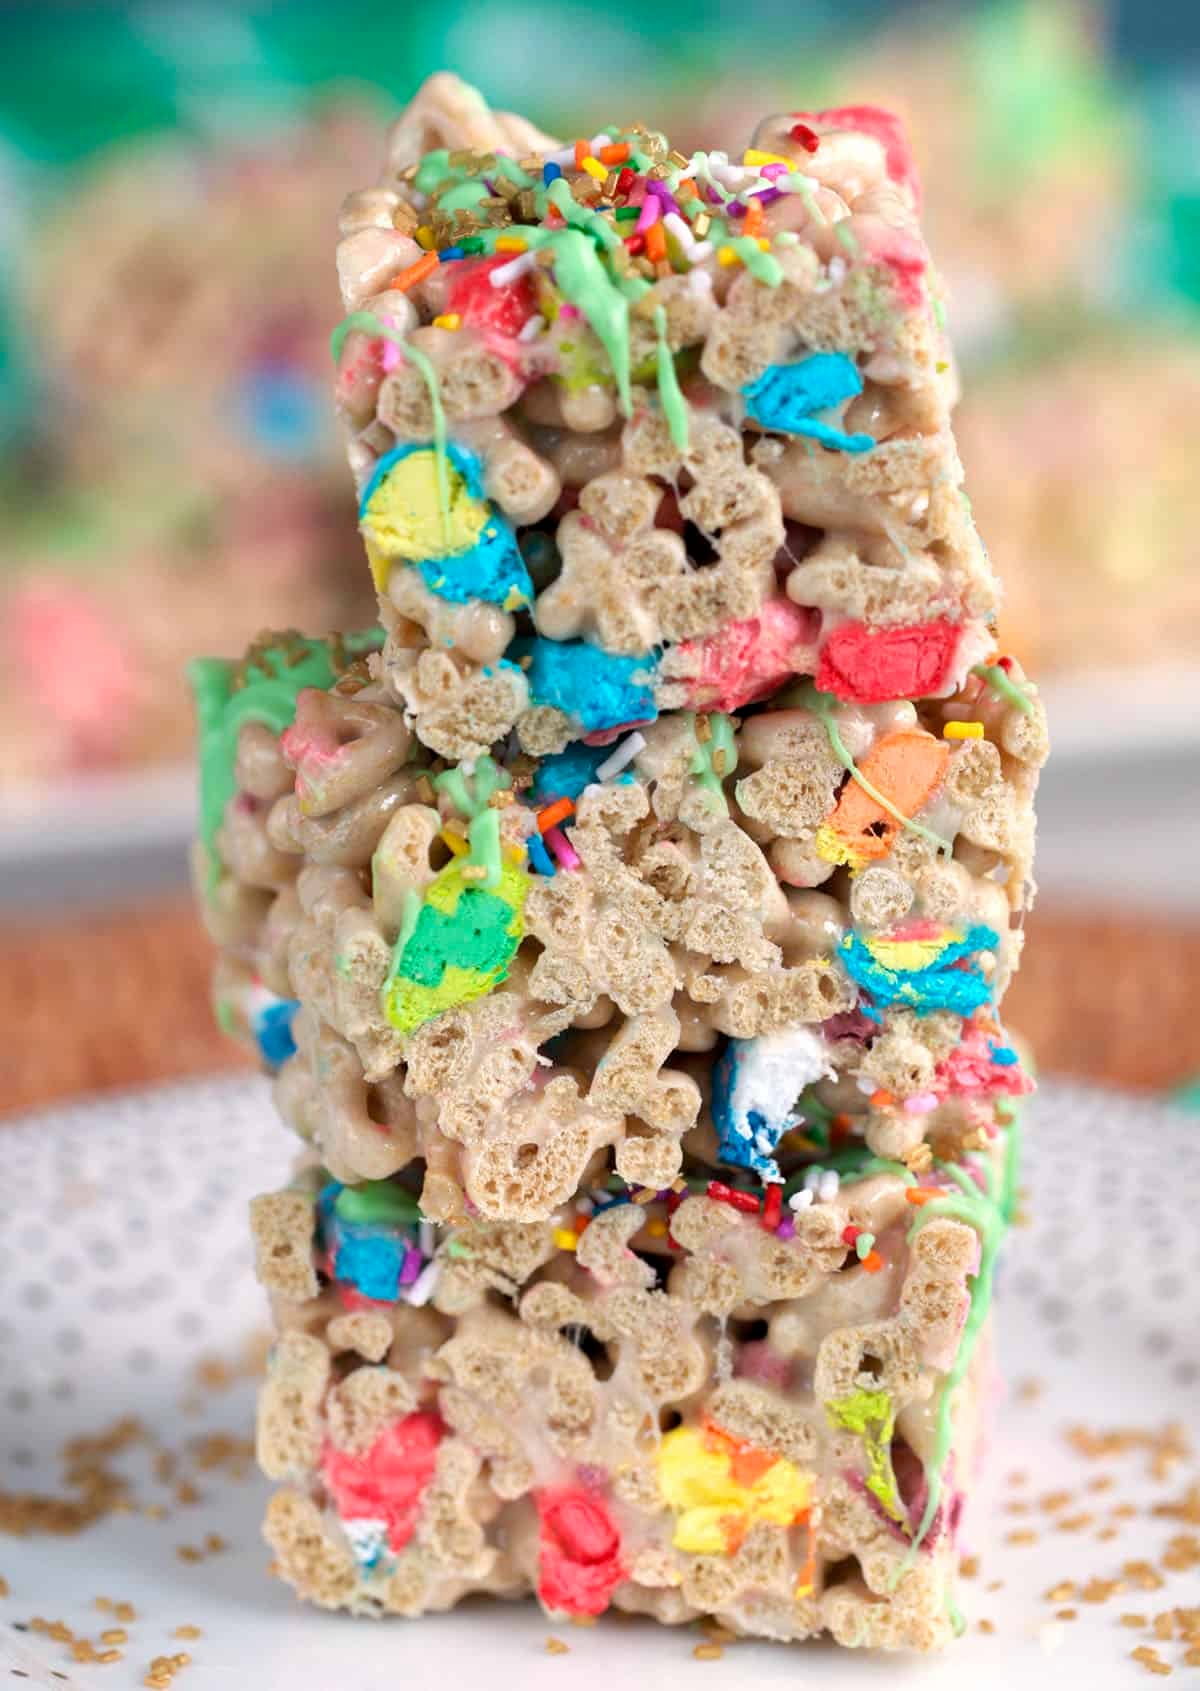
Table of Contents
Kellie’s Note

Make Your Own Luck 🍀
Every March, I start leaning hard into the easy, colorful treats my kids get excited about, and these Lucky Charms Bars are always at the top of the list. I’ve made more no bake desserts than I can count over the years, partly because they’re fast, partly because they’re dependable, and mostly because they make life a whole lot easier when you want something festive without turning your kitchen upside down.
That’s exactly why I love these Lucky Charms Marshmallow Squares so much. They’re a playful riff on classic rice krispie treats cereal bars, but with that extra pop of color and sweetness that makes them perfect for St. Patrick’s Day. They’re buttery, soft, chewy, and packed with those little pastel marshmallows everyone picks out of the cereal box first anyway.
And the best part? They come together in minutes with just a handful of ingredients. No oven, no complicated steps, and no reason to wait for a special occasion if you ask me.
If you need an easy dessert for a school party, after-school snack, or fun holiday treat, these Lucky Charms Cereal Bars are the kind of recipe that always disappears fast.

Why You’ll Love My Lucky Charms Bars
These bars are everything I want in an easy dessert. They’re quick, festive, super kid-friendly, and they don’t ask much from you beyond a pot, a spatula, and a little self-control while they set.
- They’re completely no bake, which is always a win when you need something fast.
- They have that soft, chewy, buttery texture everyone loves in marshmallow cereal bars.
- They’re festive enough for St. Patrick’s Day, but easy enough to make any time the craving hits.
- You can dress them up with extra cereal marshmallows, sprinkles, or even a little white chocolate if you want them to feel more party-ready.
- They’re simple, reliable, and made from ingredients you can grab almost anywhere.
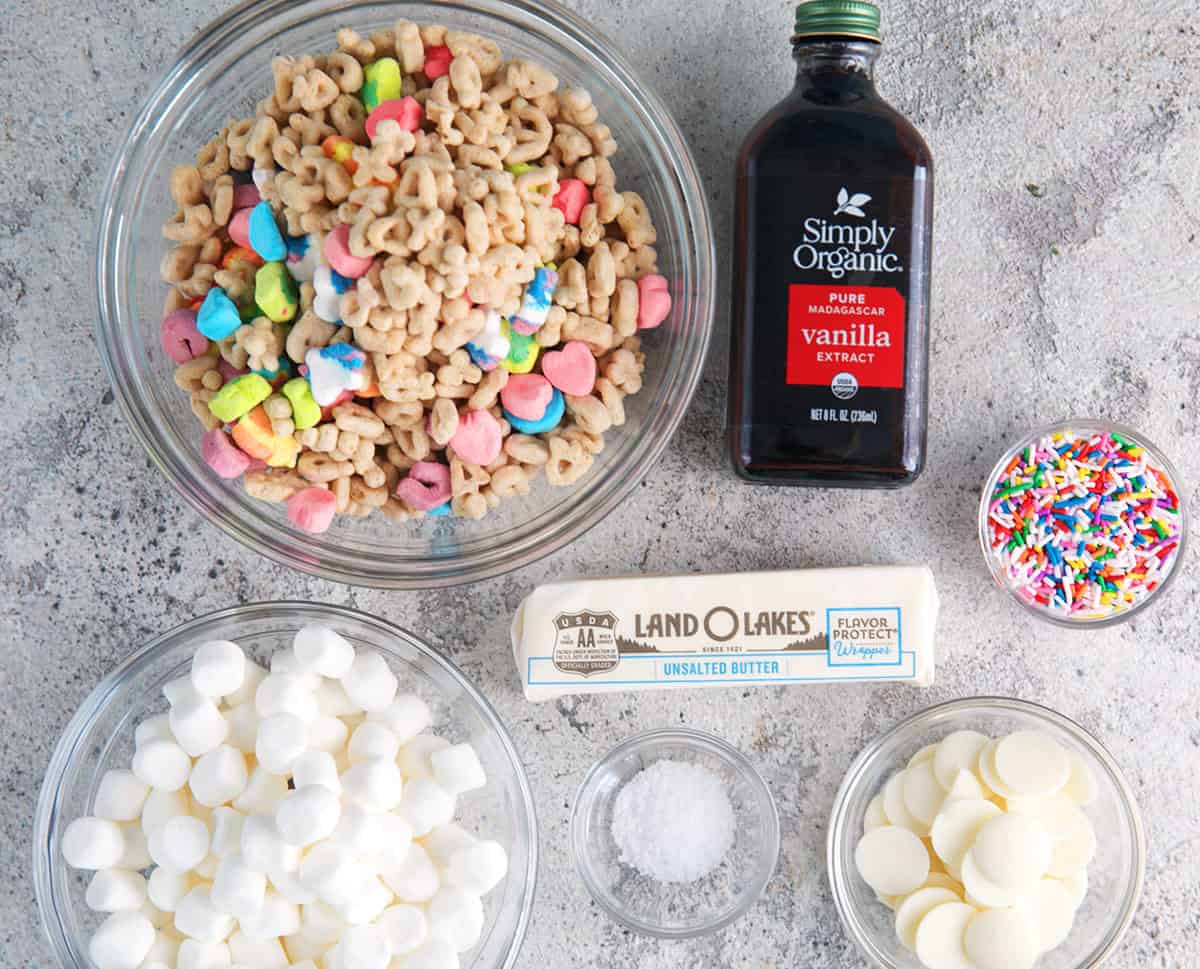
Ingredients For Lucky Charms Bars
You only need a few basics to make these Lucky Charms Marshmallow Squares recipe-worthy enough to repeat all season long.
- Lucky Charms cereal – This is the star of the show, obviously. It gives the bars their signature crunch, color, and nostalgic cereal-bar vibe. You can set aside a little extra for topping if you want the finished bars to look extra cute. Generic magical marshmallow cereal can work in a pinch, but classic Lucky Charms really gives you the look and flavor people expect in Lucky Charms Bars.
- Mini marshmallows – These melt quickly and evenly, which makes the whole process easier. You can also use regular marshmallows if that’s what you have on hand. If you like a softer, gooier bite, stirring in a few extra marshmallows at the end is always a good idea.
- Butter – Butter gives these bars that rich, classic cereal treat flavor and helps keep everything soft and cohesive. Unsalted butter is great because you can control the salt level, but salted butter works too and adds a little sweet-salty contrast.
- Salt and vanilla – Both are optional, but I really like using them. A little salt helps balance the sweetness, and vanilla rounds everything out so the bars taste less one-note.
- Optional extras – White chocolate chips, rainbow sprinkles, or extra Lucky Charms marshmallows on top all work well here if you want to make them feel a little more festive.
How to Make Pan Lucky Charms Bars
- Start by getting your pan ready before you melt anything. Line a 9×13-inch pan with parchment so you can lift the bars out easily later, or grease it well if that’s what you prefer. Once the marshmallow mixture is ready, things move pretty quickly.
- Pour the cereal into a large bowl and, if you want a prettier finish, set aside a little of the cereal or just the colorful marshmallows from the box for the top. It’s a small step, but it makes the finished bars look extra festive.
- In a large pot, melt the butter over low heat. Once it’s melted, stir in the marshmallows and keep the heat gentle. You want the mixture smooth and glossy, not hot and stiff. When the marshmallows are almost fully melted, stir in the salt and vanilla if you’re using them.
- Take the pot off the heat and fold in the cereal right away. Work gently but quickly so every piece gets coated before the marshmallow mixture starts to set. If you’re adding white chocolate chips, let the mixture cool for just a minute first so they soften a little without fully disappearing into the mix.
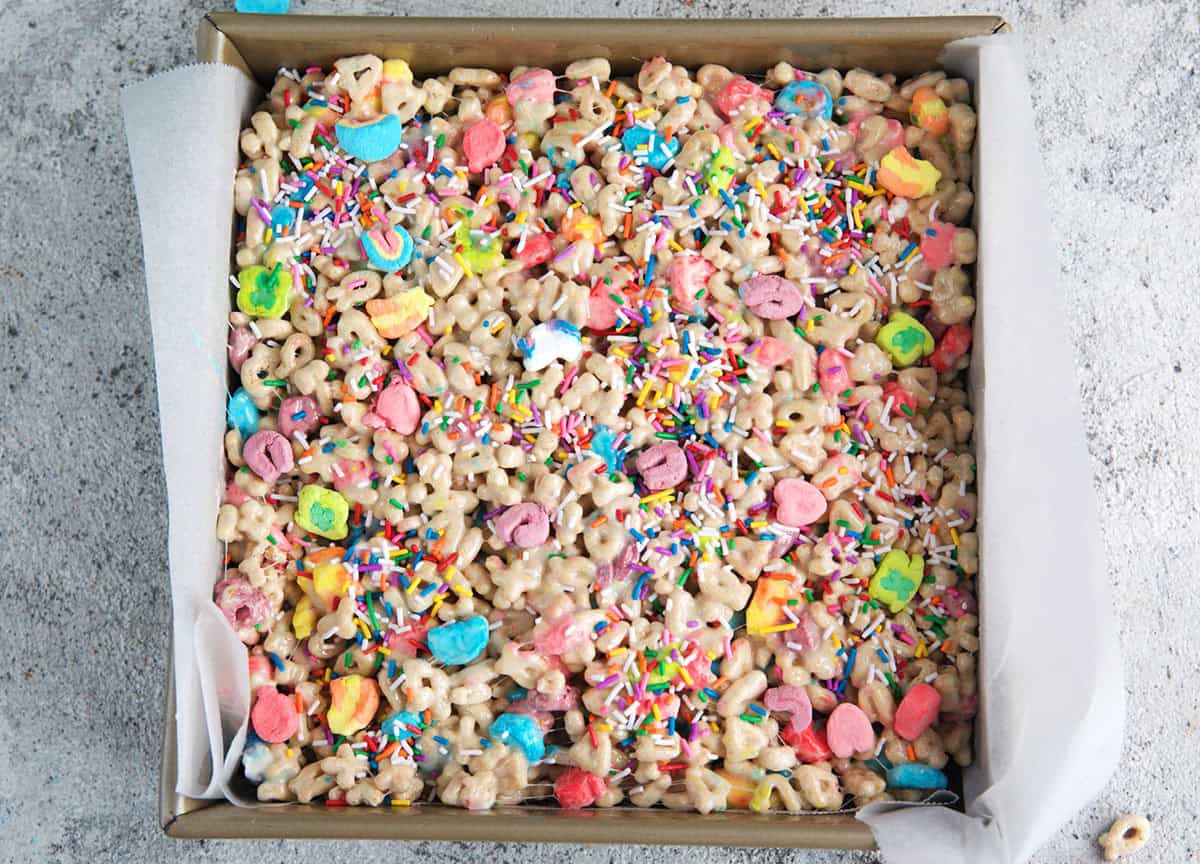
- Transfer everything to the prepared pan and press it into an even layer. The key here is gentle pressure. You want to nudge it into the corners, not pack it down hard. If you mash the mixture too much, the bars lose that soft, chewy texture and can turn dense. That light press is one of the biggest differences between just-okay cereal bars and really good ones.
- Scatter the reserved cereal or marshmallows over the top and lightly press them into place. Then let the bars sit at room temperature until they’re set enough to slice cleanly.
How to Store Leftovers
Store leftover Lucky Charms Cereal Bars in an airtight container at room temperature for up to 3 days. They’re at their best in the first day or two, when they’re still extra soft and chewy. Avoid storing them in the fridge because that can make them firmer than you want. If you’d like to freeze them, slice the bars first, wrap them well, and freeze for up to 6 weeks. Let them come back to room temperature before serving.
Kellie’s Tips for Making Lucky Charms Bars
- Use low heat when melting the marshmallows. This is the easiest way to keep the bars soft instead of tough.
- Don’t over-press the mixture into the pan. A light hand gives you that chewy, bakery-style texture.
- Butter your spatula or hands before pressing the bars into the pan. It makes the mixture much easier to handle.
- For cleaner slices, lightly butter your knife. A plastic knife also works surprisingly well for marshmallow treats.
- If you want prettier bars for a party tray, save some of the colorful cereal marshmallows for the top instead of mixing every last bit into the pot.
- For an even gooier bar, stir in a few extra marshmallows right at the end or press a few into the top while the mixture is still warm.
What to Serve with Cereal Bars
These Lucky Charms Marshmallow Squares are sweet and playful, so I like serving them with simple favorites that make them feel part of a full dessert spread.
- Cold milk for the kids and coffee for the adults is always a good place to start.
- Fresh fruit like strawberries or green grapes helps balance the sweetness.
- For parties, add them to a tray with brownies, chocolate chip cookies, and a few salty snacks for contrast.
- If you’re making a St. Patrick’s Day dessert table, pair them with vanilla cupcakes, sugar cookies, or a Shamrock Shake for a fun holiday spread.
More Easy No Bake Treat Recipes
If your family loves easy desserts as much as mine does, these no bake treats are always worth having on repeat:
- Classic Rice Krispie Treats
- No Bake Chocolate Peanut Butter Oatmeal Cookies
- Peanut Butter Rice Krispie Treats
- The Best No Bake Cheesecake
- No Bake Haystack Cookies
- No Bake Chocolate Mousse Pie
Lucky Charms Bars Recipe
Equipment
- 9×13-inch pan
- Parchment paper or nonstick spray
- Large pot or Dutch oven
- spatula
Ingredients
- 8 cups Lucky Charms cereal, plus extra for topping, optional
- 6 cups mini marshmallows, about 10 oz or 1 (10 oz) bag marshmallows
- 6 tablespoons unsalted butter
- 1/2 teaspoon kosher salt, optional but recommended
- 1 teaspoon vanilla extract, optional
Optional Add-ins
- 1/2 cup white chocolate chips, stir in off heat
- 2 tablespoons rainbow sprinkles
- 1/2 cup extra Lucky Charms marshmallows, from the box for the top
Instructions
- Line a 9×13-inch pan with parchment (leave overhang for lifting) or grease well.
- Pour 8 cups Lucky Charms into a large bowl. If you want a pretty and festive top, set aside 1/2 cup marshmallows only.
- In a large pot over low heat, melt the butter. Add marshmallows and stir constantly until smooth. Stir in salt and vanilla (if using).
- Remove from heat. Add the cereal and fold quickly until evenly coated. (If using white chocolate chips, let the mixture cool 1 minute, then fold them in.)
- Transfer to the pan. With lightly buttered hands or a greased spatula, gently press into an even layer, don’t push hard or the bars get tough.
- Sprinkle reserved marshmallows on top and press very lightly to help them stick.
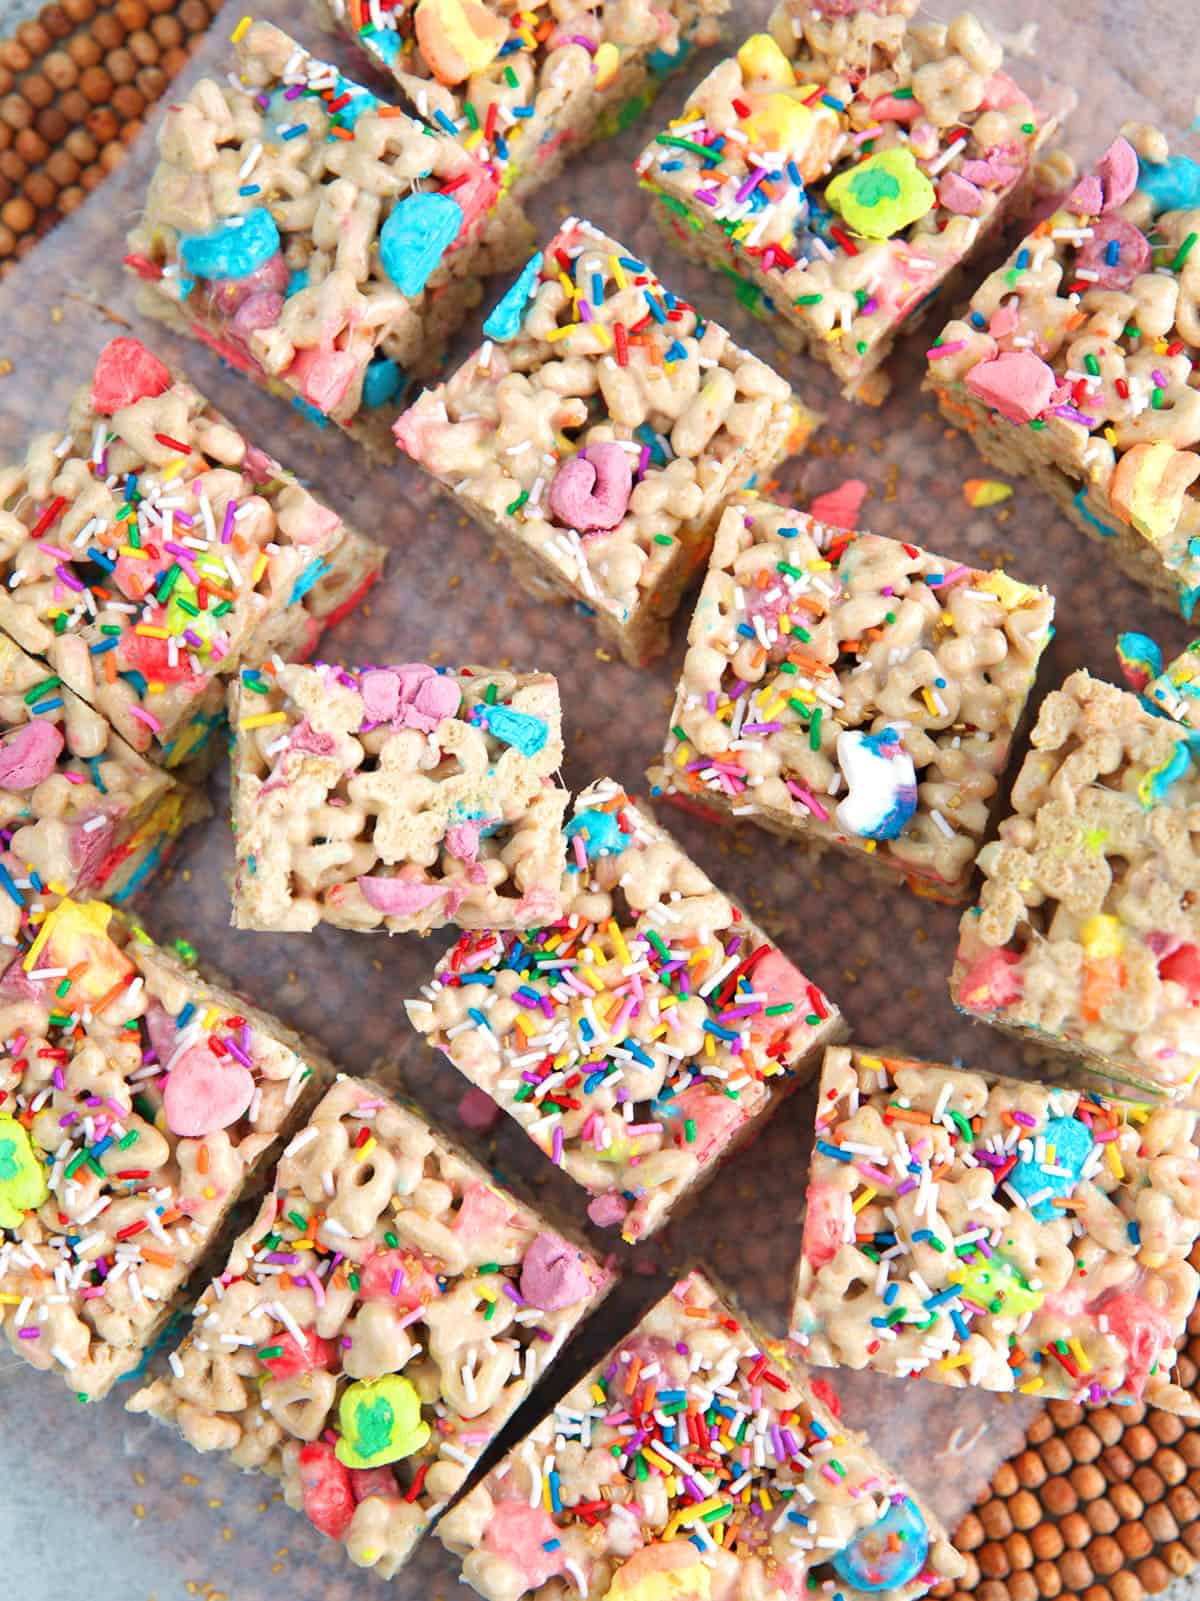
- Let the bars set at room temperature 30-60 minutes, then lift out and cut into bars.
Notes
Nutrition
Nutrition information is automatically calculated, so should only be used as an approximation.