This post may contain affiliate links. Please read our disclosure policy.
Summer’s best vegetable stockpiled for winter, freezing corn on the cob is super easy to do on or OFF the cob. Simple step by step instructions to guarantee you have fresh summer sweet corn flavor in the dead of winter.
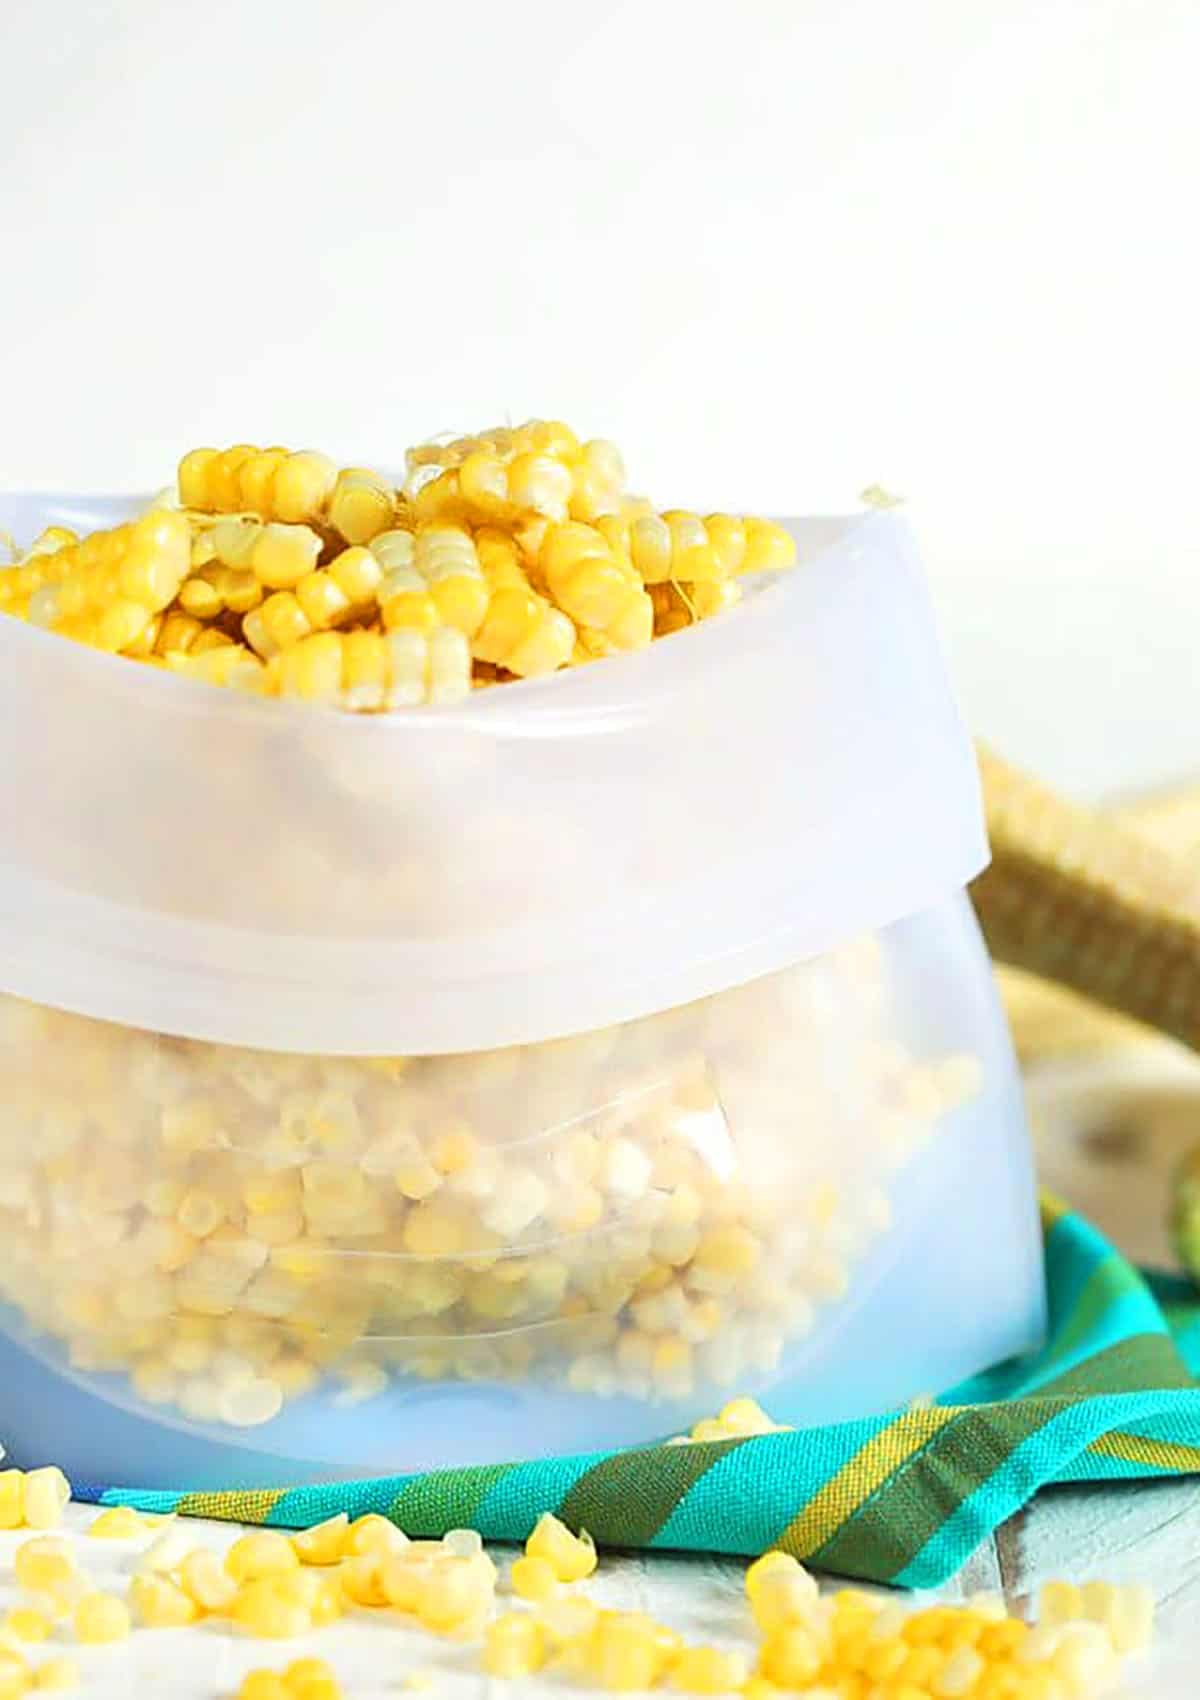
Table of Contents
How To Freeze Corn on the Cob
Living in the middle of the pseudo countryside, we have cornfields for miles. It’s, actually, quite cool to see all the tall cornstalks waving the breeze when you drive by and it’s like a grown up corn maze because you’re driving around through pathways cut through the cornfields so you can’t really see any homes, cows, etc until the cornfield ends.
And knowing that a lot of that corn is going to end up on my plate at some point in the summer is also a plus because I do love a buttery, extra salty ear of corn during the season. Corn on the cob is like a miracle to me because what should be a starchy, unflavorful veggie is exactly the opposite. A great ear of summer sweet corn is juicy, buttery, sweet and amazing. And it makes me sadder to see the summer end because that corn goes with it.
Growing up, I remember my mom stockpiling corn on the cob for winter. At the end of the summer she’d buy a big armload of corn on the cob and freeze it…both on the cob and off the cob…to enjoy during the winter. Now, I can’t say it felt exactly like summer in the dead of winter when she’d bust out that corn but it certainly tasted like it.
Plus, if you buy your corn on the cob at the perfect time, you can really get it for a steal because Farmer Jay has to offload it on the daily or else it starts to deteriorate. Batch cook your corn on the cob (or grill corn on the cob) and you can pack away enough corn to last you the entire winter.
Buying Corn on the Cob
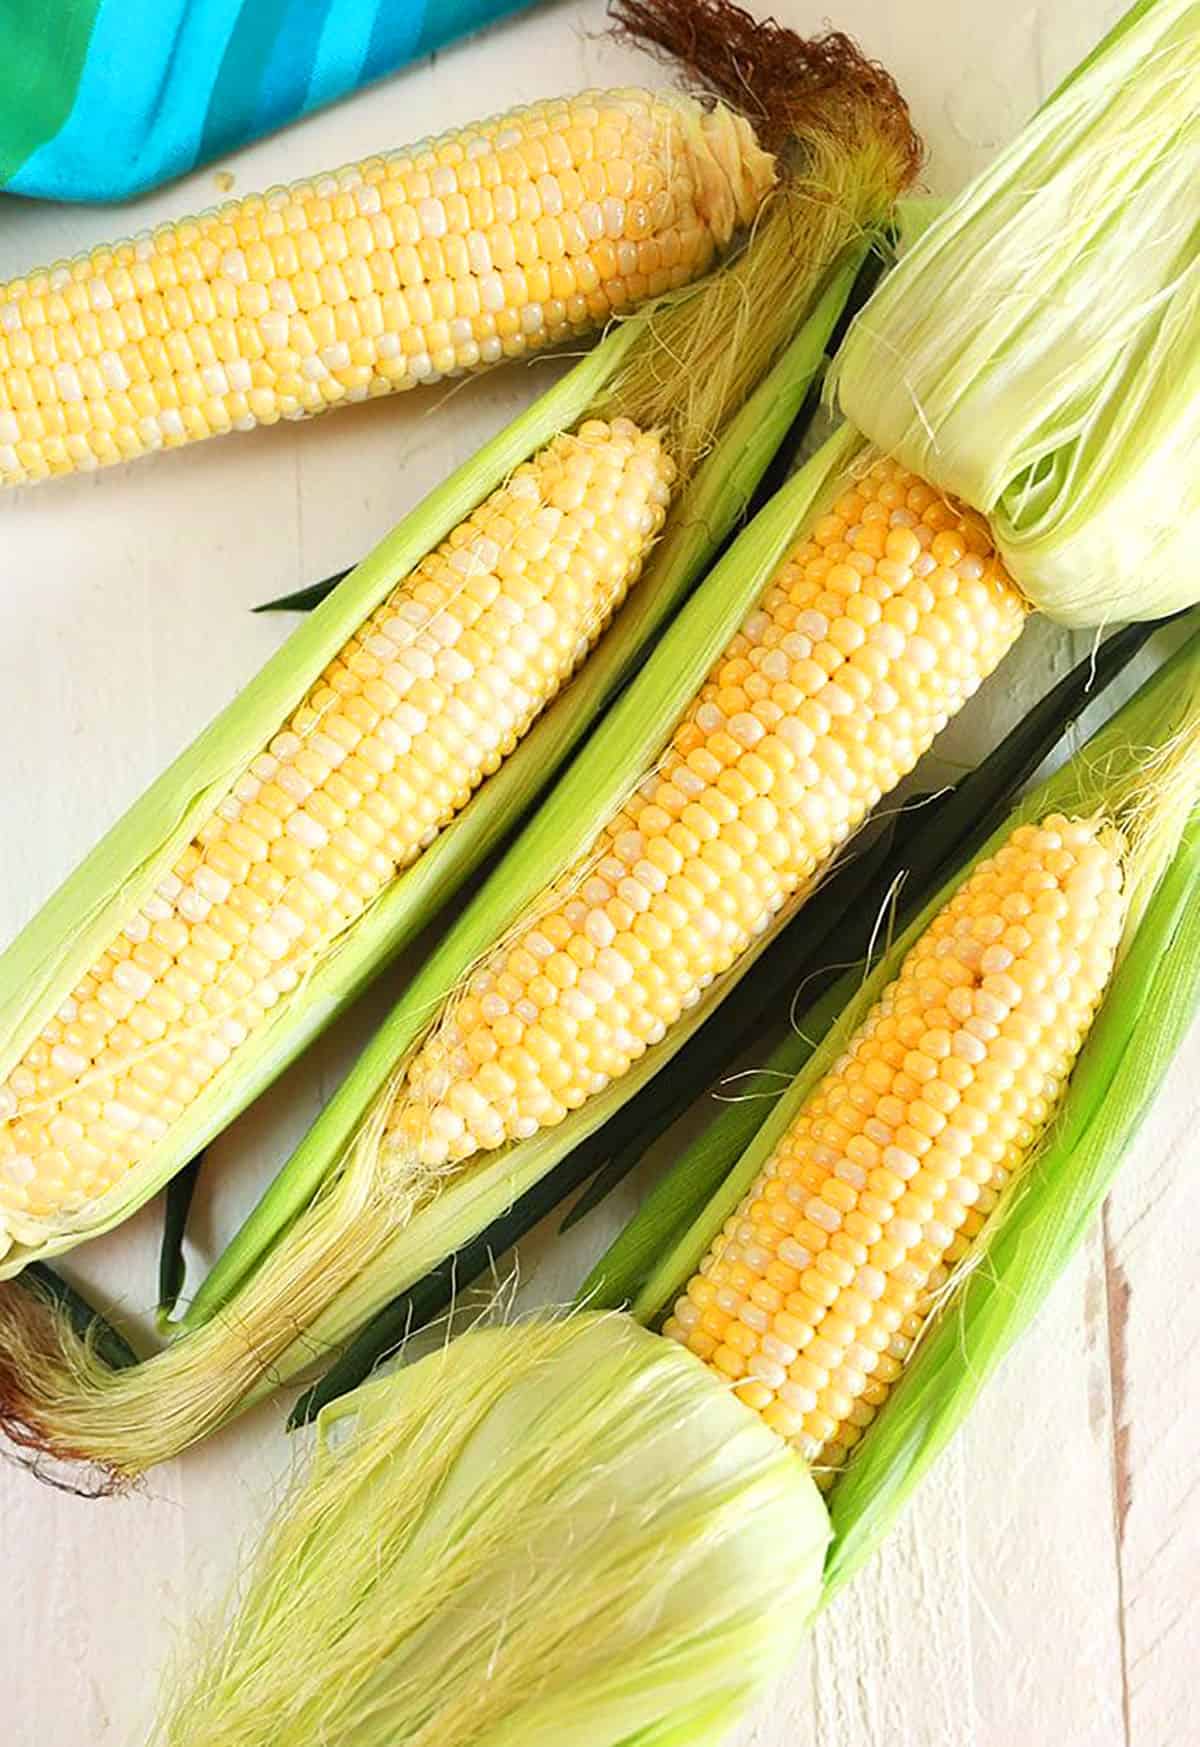
When it comes to corn, fresh is best so buying local is key in finding the best tasting corn on the cob. And once it’s picked it deteriorates quickly so you’ll want to enjoy your corn soon after you purchase it.
When buying corn on the cob, look for a tight, outer green husk that’s not dried out and plenty of corn silk that’s not black or slimy. Pull back a small portion of the husk to expose the kernels and make sure they’re plump and firm, not shriveled and dry. Don’t peel back all of the husk because once you do, the corn will start to dry out.
If your corn on the cob has any tiny holes, do not buy it because that’s an indication of a worm infestation. Not good eats.
How To Store Corn on the Cob
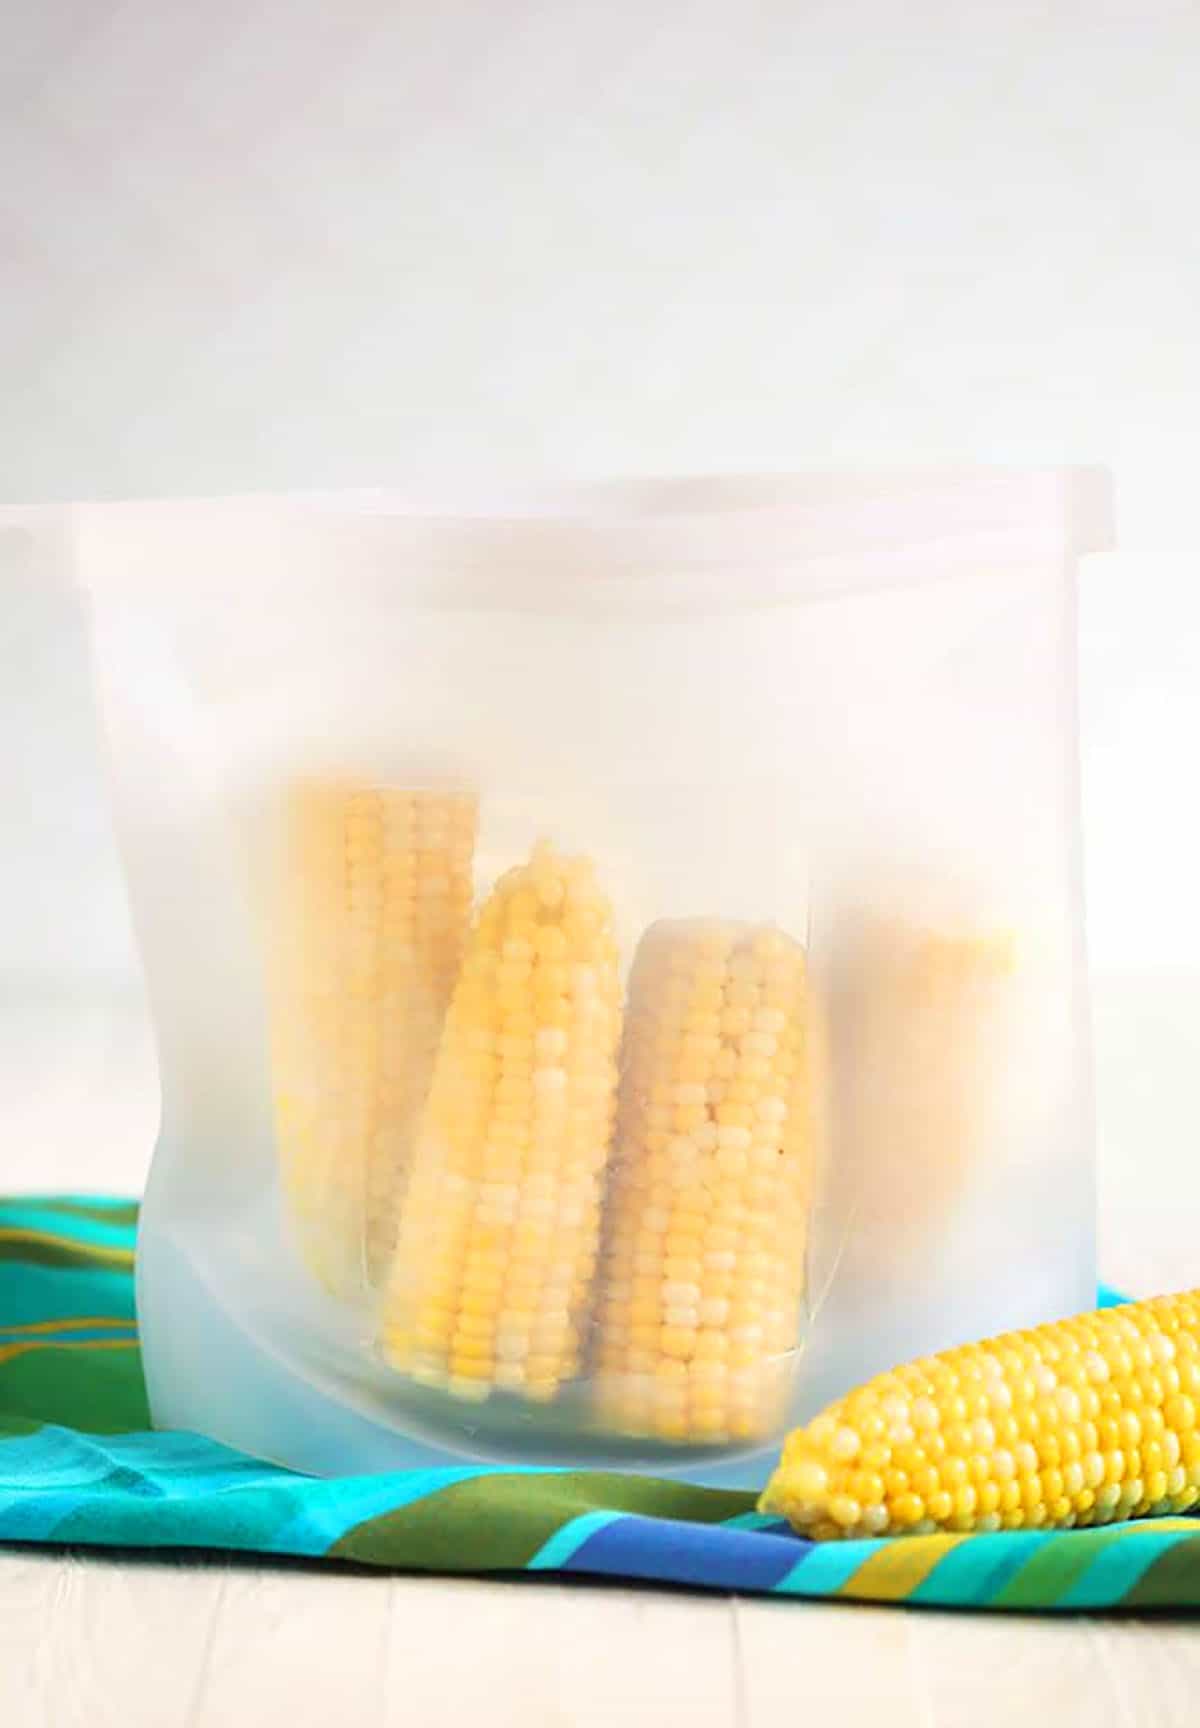
Wrap your corn on the cob in a plastic bag and store in the refrigerator to lock in moisture. You want to avoid the kernels from drying out because then the corn will taste starchy and bland.
Be sure to enjoy your corn on the cob within 48 hours of purchasing it. Or FREEZE it…..which is why you’re here in the first place. Right?
How To Freeze Corn (on the cob)
It’s super simple to freeze your corn on the cob but first, you must take a few steps to prep it or your corn will not freeze well.
- Husk your corn on the cob and remove the silks.
- Cut the ear of corn in half for easier storage. This step is optional but I like smaller ears because they store a little easier and are quick to reheat.
- Bring a pot of water to a boil. Stir in salt and sugar.
- Blanch the corn – Add the corn to the pot and boil for 1 minute.
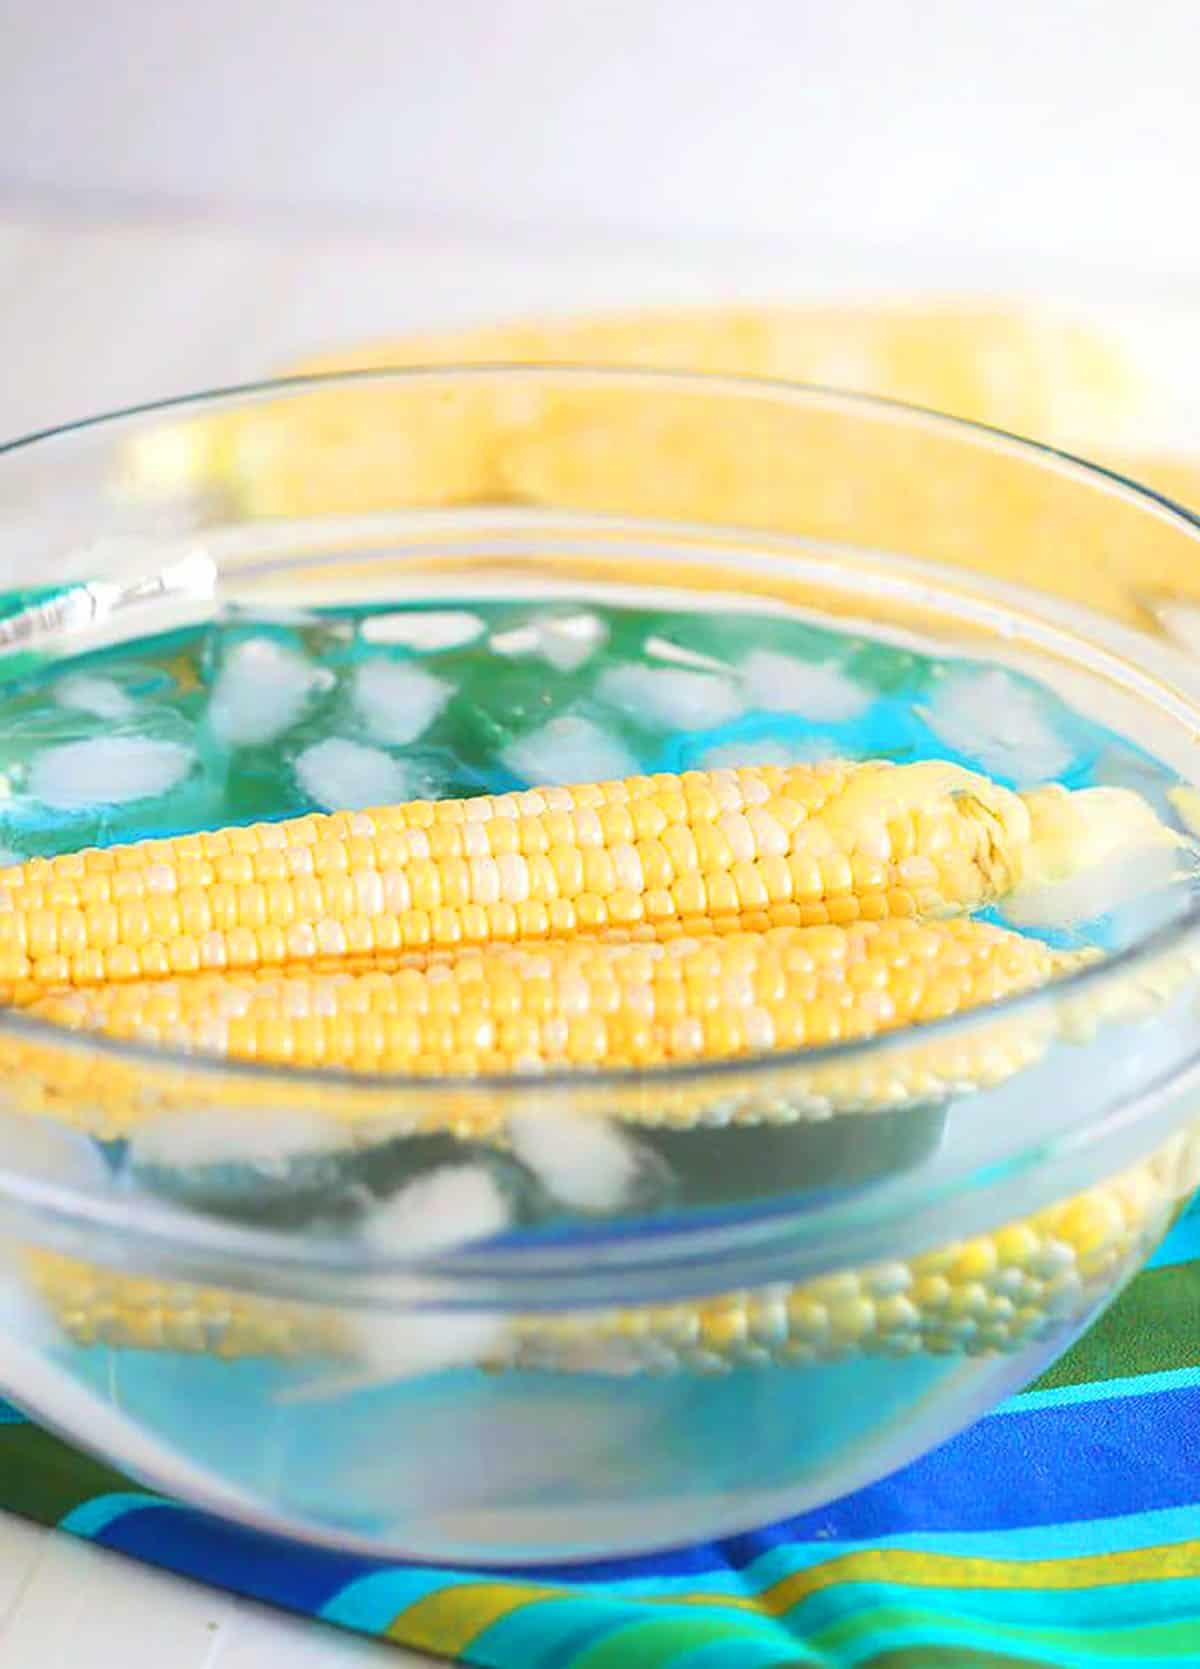
- Remove the corn and immediately plunge in an ice water bath to stop the cooking.
- Allow the corn to cool in the ice bath before transferring to a paper towel to dry.
- Place the corn on the cob in a freezer bag and press out all the air. (Alternatively, you can use a straw to suck out the air or use a foodsaver storage system which sucks out the air, itself.)
- Store the corn in the freezer for up to 6 months.
How to Freeze Corn OFF the Cob
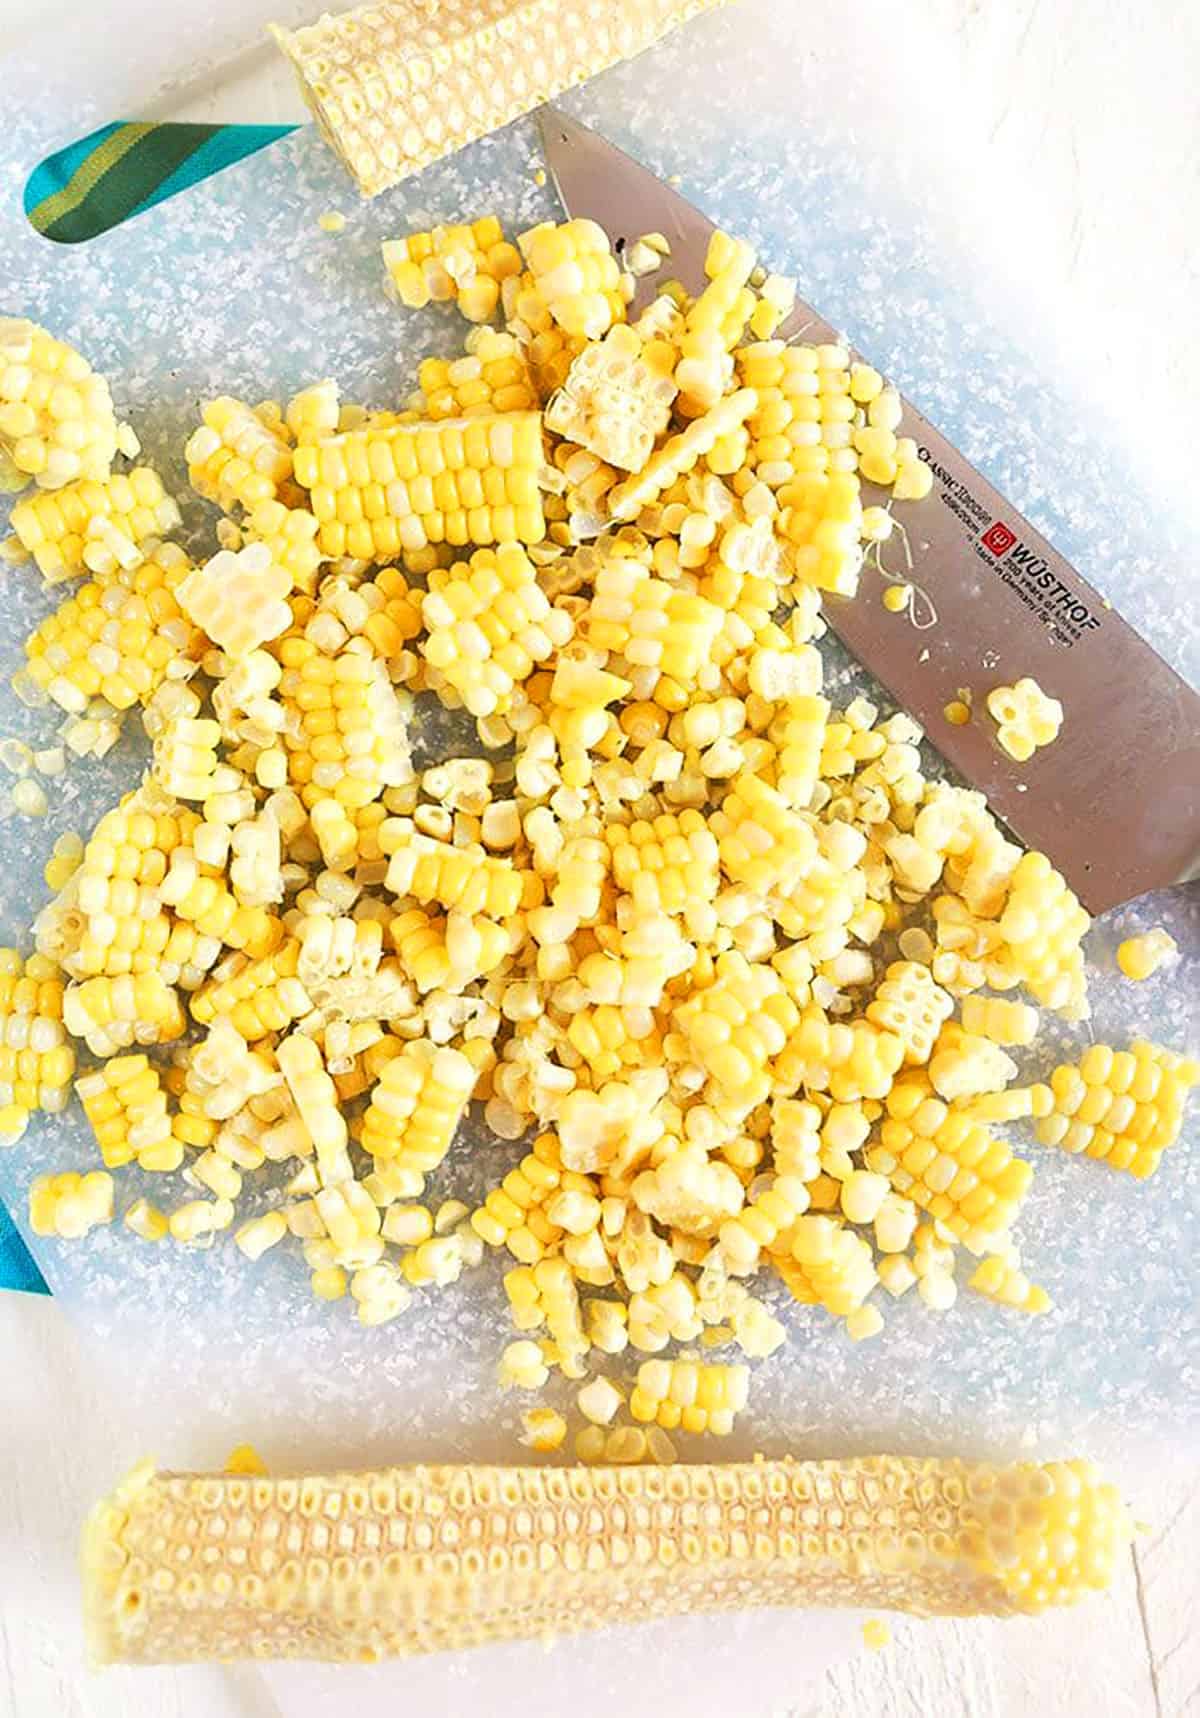
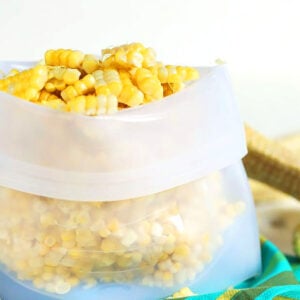
Only one extra step is needed to freeze corn off the cob and this is my preferred way to freeze corn. It takes up much less space in the freezer and takes minutes to reheat when you are craving fresh summer corn.
- Husk your corn on the cob and remove the silks.
- Cut the ear of corn in half for easier storage. This step is optional but I like smaller ears because they store a little easier and are quick to reheat.
- Bring a pot of water to a boil. Stir in salt and sugar.
- Blanch the corn – Add the corn to the pot and boil for 1 minute.
- Remove the corn and immediately plunge in an ice water bath to stop the cooking.
- Allow the corn to cool in the ice bath before transferring to a paper towel to dry.
- Carefully cut the kernels off the cob using a sharp knife by standing the cob on the flat end and cutting down to remove the kernels.
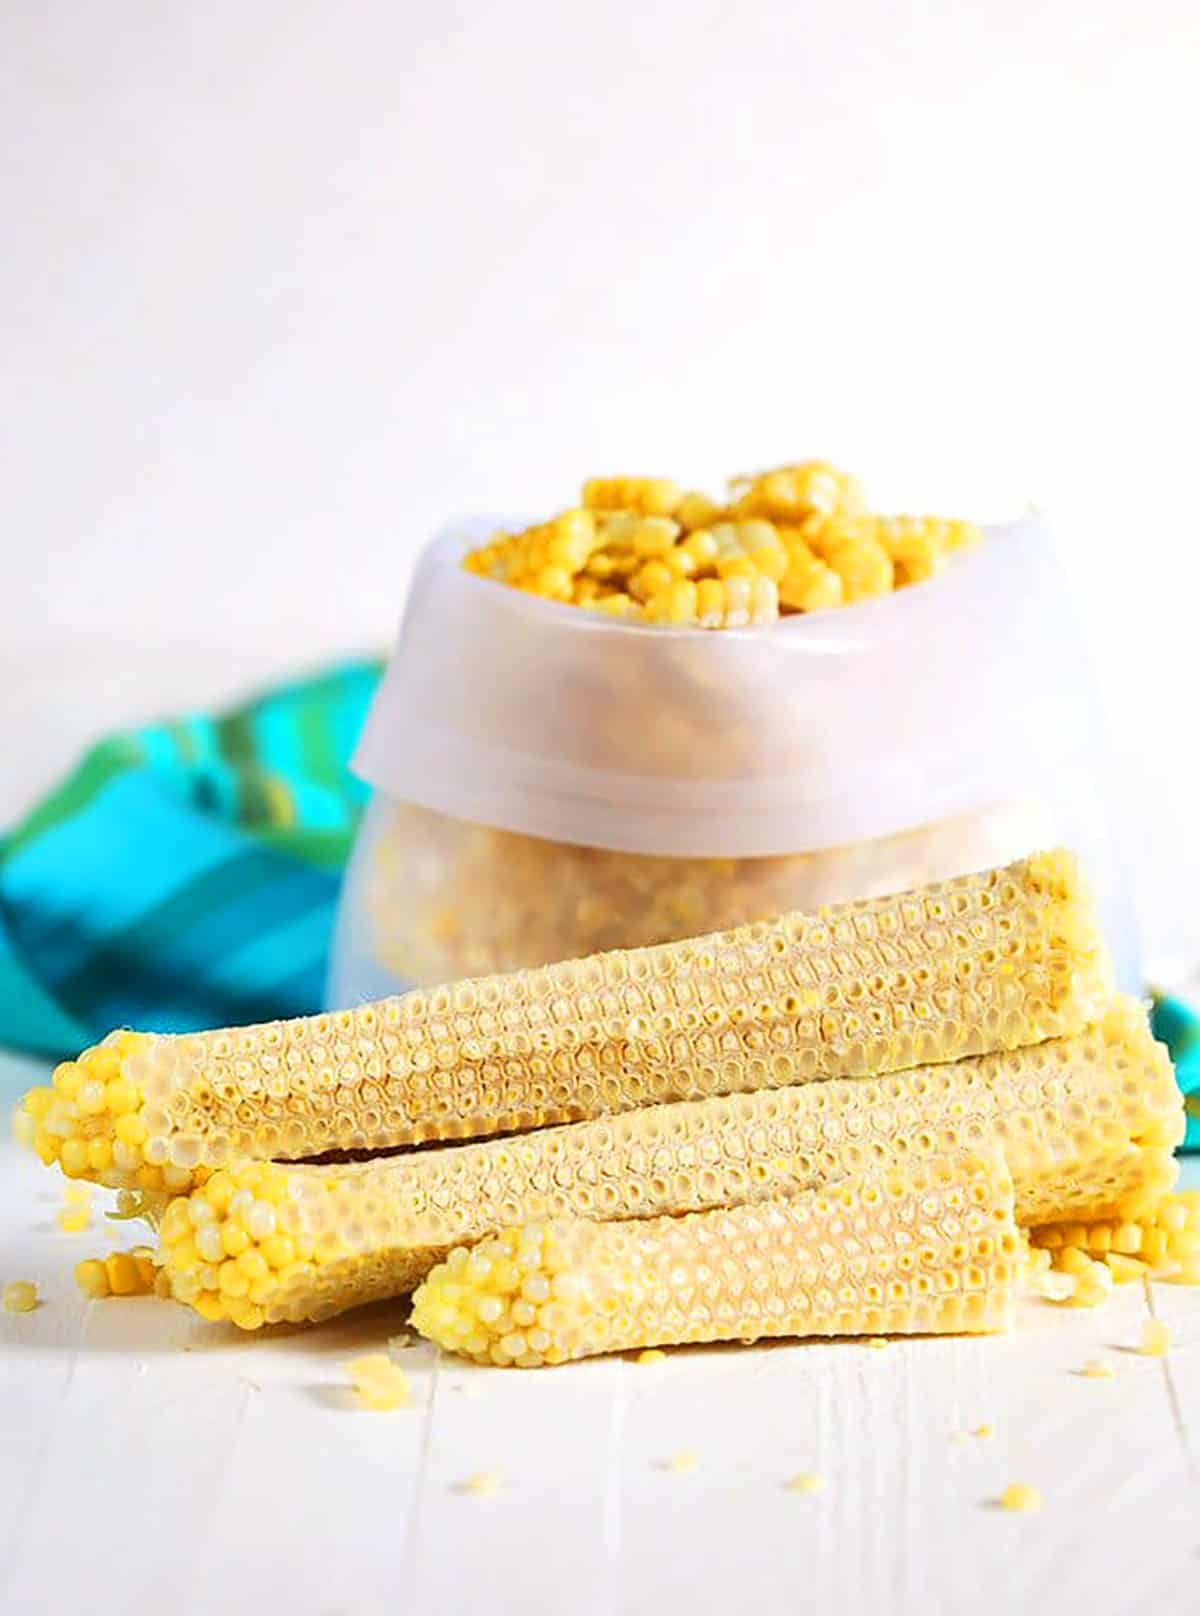
- Transfer the corn kernels to a freezer bag and press out all the air. (Alternatively, you can use a straw to suck out the air or use a foodsaver storage system which sucks out the air.)
- Store the corn in the freezer for up to 6 months.
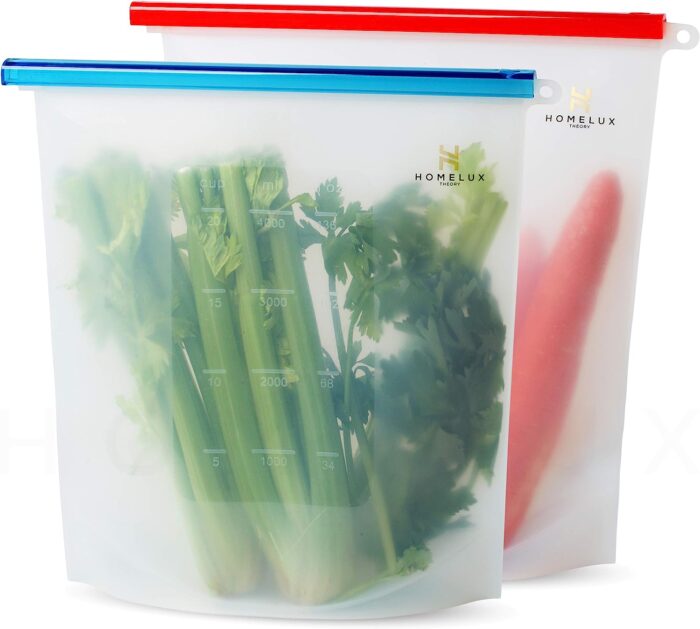
These reusable silicone Freezer Bags are durable and our favorite way to store vegetables or fruit in the freezer. Long lasting and earth friendly!
Do you have to blanch corn before freezing?
Yes! You really have to blanch corn before freezing. All the vegetables you buy in the supermarket freezer section have been cooked before freezing. All of them. Even your favorite frozen corn.
What is Blanching?
Blanching gives vegetables (in this case, corn) a quick boil before eating or preserving. It helps to remove dirt and any other nastiness that may be on your vegetables. It ALSO deactivates the enzymes that lead to rotting.
How to Use Frozen Corn
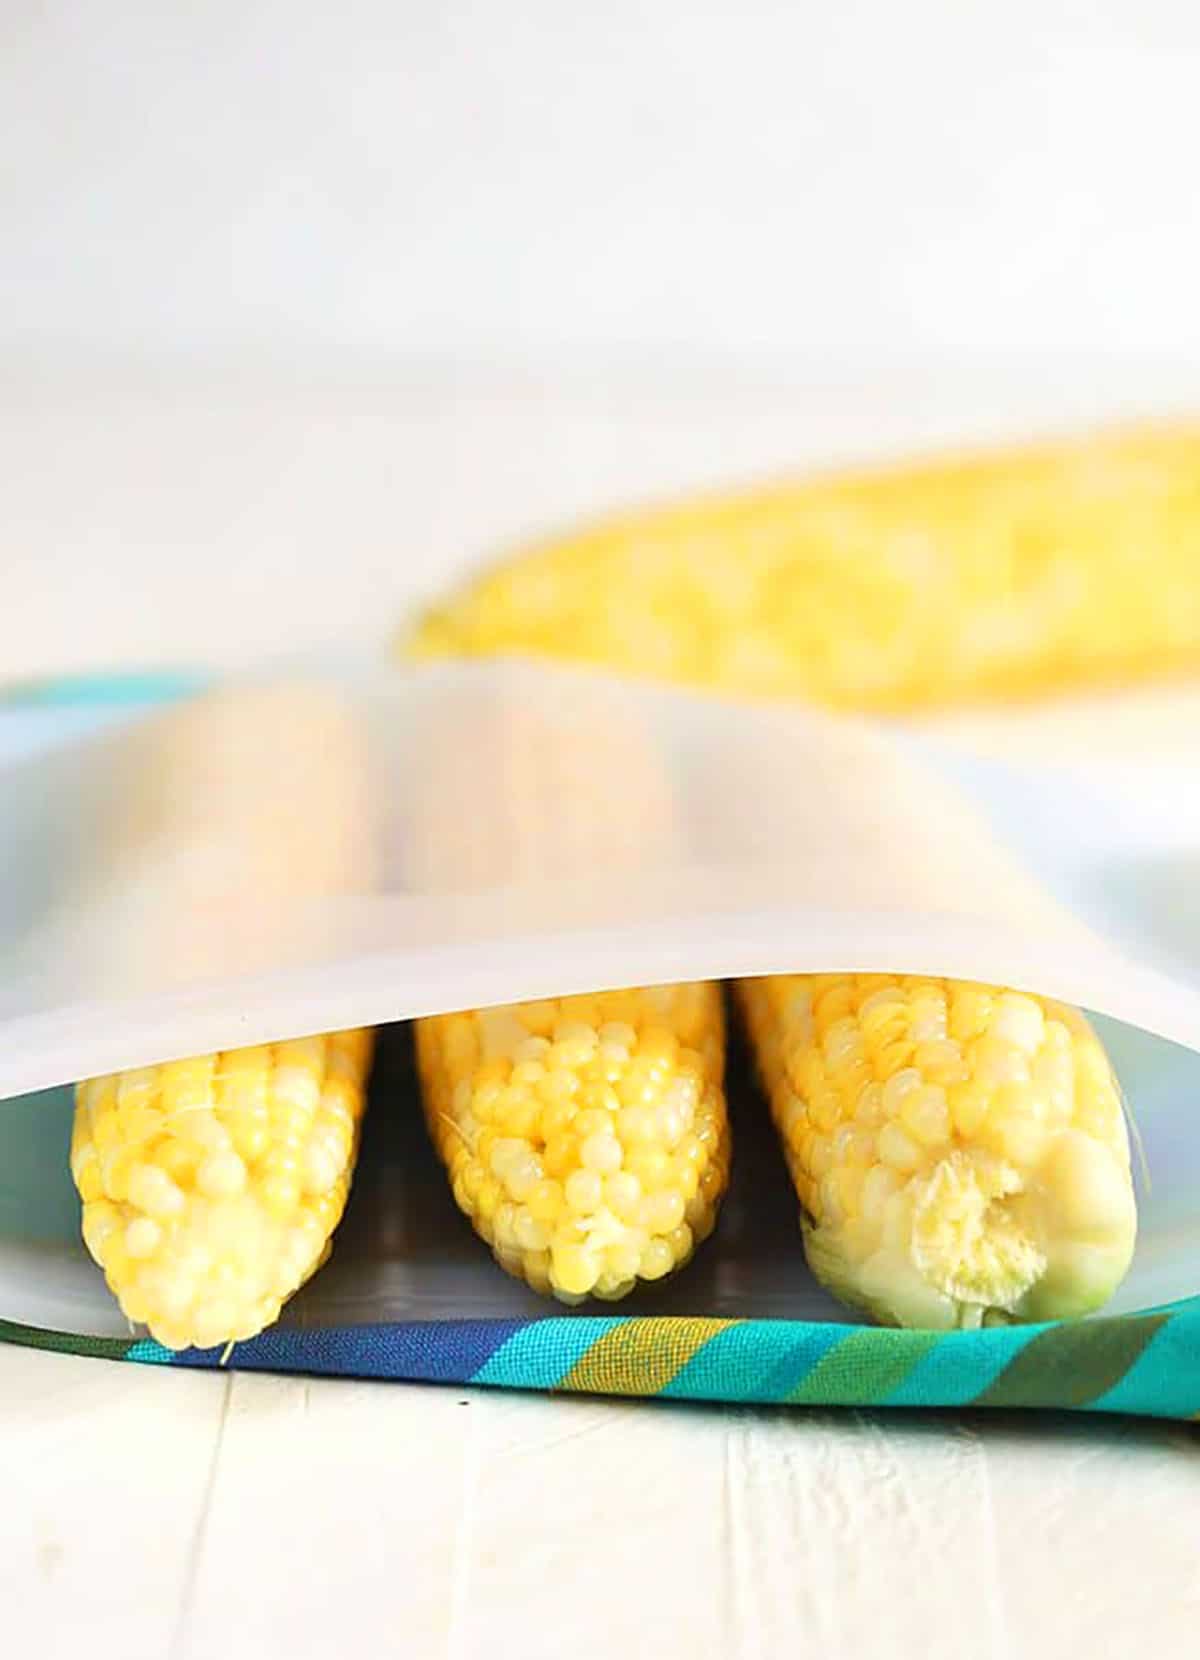
You can use your frozen corn on the cob (or off the cob) just about any way you like. Simply steam it or heat it in the microwave for a quick and easy side dish. Or use in one of my favorite corn recipes!
Here are some of our favorite ways to use frozen corn:
- Easy Mexican Street Corn Salad
- Cheesy Corn Casserole
- Black Eyed Pea and Corn Salad
- Grilled Corn Pizza with Bacon
- Lobster Corn Chowder….this is amazing!
- Zucchini Tart with Sweet Corn
- Blueberry Grilled Corn Salsa
- Cheddar Corn Fritters
- Corn Chowder
More Corn on the Cob Recipes
Follow us on Instagram to see what other easy recipes we’re cooking up!
How to Freeze Corn on the Cob
Equipment
- freezer
Ingredients
- 8 Corn Cobs
- 2 tablespoons salt
- 1 tablespoon sugar
Instructions
- Husk your corn on the cob and remove the silks. Trim dry ends or tops.
- Cut the ear of corn in half for easier storage. This step is optional but I like smaller ears because they store a little easier and are quick to reheat.
- Bring a pot of water to a boil. Stir in salt and sugar.
- Add the corn to the pot and boil for 1 minute.
- Remove the corn and immediately plunge in an ice water bath to stop the cooking.
- Allow the corn to cool in the ice bath before transferring to a paper towel to dry.
- Place the corn on the cob in a freezer bag and press out as much air as possible.
- Label and store the corn in the freezer for up to 6 months.
Notes
Nutrition
Nutrition information is automatically calculated, so should only be used as an approximation.




I froze cobbs of corn in food saver bags without blancing,and had a couple for supper they were done in a instar pot with a 4 min. time and were perfect. Blancing is a lot of extra work.
Good to know!
Thanks, Kellie, for this article. I’ve never tried freezing ears because frozen corn in the market is terrible.. It’s just now local-corn-season here in RI (it was “knee-high-by-the-Fourth-of-July”, as we say), and I could almost eat it every day for the next couple of weeks. No rating ‘cuz I won’t try eating some ’til Sept. or so, but you haven’t steered me wrong yet!